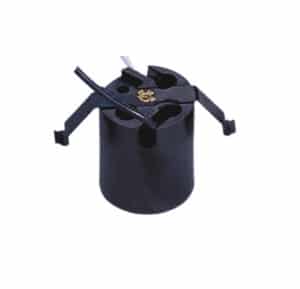
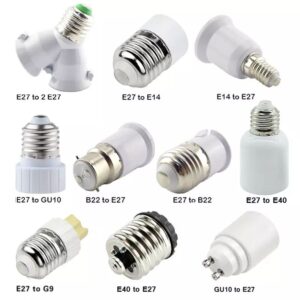
A malfunctioning chandelier light socket is more than just an annoyance. It’s a safety hazard, and it leaves your space without light. If you let it go, it can turn into a bigger problem. You could have an accident or have to replace the whole light fixture. Luckily, fixing a chandelier socket is something you can often do yourself.
To fix a chandelier socket, turn off the power, take the chandelier down, take the socket apart, look for damage, replace the bad parts, put it back together, and test it.
Now, let’s look at how to fix your chandelier socket.

Safety Precautions Before Fixing a Chandelier Socket
Before beginning any work on a chandelier socket, it is crucial to prioritize safety. Dealing with electrical fixtures, especially those hanging from the ceiling, presents certain risks. Following these precautions ensures a safe repair process.
Turn off the power: The most important step before touching any electrical fixture is turning off the power supply at the circuit breaker. Never rely on just the wall switch, as it may not fully isolate the power from the socket. Use a voltage tester to confirm that no electricity is flowing to the chandelier. This small precaution can prevent serious accidents, including electric shock.
Use proper tools: Having the right tools at hand will make the process smoother and safer. You will need a voltage tester, pliers, a screwdriver, and possibly a replacement socket. A voltage tester is essential to ensure no electricity remains in the fixture while pliers and screwdrivers will help with disassembly and reassembly.
Work in a safe environment: Since chandeliers are ceiling fixtures, you will likely need a sturdy ladder or step stool. Ensure that the ladder is on a flat surface and is stable before climbing. Additionally, working in a well-lit space helps you avoid mistakes and accidents when handling small screws or wires.
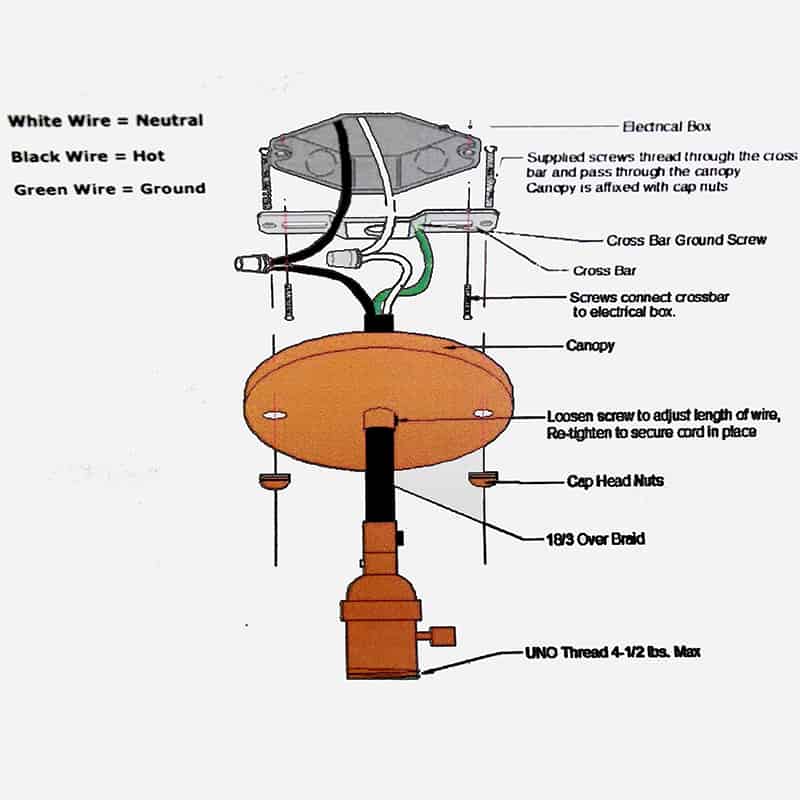
Identifying Problems in the Chandelier Socket
The next step in fixing your chandelier is identifying the specific issue with the socket. There are several potential problems, and pinpointing the right one will guide you in performing an effective repair.
Loose connections: One of the most common problems in chandelier sockets is loose wire connections. Over time, the constant use of the fixture can cause the wires to loosen from their contacts. Loose wiring interrupts the electrical circuit, leading to flickering or complete failure. A visual inspection of the wiring inside the socket can reveal whether this is the issue.
Damaged parts: Socket parts wear out over time due to heat and electrical stress. Look for signs of damage like burnt contacts, corrosion, or cracked insulation. These components must be in good condition for the socket to function safely. Burnt wires or contacts are particularly dangerous, as they can increase the risk of electrical fires.
Using a voltage tester: Once you have disassembled the socket, use the voltage tester to ensure that the power is indeed cut off. The tester can also help you verify whether the problem lies in the socket wiring or the electrical supply to the chandelier. If the voltage tester detects no current in the socket, the issue is likely with the socket itself, not the wiring.
How to Disassemble the Chandelier Socket
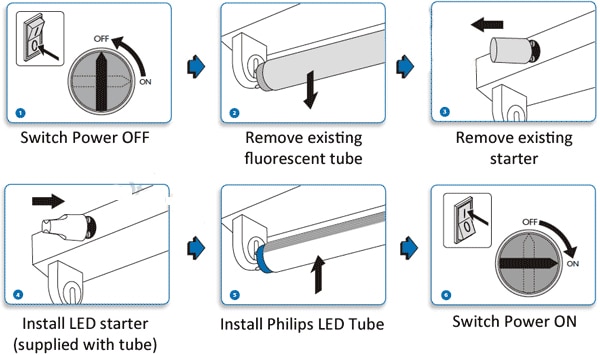
Once you’ve identified the problem, the next step is to disassemble the chandelier socket. This requires careful handling to avoid damaging any parts or connections.
Removing the chandelier from the ceiling: Start by carefully detaching the chandelier from its mounting bracket. This may require unscrewing the fixture from the ceiling and disconnecting the wires that connect it to the electrical supply. Have someone assist you in holding the chandelier while you work to avoid dropping it. Place the chandelier on a padded, stable surface to prevent damage while you continue working.
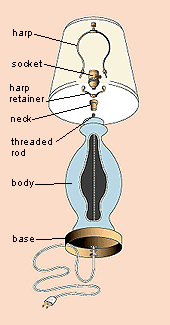
Opening the socket housing: The socket housing protects the inner components of the chandelier’s electrical system. Using a screwdriver, remove the screws or clamps holding the socket housing together. Once opened, take note of how the wires are connected. It’s a good idea to take a photo or draw a diagram for reference when reassembling.
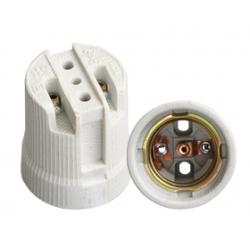
Inspecting socket components: Now that the socket is open, inspect the internal components for any visible signs of wear or damage. Look at the wires, contacts, and insulation. If there is any corrosion, burnt sections, or broken parts, these will need to be replaced before reassembling the socket.
Replacing or Repairing Faulty Socket Components
If you’ve identified faulty components, replacing or repairing them is your next task. Here’s how you can address specific problems within the chandelier socket.
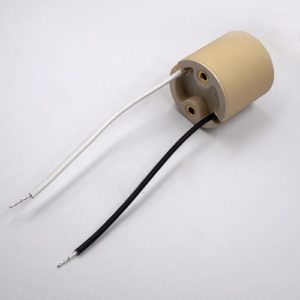
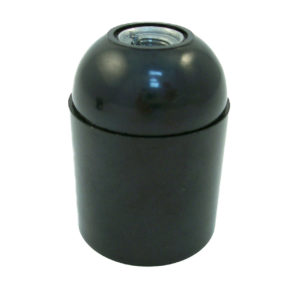
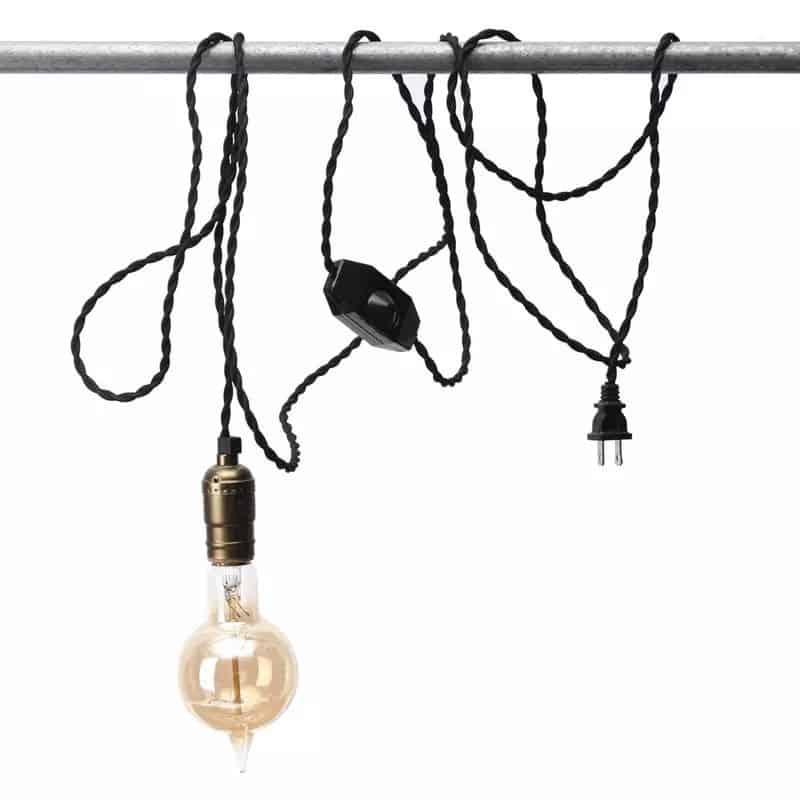
Replace damaged parts: The most common parts that may need replacing include the socket’s internal metal contacts or the insulation around the wires. Damaged contacts will prevent the flow of electricity, while poor insulation increases the risk of short circuits. Most local hardware stores will stock chandelier socket replacement parts, or you can purchase an entirely new socket if needed.
Resecure wiring: In cases where the wires have come loose but are still in good condition, you will need to reconnect them securely. Make sure that all connections are tight, and use electrical tape or caps to cover the exposed wire ends. This prevents future loosening and ensures that the electricity flows smoothly through the socket.
Reassembling the socket: After replacing or repairing the necessary components, carefully reassemble the socket housing. Double-check that all parts are properly aligned, and ensure that the screws are tightened securely to hold the housing in place. A poorly assembled socket could lead to future malfunctions or safety risks.
Testing the Fixed Chandelier Socket
Once the chandelier socket is repaired and reassembled, it’s time to test it to ensure everything is functioning as expected.
Reconnect the chandelier: Carefully lift the chandelier back to its position and reconnect the electrical wiring to the ceiling. Make sure all wire connections are tight and insulated to avoid any loose connections that could result in malfunction. Once secured, attach the chandelier to the ceiling bracket.
Turn the power back on: After the chandelier is securely mounted and all wires are in place, restore the power at the circuit breaker. Use the light switch to test whether the chandelier works. If the chandelier lights up without any flickering or issues, the repair was successful.
Troubleshooting: If the chandelier still doesn’t work after these steps, recheck the connections to ensure everything is properly secured. There could also be other issues, such as problems with the circuit itself or deeper electrical issues in the wiring. In such cases, it may be best to consult a professional electrician.
Final Words:
Fixing a chandelier lamp socket is a simple process if you follow the safety protocols and use the correct tools. By identifying the issue, replacing the bad parts, and putting it all back together, you’ll get your chandelier working again.

