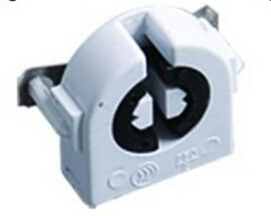
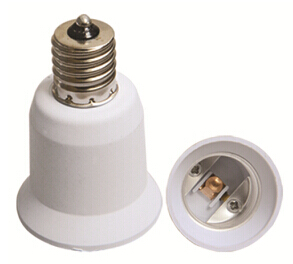
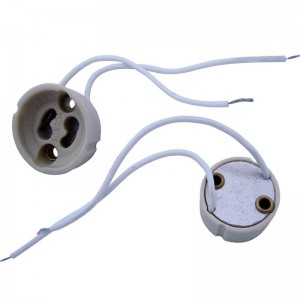
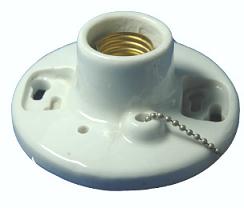
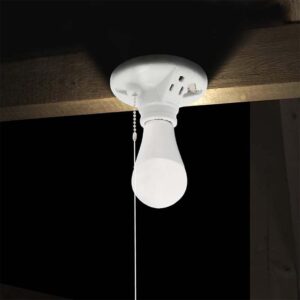
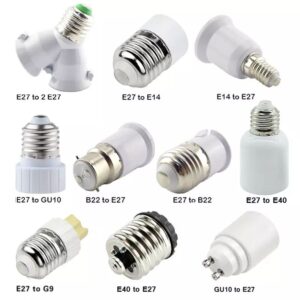
A bulb that doesn’t sit right in a bayonet lamp holder can flicker, cause unsafe conditions, or work loose over time, creating a source of frustration or even an accident.
To fix a bulb that doesn’t sit right in a bayonet lamp holder, look for obstructions or corrosion, clean and adjust the prongs, and make sure the bulb lines up correctly with the socket.
Here’s how you can fix that and prevent it from happening again.
Check for Obstructions in the Holder
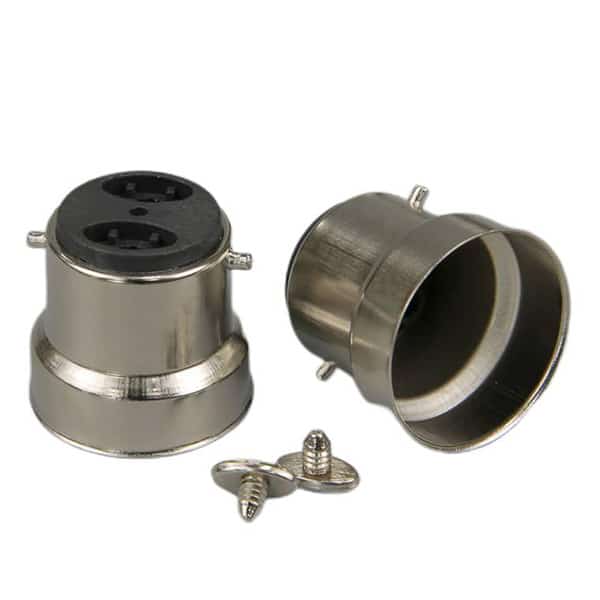
One of the most common reasons for a bulb not sitting correctly in a bayonet holder is the presence of dirt, dust, or debris inside the socket. This can block the bulb’s pins from securely locking into the grooves of the holder. Use a clean cloth or a soft brush to wipe out the holder, ensuring there is no debris. If you notice any corrosion, you can clean it using a mild abrasive like fine sandpaper.
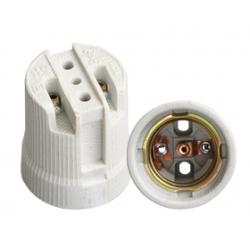
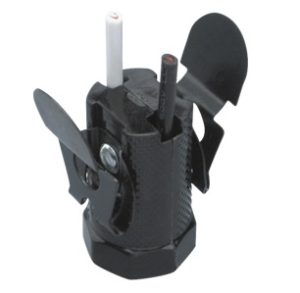
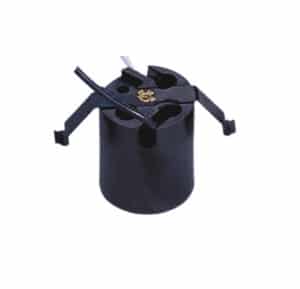
After cleaning, check the prongs of the holder to ensure they are not bent or damaged. Bent prongs can prevent the bulb from locking securely in place, making it sit loosely. Gently adjust the prongs back into alignment using a small tool to fix the issue.
Ensure Proper Alignment of the Bulb Pins
When inserting a bulb into a bayonet lamp holder, it’s crucial to align the pins on the bulb with the grooves in the holder. Misalignment is one of the most frequent causes of bulbs sitting incorrectly. Ensure you press the bulb down slightly, twist it until the pins slide into the grooves, and lock into place.
In some cases, wear and tear on the bulb pins or the holder’s grooves may prevent proper alignment. If the holder appears worn, you may need to consider replacing it to avoid future issues.
Clean and Adjust the Prongs for Better Contact
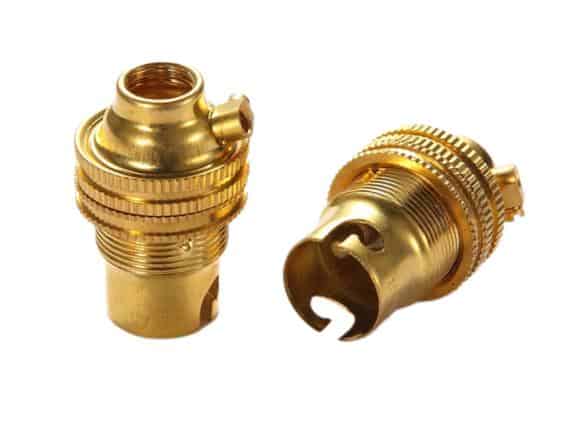
The prongs inside the bayonet holder are responsible for maintaining contact with the bulb’s base. Over time, these prongs may lose tension, bend out of shape, or become corroded, resulting in a loose bulb connection. To fix this, clean the prongs using fine sandpaper to remove any corrosion or grime buildup that could interfere with the contact.
Once clean, gently adjust the prongs inward to create better tension. This ensures that the bulb stays securely in place, preventing flickering or loosening over time.
Inspect for Wear and Tear
Frequent bulb changes or rough handling can wear down the internal components of the bayonet holder. Over time, the metal parts inside the holder may become fatigued, reducing their ability to hold the bulb securely. If you notice that parts of the holder are visibly damaged, such as broken springs or plastic components, it may be time to replace the entire holder.
Inspect the holder for cracks, loose parts, or signs of wear. Continuing to use a damaged holder can cause the bulb to sit improperly and may even lead to safety hazards, such as electric shock or bulb breakage.
Secure the Bulb by Tightening or Adjusting the Holder
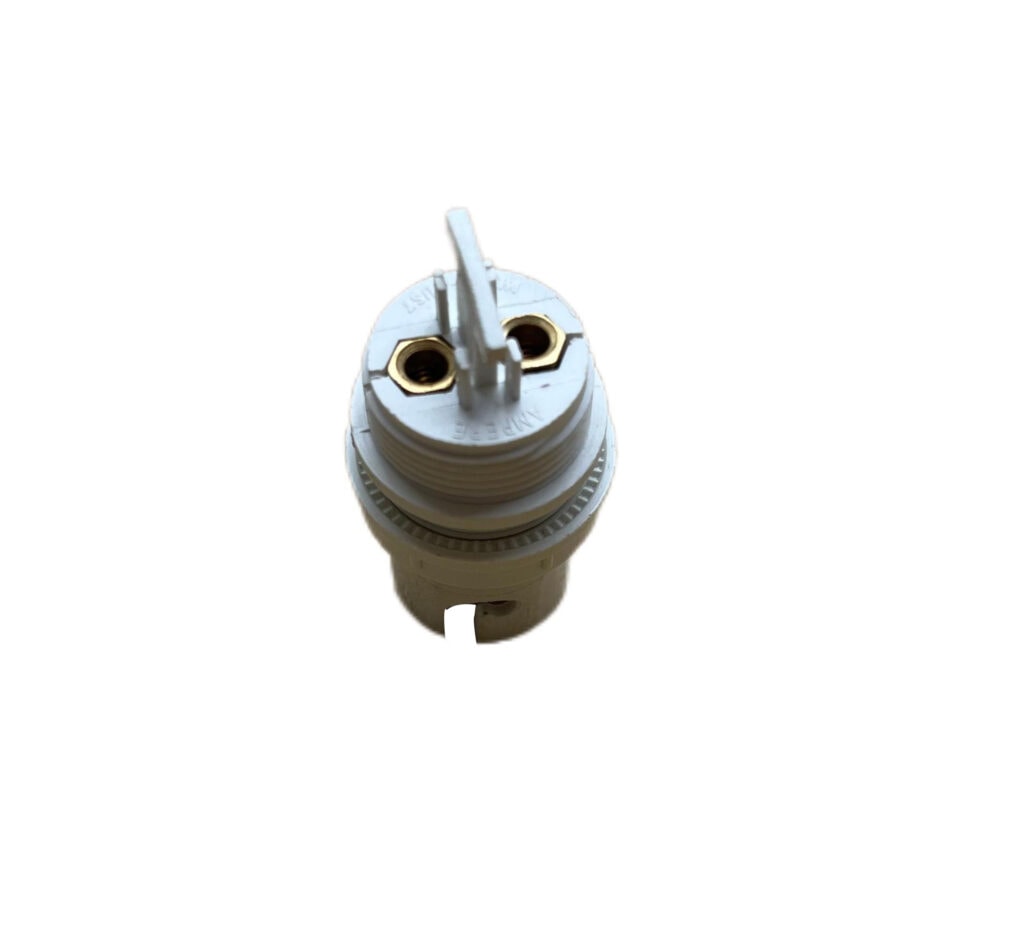
A loose-fitting socket or improperly installed bayonet holder can cause the bulb to sit unevenly or fall out. To fix this, ensure that the holder is securely fastened to the fixture. Check the screws holding the socket in place and tighten them if necessary.
If the bulb still won’t sit properly after adjusting the screws, repositioning the holder may help. Realign the holder to ensure that it sits correctly in the fixture, giving the bulb a snug fit when inserted.
Address Electrical Connection Problems
If the bulb still does not sit correctly or continues to flicker, the issue may lie with the electrical wiring connected to the holder. Loose or faulty wiring can cause poor electrical contact between the bulb and the holder, leading to intermittent flickering or a loose fit.
Check the wiring behind the socket to ensure everything is securely connected. If you’re unsure of how to check electrical wiring, it’s best to consult a professional to avoid the risk of electric shock.
Resolve Bulb Insertion Issues
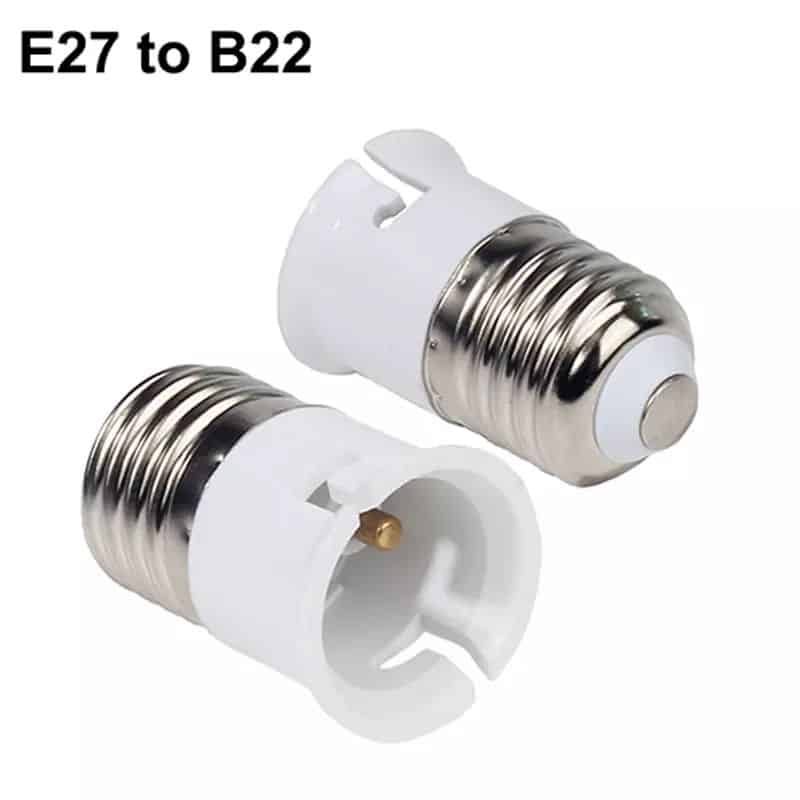
A common issue with bayonet fittings is improper insertion. Sometimes, people don’t apply enough force when pushing the bulb into the holder. To ensure the bulb fits properly, press down slightly before twisting the bulb to engage the pins with the grooves.
If the bulb feels stuck while inserting, avoid forcing it, as this could damage the LED socket. Instead, gently twist the bulb back and forth to allow it to settle into place. If the problem persists, check for other mechanical issues with the light socket.
Fix a Stuck Bayonet Bulb
If a bulb becomes stuck in the bayonet holder, it may be due to corrosion or the bulb overheating. In such cases, gently twist the bulb while applying light pressure to free it from the holder. Applying a small amount of lubricant like WD-40 to the lamp base of the bulb can also help loosen it.
Avoid using excessive force or pliers, as this could damage the bulb or socket. If the bulb is still stuck, try using rubber gloves to increase your grip while twisting it out.
Consider Replacing the Holder
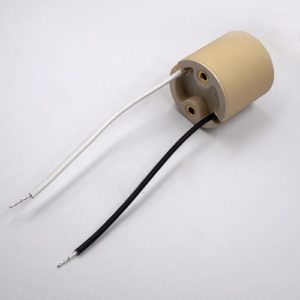
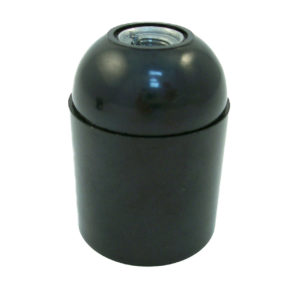
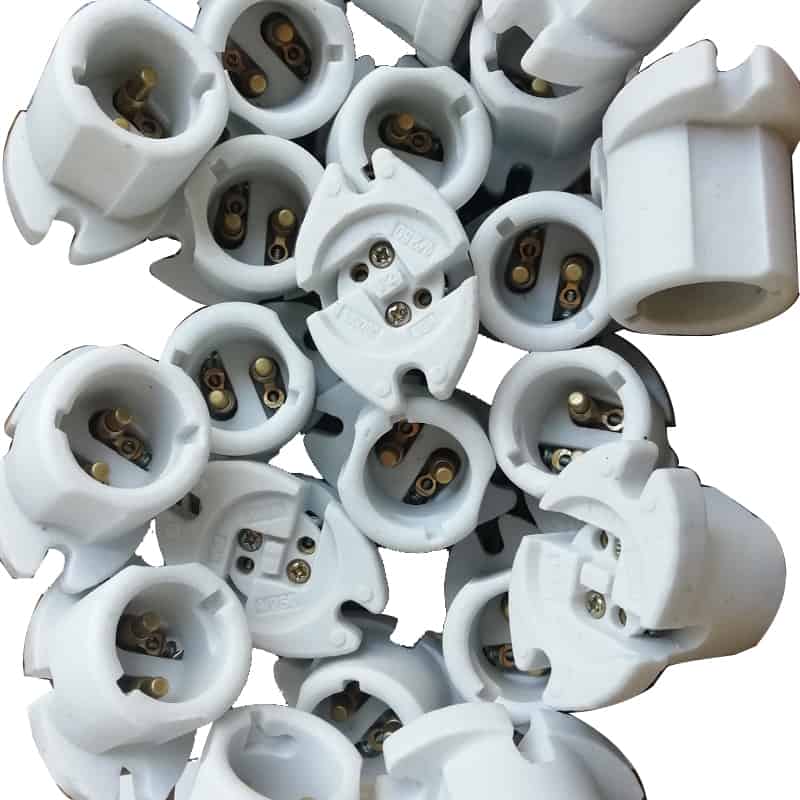
If the bulb continues to sit improperly after multiple attempts at fixing it, replacing the holder may be the best solution. Over time, the bayonet holder can wear out due to frequent use, resulting in loose-fitting components that no longer hold the bulb securely.
Replacing the holder is a relatively simple task that can resolve persistent seating issues and improve the overall functionality of the light fixture.
Choose the Right Bulb Type
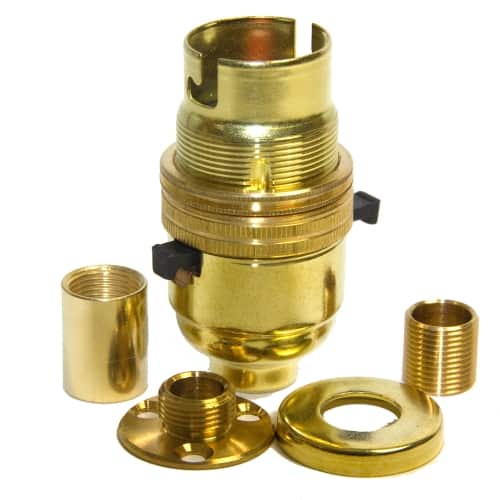
Using the wrong type of bulb can also lead to improper seating in a bayonet holder. Always ensure you are using the correct type of bayonet bulb for your specific holder. For example, B22 bulbs are designed for use in B22 bayonet sockets. Using the wrong bulb can cause it to sit improperly, leading to flickering or loose contact.
Check the specifications of both the holder and the bulb before installation to ensure compatibility and avoid fitting issues.
Final Words:
Fixing a bayonet lamp holder issue is often a matter of cleaning, adjusting, or replacing parts. If you can’t fix it, you need to replace it for safety and functionality.

