Connecting a 3-colour wire to a bulb holder can be confusing. If you do it wrong, you can create an electrical hazard or a light that doesn’t work.
To connect a 3-colour wire to a bulb holder, match the brown (live), blue (neutral), and green/yellow (earth) wires to the corresponding terminals so you can connect it safely.
Follow the steps below for a safe and proper connection.
Understand the Three-Wire Color Code
The first step in wiring a bulb holder with a 3-colour wire is to identify the purpose of each wire. The three wires typically found in such installations are:
- Brown wire (Live): Carries current to the bulb holder.
- Blue wire (Neutral): Completes the electrical circuit.
- Green/yellow wire (Earth): Provides grounding for safety.
Understanding these colors and their functions is crucial to prevent wiring mistakes that could lead to short circuits or electric shocks.
Turn Off the Power Supply
Always turn off the power supply before working on any electrical connections. Go to the breaker box and switch off the power to the relevant circuit. Double-check that the power is off using a voltage tester, ensuring no current is running through the wires.
This step is critical for your safety and to avoid any accidental shocks or injuries while handling the wires.

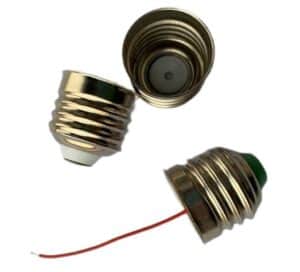
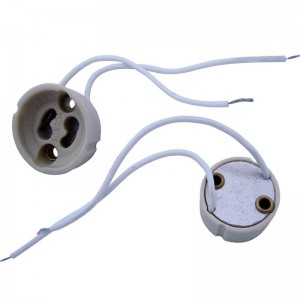
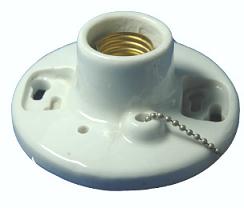
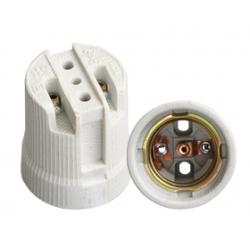
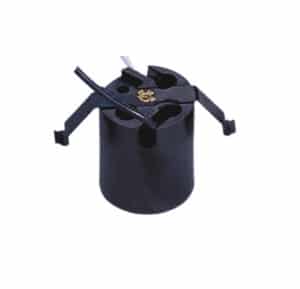
Prepare the Bulb Holder for Wiring
After confirming that the power is off, disassemble the bulb holder to access the terminals inside. Most standard holders will have terminals for live, neutral, and earth wires. Ensure the terminals are clean and free from any dirt or corrosion, as this can affect the quality of the connection.
If the bulb holder is new, it should already be in good condition. However, older holders may need cleaning or adjustments to the terminals before proceeding.
Strip the Insulation from the Wires
Using a wire stripper, carefully strip about 1/2 inch (1.25 cm) of insulation from each of the three wires (brown, blue, and green/yellow). Twist the exposed copper strands to ensure they stay neat and tightly wound. This step ensures that each wire will have a solid connection to its respective terminal, reducing the risk of loose wires or poor conductivity.
Be careful not to strip too much insulation, as exposed wires increase the risk of short circuits.
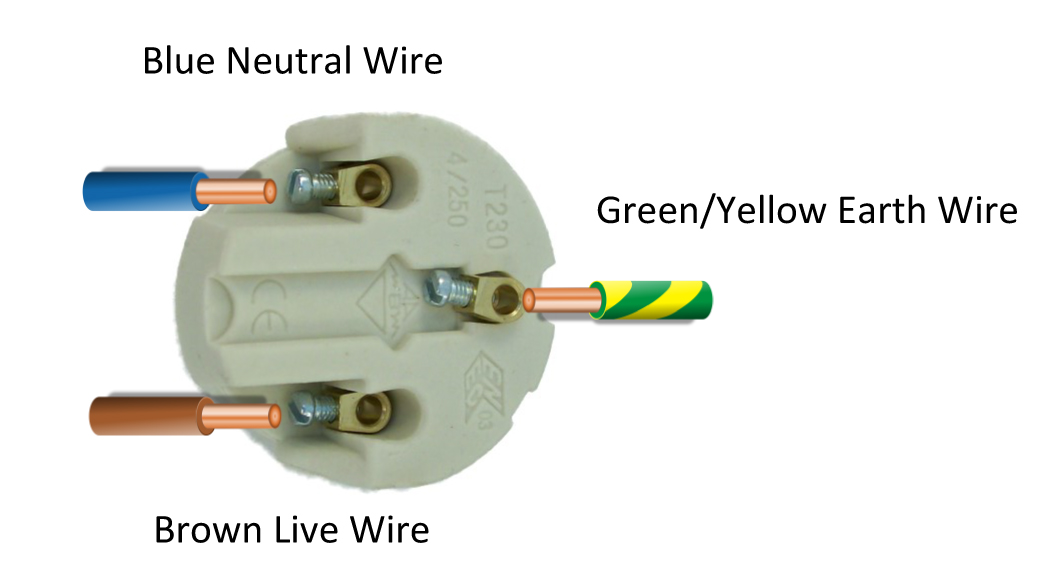
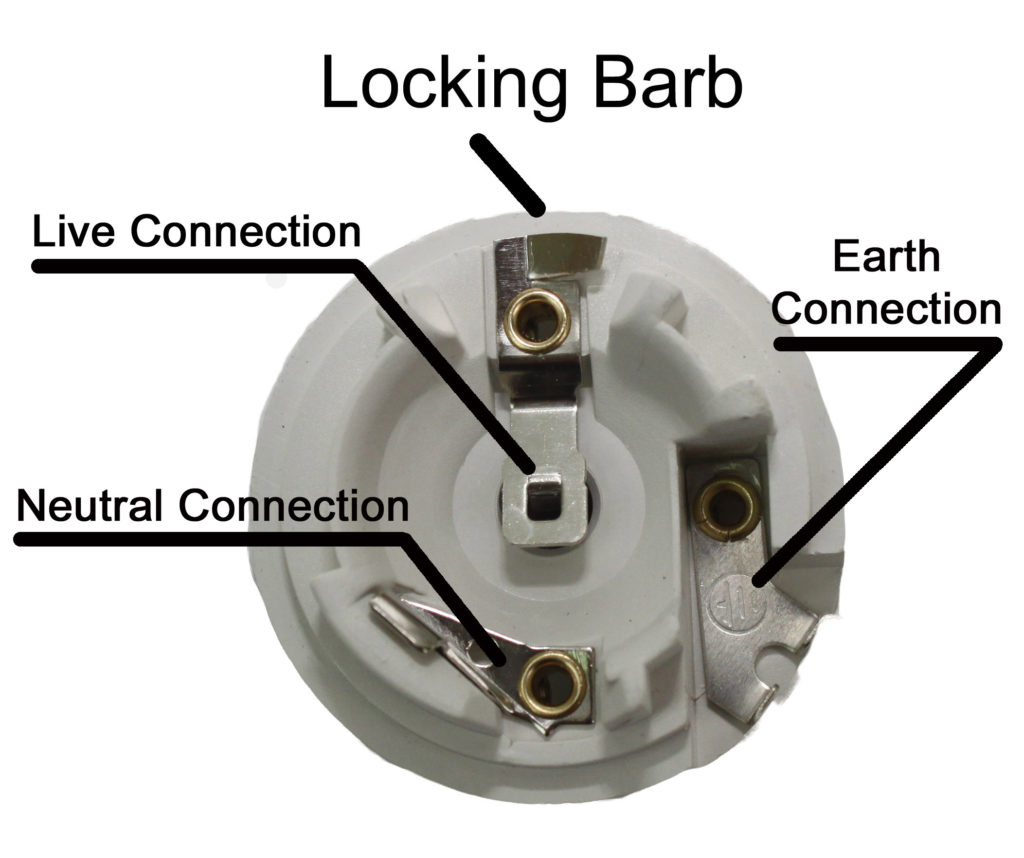
Connect the Brown (Live) Wire to the Live Terminal
The brown wire, also known as the live wire, should be connected to the terminal marked “L” or “Live” on the bulb holder. Loosen the terminal screw, insert the stripped end of the brown wire, and then tighten the screw to secure it firmly.
The live wire is responsible for carrying the electrical current to the bulb, so ensuring a tight, secure connection is essential for the light fixture to function properly.
Connect the Blue (Neutral) Wire to the Neutral Terminal
Next, connect the blue wire, which is the neutral wire, to the terminal labeled “N” or “Neutral.” Loosen the screw, insert the wire, and tighten the screw to hold it in place. The neutral wire completes the electrical circuit, allowing current to flow from the live wire, through the bulb, and back to the power source.
Make sure this connection is secure to avoid any issues with the light flickering or not turning on.

Connect the Green/Yellow (Earth) Wire to the Earth Terminal
Finally, connect the green/yellow wire, which is the earth wire, to the terminal marked “E” or “Earth.” This wire provides grounding and protects against electrical shock in the event of a fault in the circuit.
Not all bulb holders have an earth terminal, especially in fixtures that don’t require grounding. However, if your fixture does have an earth terminal, it’s important to make sure the connection is properly made.
Secure the Wires and Reassemble the Bulb Holder
Once all three wires are connected to their respective terminals, ensure that no wires are loose or frayed. Gently tug each wire to check that they are firmly in place. After confirming everything is secure, reassemble the bulb holder by carefully placing the components back together and tightening any screws to hold the parts securely.
Make sure the wires inside the holder are not pinched or twisted during reassembly, as this could cause future problems.

Test the Connection
With the bulb holder reassembled, turn the power back on at the breaker box. Insert the light bulb into the holder and switch on the power to test the connection. If the light turns on without flickering, the wiring has been successfully completed. If the light does not work, or if there is flickering, turn off the power and check the connections again for any mistakes.
Ensure Safety with a Final Check
After verifying that the light functions properly, perform a final safety check. Ensure all wires are securely fastened, and that no bare wires are exposed. Additionally, ensure that the bulb holder is tightly screwed together and that the installation is safe for regular use.
Final Words:
Connecting a 3-colour wire to a lamp holder involves the live, neutral and earth wires. Follow these steps to connect them safely and correctly.