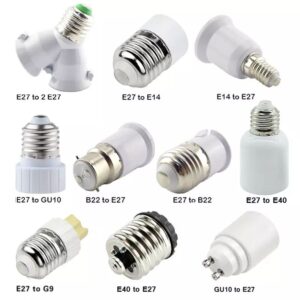
Changing or installing GU10 lamp holder leads can be a little tricky because of the wires and connectors.
To install or replace GU10 lamp holder leads, you need to disconnect the power, strip the ends of the wires, stick them in the ceramic part, and tighten screws or push them into the connectors.
Here are the key steps and tips for working with GU10 lamp holder leads.
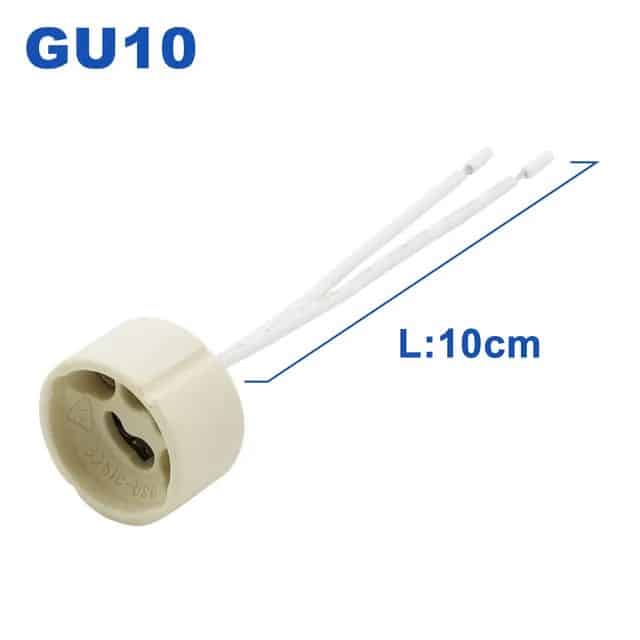
Disconnect Power and Prepare for Installation
Before you begin any work on a GU10 lamp holder, ensure that the power is disconnected. If you’re working on a hardwired fixture, switch off the breaker at the electrical panel. For plug-in lamps or fixtures, simply unplug them from the socket. Use a voltage tester to confirm that no current is flowing through the wires before handling the lamp holder.
Once you have verified that the power is off, locate the GU10 lamp holder in the fixture. GU10 lamp holders are most commonly found in downlights and spotlights, so make sure you have clear access to the wiring and socket.
Strip Wire Insulation
The next step involves preparing the wires by stripping the insulation. Using a wire stripper, carefully remove about ½ inch (1.27 cm) of insulation from the ends of the wires. Take care not to damage or fray the copper wire beneath the insulation. A clean cut is essential for a secure connection.
Stripping the wire correctly ensures the best possible contact when connecting the leads to the GU10 holder. This step is crucial for proper electrical flow and safe operation of the fixture.
Insert the Wires into the Holder
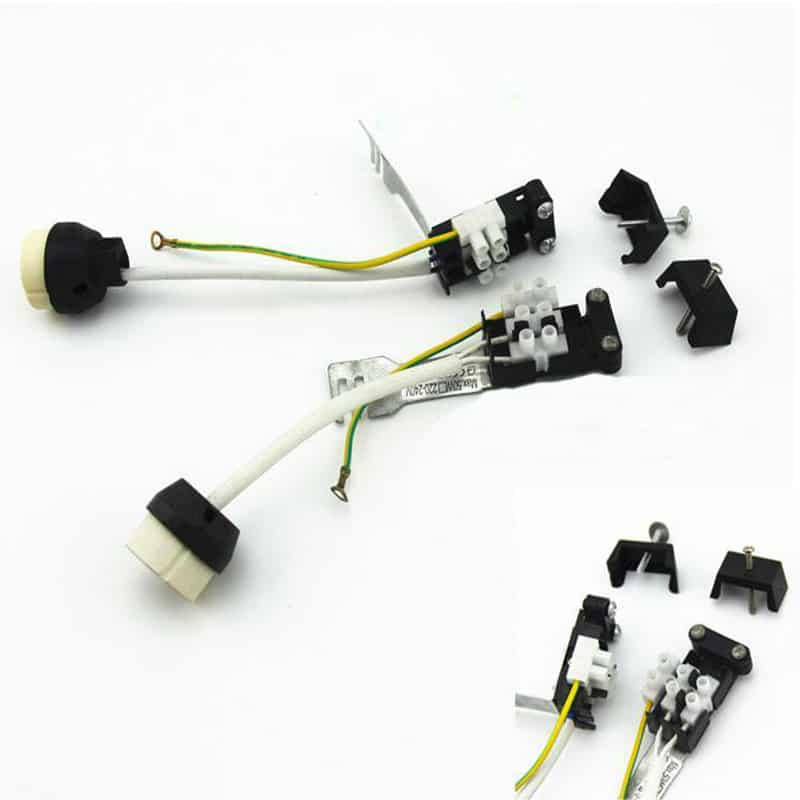
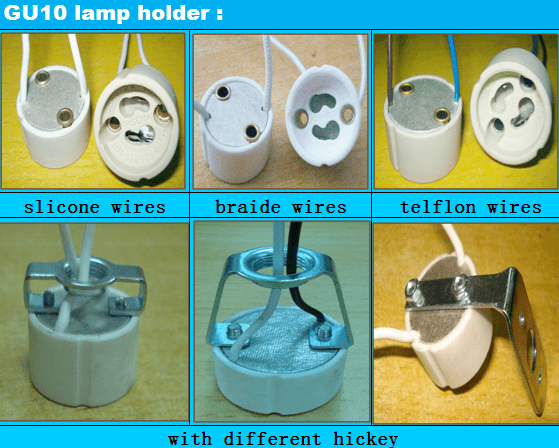
Once the wires are stripped, they need to be inserted into the terminals of the GU10 lamp holder. GU10 holders typically come with either push-fit connectors or screw terminals. If you’re dealing with push-fit connectors, gently push the exposed wire into the appropriate slot. For screw terminals, first loosen the screws, insert the wire into the terminal, and then tighten the screws securely.
Make sure the wires are fully seated in the terminals. A loose or improperly connected wire can cause electrical failures, overheating, or a malfunctioning light.
Secure the Wires
If your GU10 lamp holder uses screw terminals, use a small screwdriver to tighten the screws down onto the wires. For push-fit connectors, ensure that the wire is fully inserted and seated correctly. Double-check that no copper wire is exposed outside the terminal, as this could lead to a short circuit or electrical hazard.
Securing the wires properly is essential for long-term safety and performance. This prevents the wires from coming loose during operation and ensures the fixture functions as expected.
Use Heat-Resistant Cables
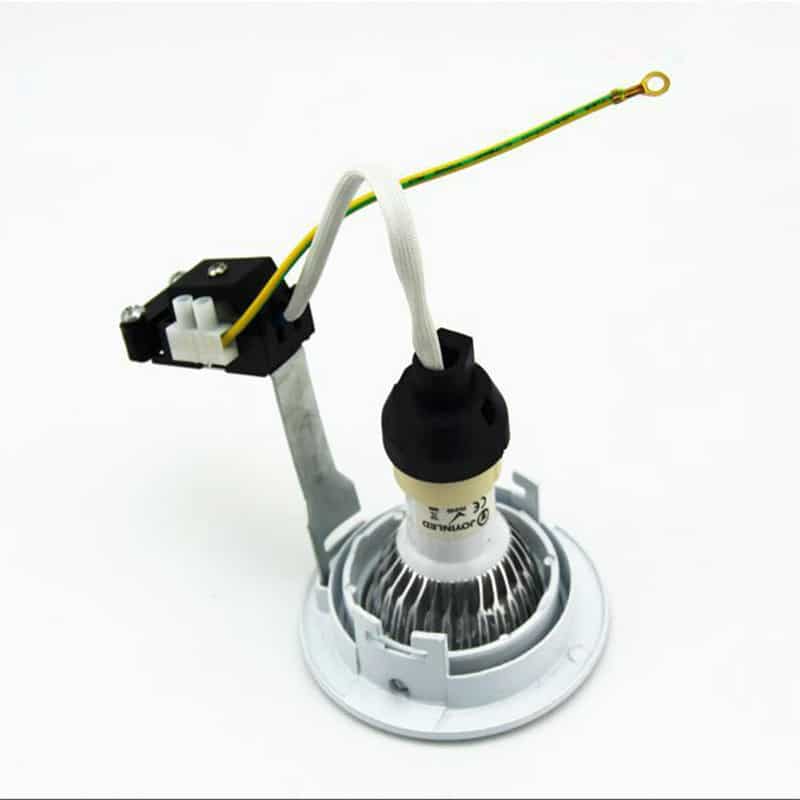
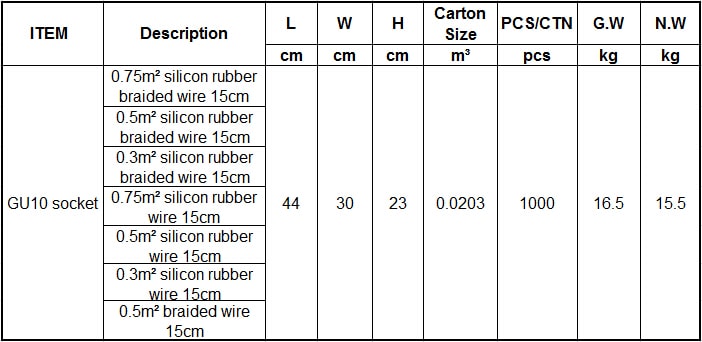
Because GU10 lamp holders are often used in high-heat environments, particularly in halogen or LED spotlights, it’s important to use heat-resistant silicone cables. These cables are designed to withstand the heat produced by the bulbs, ensuring the insulation does not melt or degrade over time.
When replacing GU10 lamp holder leads, make sure to use cables that match the original heat-resistant specifications to ensure safety and longevity of the installation.
Replace Damaged Holders
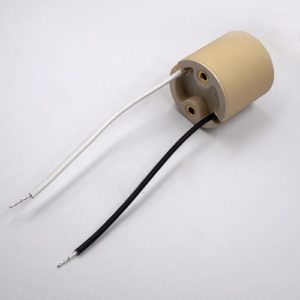
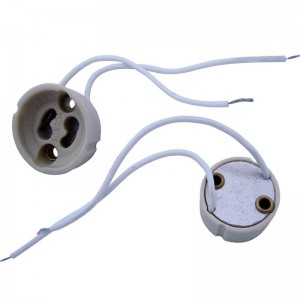
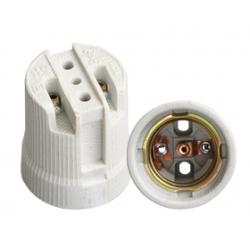
Over time, GU10 lamp holders may suffer from wear and tear due to heat or faulty connections. If you notice any signs of damage, such as cracks in the ceramic holder or frayed wires, it’s essential to replace the holder immediately. Many GU10 replacement holders come with pre-attached leads, making installation easier.
Regular inspections of your GU10 lamp holders will help prevent electrical hazards and ensure your lighting system remains in good condition.
Check Certification Standards
When purchasing a replacement GU10 lamp holder, always ensure it meets proper safety standards. Look for certifications such as CE, UL, or RoHS compliance. These certifications guarantee that the lamp holder has been tested for safety and is built to last under normal conditions.
Using certified components not only ensures the safety of the installation but also enhances the lifespan and functionality of your lighting system.
Double-Check Wiring and Test
Once you’ve connected the leads to the lamp holder, double-check the wiring to ensure all connections are secure. Inspect the wires to ensure they are not exposed or touching other metal parts, as this could lead to short circuits. Restore power to the fixture and switch on the light to test the installation.
If the fixture doesn’t work as expected, turn the power off again and recheck the connections to ensure everything is properly installed.
Consider LED Compatibility
When installing a new GU10 holder, think about the type of bulbs you’ll be using. Modern GU10 lamp holders are compatible with both halogen and LED bulbs. If you are transitioning from halogen to LED, make sure the lamp holder and leads are rated to handle the lower wattage and reduced heat output of LEDs.
LED bulbs offer energy efficiency and generate less heat, which can prolong the life of both the bulbs and the lamp holder, making it a smart choice for modern installations.
Choose the Right GU10 Holder for Your Application
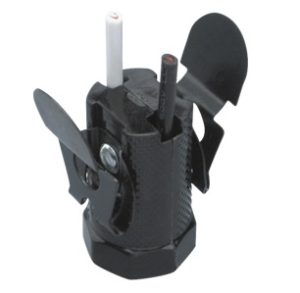
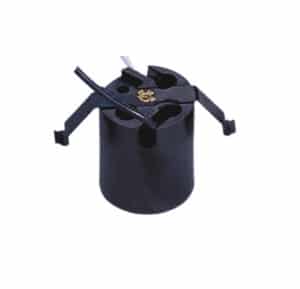
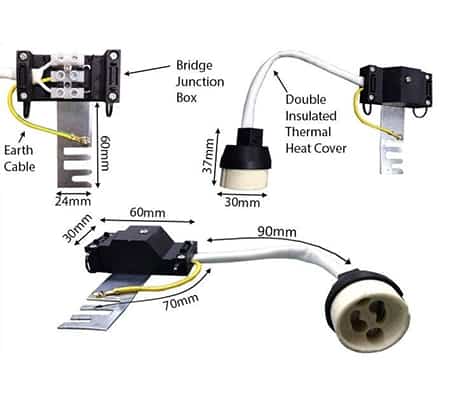
GU10 holders come in a variety of designs, including those with extended leads or specific mounting brackets. The type of installation—whether it’s a recessed downlight, spotlight, or ceiling fixture—will dictate the kind of GU10 holder you need. For recessed lighting, for example, holders with longer leads may be required to reach the connection point.
Make sure to choose a holder that fits your specific application for a smooth and secure installation.
Putting in GU10 lamp holder leads is easy and important for safety and operation of the light. Always use UL-listed parts.

