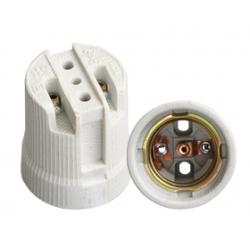
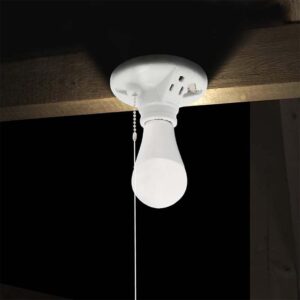
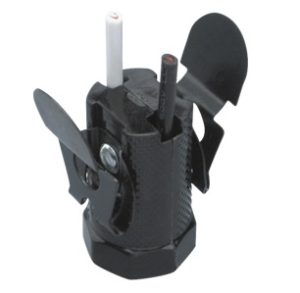
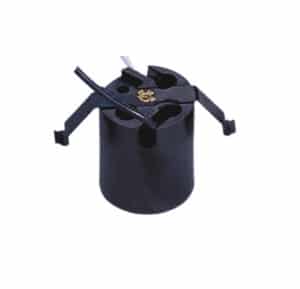
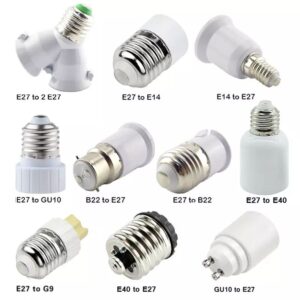
Replacing a lamp holder can be a bit of a pain, especially with all of the wires and in older fixtures. But if you follow these steps, you’ll be able to replace it safely and easily.
To replace a lamp holder, you need to disconnect the power, disassemble the fixture, take the old one out, put the wires in the new one, and put it back together.
Now, let’s go through each step in detail so you can replace a lamp holder.
Turn Off the Power
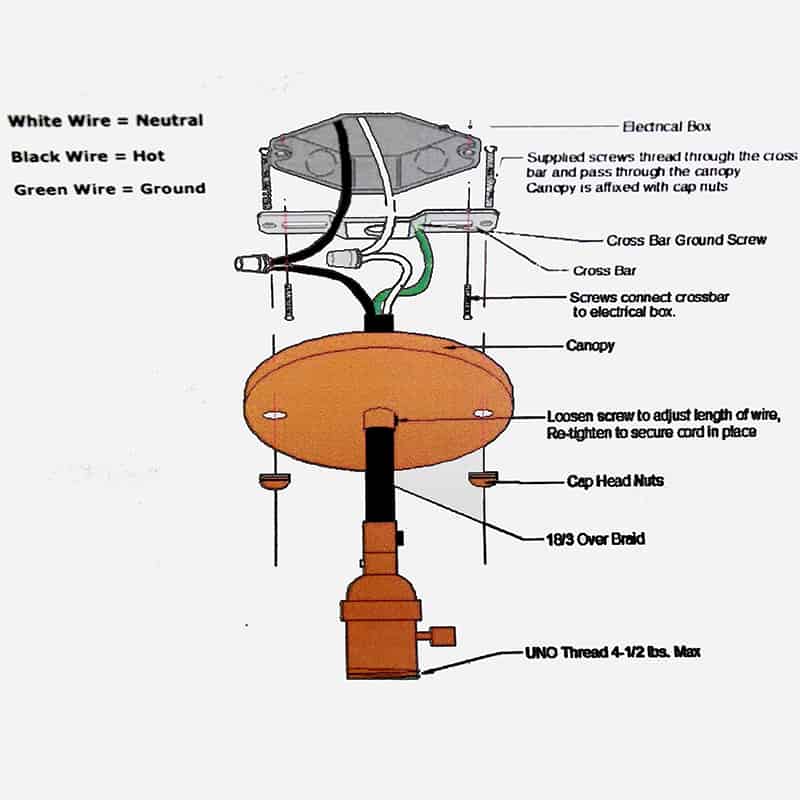
Before starting any electrical work, ensure that the power is disconnected. For hardwired fixtures, turn off the circuit breaker that controls the lamp. If you’re working with a plug-in lamp, unplug it from the socket. Use a voltage tester to confirm that no electricity is flowing to the fixture.
This step is crucial for your safety. Never attempt to replace a lamp holder without ensuring the power is completely off.
Disassemble the Fixture
Begin by removing the lamp shade, bulb, and any decorative covers that may obstruct your access to the lamp holder. Depending on the type of fixture, this may involve unscrewing parts of the fixture to expose the holder.
Gaining access to the wiring and holder is essential to remove the old holder safely and install the new one.
Identify the Lamp Holder Type
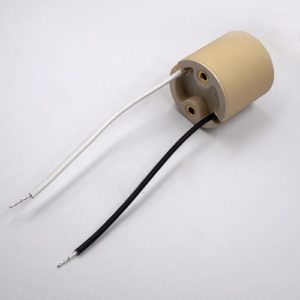
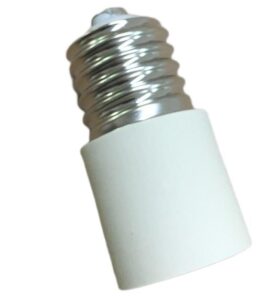
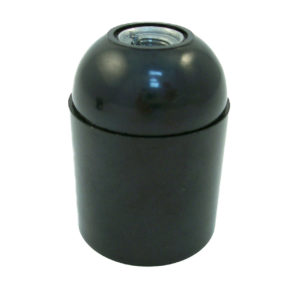
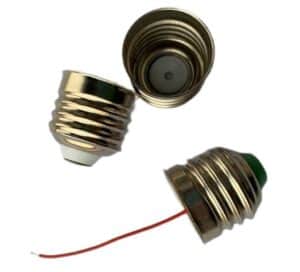
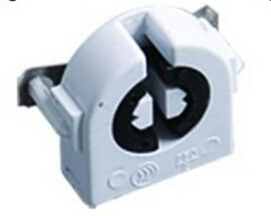
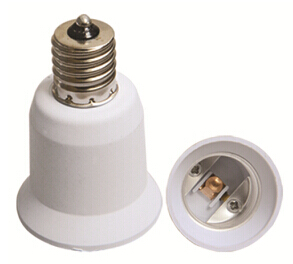
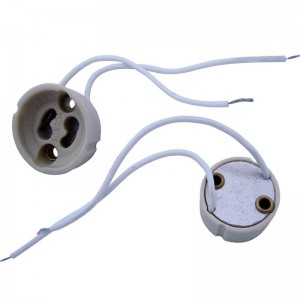
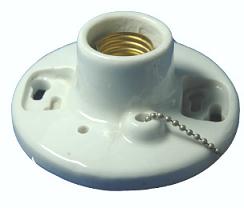
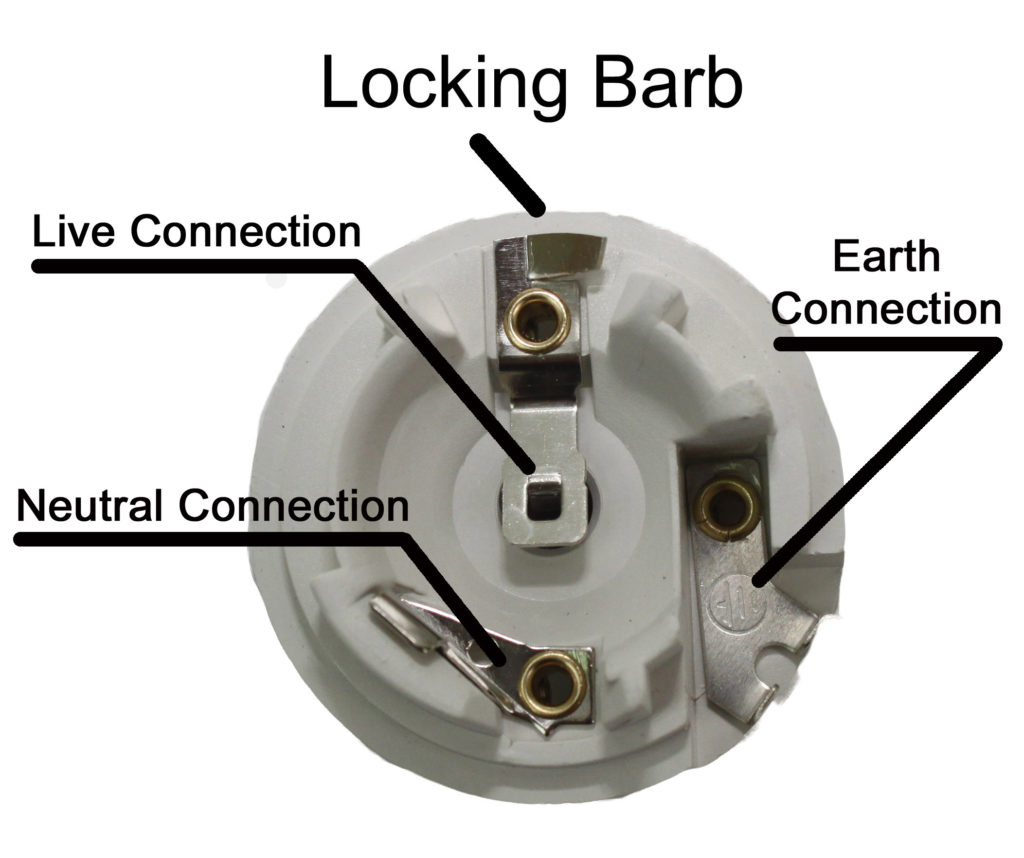
There are various types of lamp holders, such as screw, bayonet, and push-fit holders. Understanding the type of holder you are working with will help you approach the removal and replacement process correctly. For example, screw-type holders require unscrewing, while push-fit holders need a flat tool to release the wires.
Knowing your lamp holder type will streamline the replacement process and help you choose a compatible new holder.
Remove the Old Lamp Holder
Once the fixture is disassembled, disconnect the wires from the old lamp holder. Most lamp holders have terminals or push-fit connections that secure the wires. For terminal screws, use a screwdriver to loosen the screws and remove the wires. For push-fit connections, insert a small flat object into the release mechanism to disconnect the wires.
Carefully removing the old holder without damaging the wires ensures a smooth installation of the new holder.
Strip and Prepare the Wires
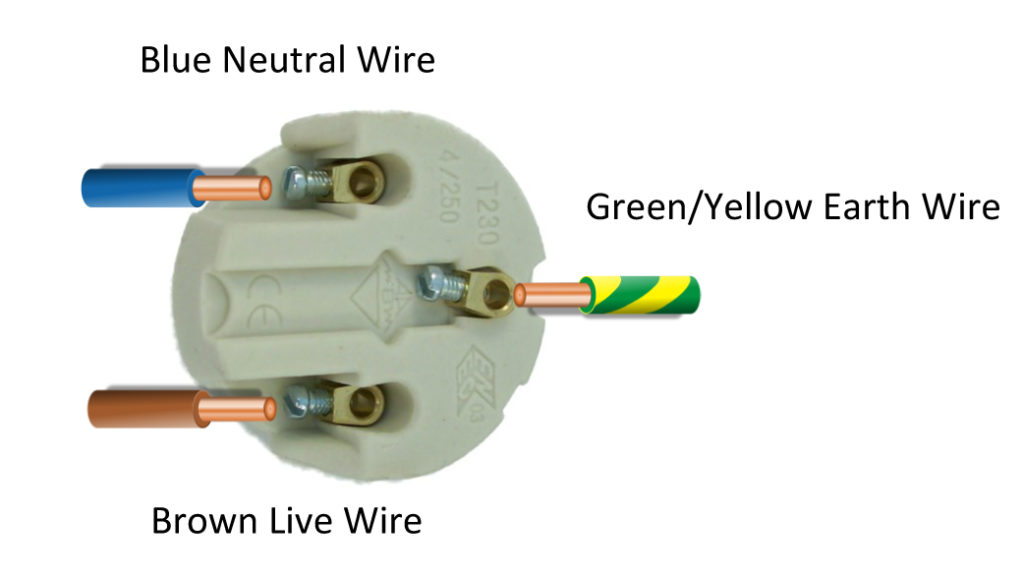
If the wire ends are frayed or damaged, strip about ½ inch (1.27 cm) of insulation using wire strippers. Ensure the exposed copper is clean and intact. Twisting the strands of the wire will help ensure a better connection when you install the new holder.
Properly preparing the wires is key to establishing a secure electrical connection for the new lamp holder.
Attach the Wires to the New Lamp Holder
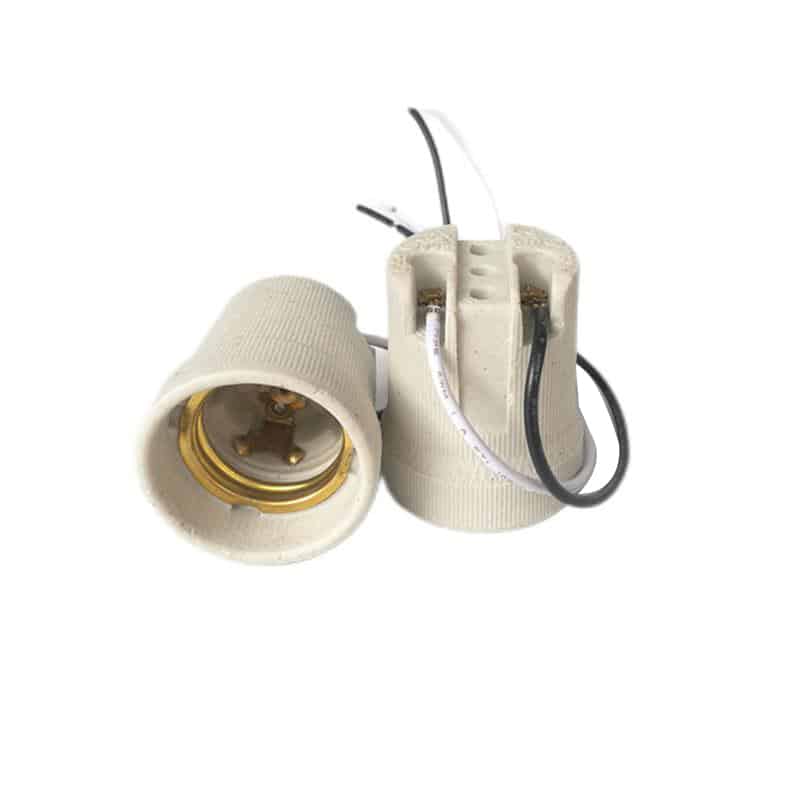
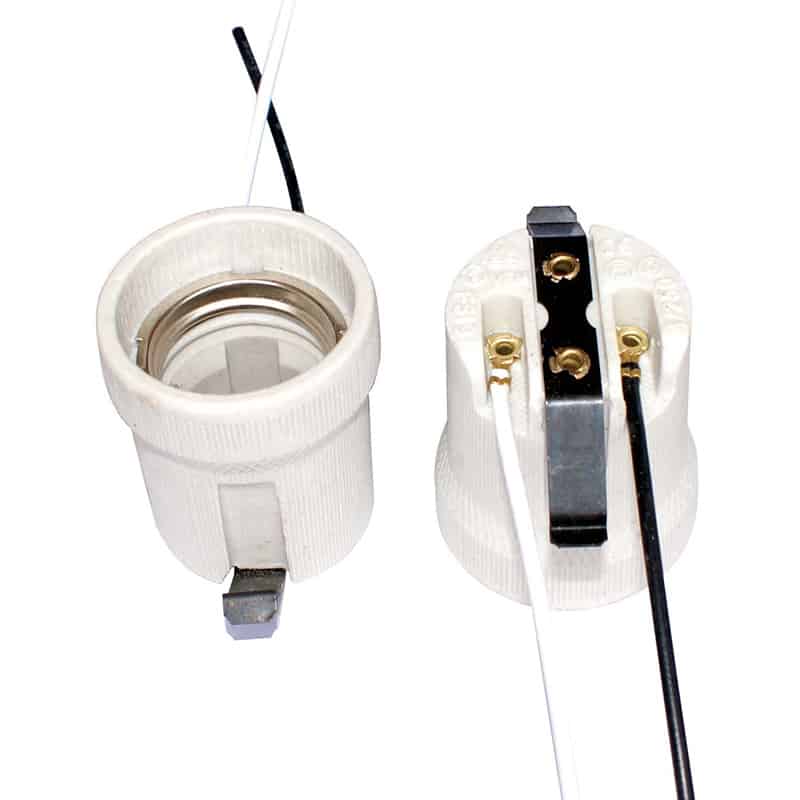
Insert the prepared wire ends into the terminals of the new lamp holder. For screw-type holders, insert the wire under the screw and tighten it securely. For push-fit holders, insert the wire into the corresponding slots until it locks into place. Ensure the wires are connected to the correct terminals—live to live and neutral to neutral.
Double-check the connections to avoid loose wires, which could result in electrical hazards or a malfunctioning fixture.
Secure the New Lamp Holder
After attaching the wires, secure the new lamp holder in place by following the instructions for your fixture type. This may involve snapping the holder into place or screwing it into position. Make sure it’s firmly attached to the fixture so that it won’t move when the light bulb is installed.
A stable and secure holder ensures the longevity and safety of the fixture.
Reassemble the Fixture
Once the new holder is in place, begin reassembling the fixture. Replace any covers, decorative parts, or lamp shades you removed during the disassembly process. Screw the light bulb into the new holder and make sure everything is tightened properly.
Reassembling the fixture correctly ensures that the new holder fits well and that the light operates as expected.
Restore Power and Test
Once the fixture is fully assembled, restore power to the circuit or plug the lamp back in. Turn the switch on to test whether the light works properly. If the light doesn’t turn on, double-check the wiring connections to make sure everything is secure and correctly aligned.
Testing the light ensures the replacement was successful and that the fixture is safe to use.
Consider Upgrading to LED or Energy-Efficient Bulbs
When replacing the lamp holder, consider whether your fixture is compatible with energy-efficient or LED bulbs. Many modern lamp holders are designed to work with a variety of bulb types, including LEDs. Upgrading can save energy and extend the lifespan of your bulbs.
An energy-efficient lighting system offers cost savings and reduces the frequency of bulb replacements.
Replacing a lamp holder is easy when you do it like this every time, and you’ll be safe and do it right.

