Wiring a light socket to a switch wrong can cause you all kinds of electrical problems and safety issues. Let me show you how to do it right.
To wire a light socket to a switch, connect the hot wire from the power source to the switch. Then, run a wire from the switch to the hot terminal of the light socket. Connect the neutral wire to the silver terminal, and ground the fixture.
Let’s break down the process of wiring a light socket to a switch.

Tools and Materials Needed for Wiring
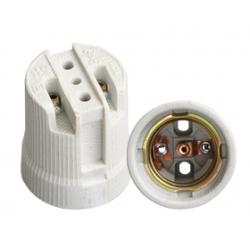
Before you begin wiring, it’s important to gather the necessary tools and materials. You will need a wire stripper, electrical tape, a voltage tester, wire nuts, Romex wire, and a screwdriver. The most important materials are the light switch, socket, and electrical wires that will carry the current between the components.
Having these tools at hand helps avoid unnecessary interruptions and ensures a smooth installation. In addition to tools, make sure you have the correct gauge of wire for the current load and the correct type of switch and socket for your project.
Understanding the Basic Wiring Structure
Wiring a light socket to a switch requires creating a loop between the power source, the switch, and the light fixture. Generally, you’ll deal with three primary wires: hot (black), neutral (white), and ground (green or bare copper).
The switch’s primary role is to control the flow of electricity by interrupting the hot wire. When the switch is on, the hot wire completes the circuit, sending current to the socket. When it’s off, it breaks the circuit, preventing current from reaching the light fixture.
Step 1: Turn Off the Power
Always start by turning off the power to the circuit you’re working on at the breaker box. This is a crucial safety measure to avoid electrical shocks or short circuits while handling wires. Use a voltage tester to confirm that no power is running to the switch or light socket.
Skipping this step could expose you to serious dangers, so make sure the circuit is completely dead before proceeding. After confirming that the power is off, you can safely begin working.
Step 2: Install the Light Switch
The first wiring step is to install the light switch. Run the hot wire (black) from the power source to the switch’s hot terminal. This wire carries the current from the breaker box to the switch and will control when the light turns on or off.
Tighten the connection with a screwdriver, ensuring it’s secure. You’ll also need to connect the ground wire to the green grounding screw on the switch to provide a safe electrical path in case of faults.
Step 3: Run Wires to the Light Socket
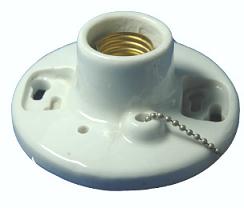
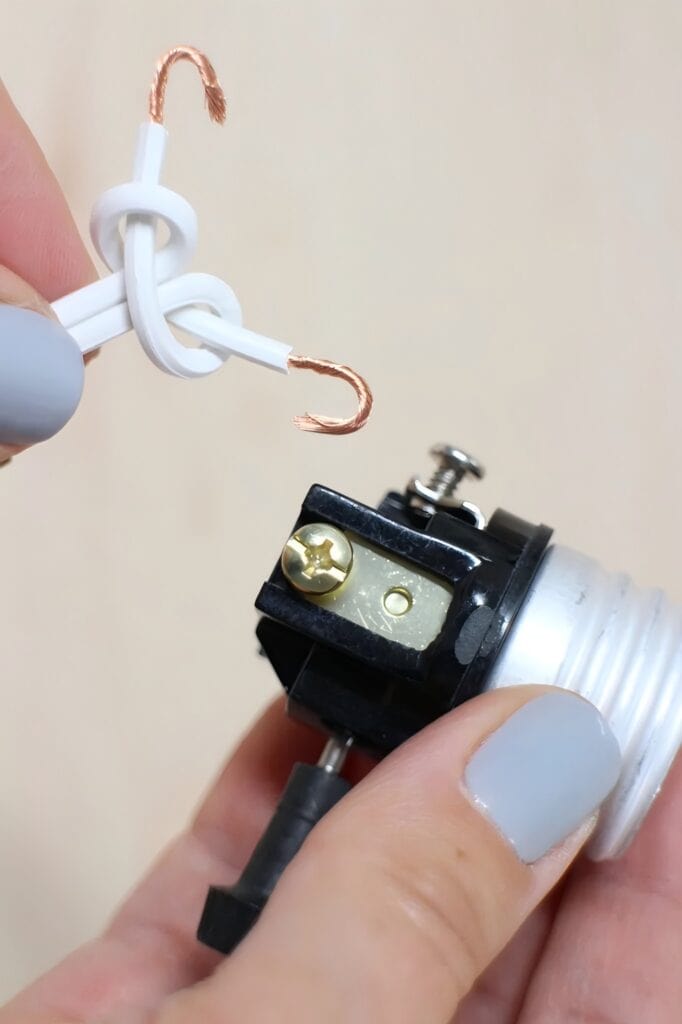
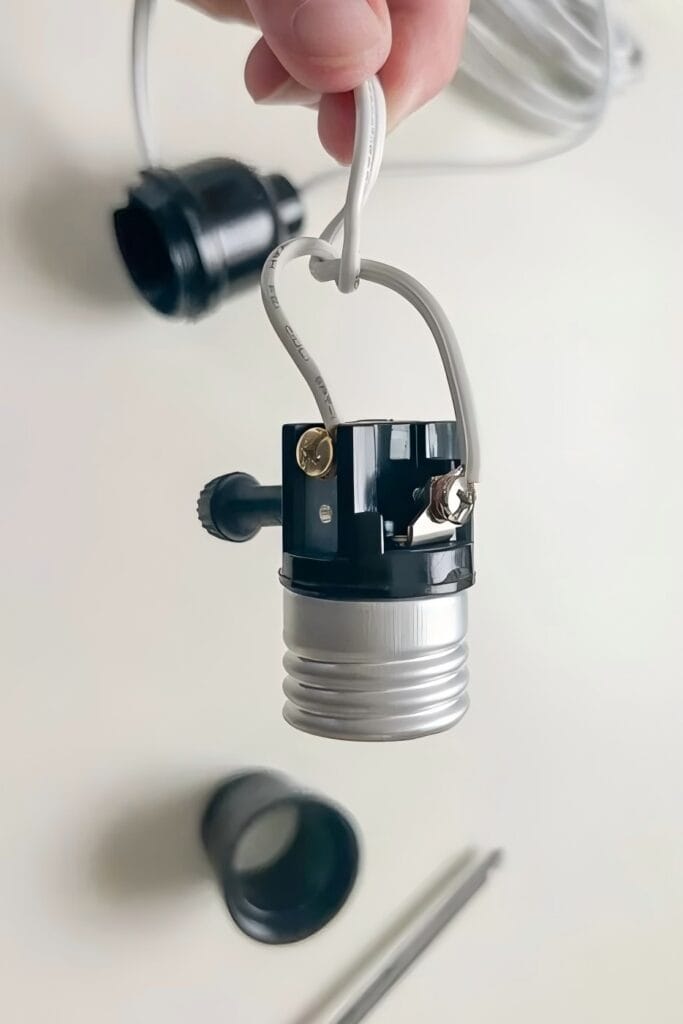
Next, run a wire from the switch to the light socket. This wire, also hot (black), should connect to the brass terminal on the light socket. The brass terminal is designated for the hot wire and will power the light fixture when the switch is activated.
At the same time, connect a neutral wire (white) to the silver terminal on the socket. The neutral wire completes the circuit by allowing the current to return to the power source after passing through the light bulb.
Step 4: Grounding the Light Fixture
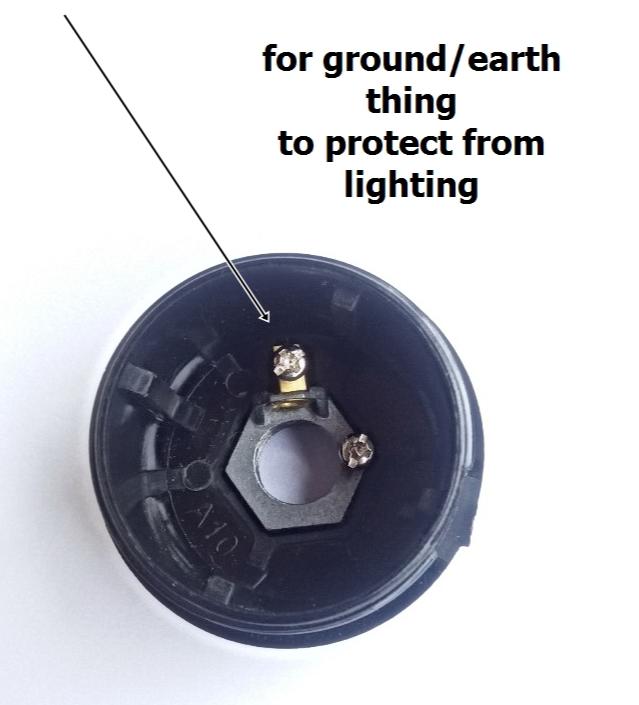
Grounding is essential for both safety and functionality. Attach the ground wire (green or bare copper) to the grounding terminal on the light socket or the metal box housing the socket. If the socket is metal, it is crucial that it’s grounded to prevent potential electric shocks if the fixture becomes energized by a fault in the wiring.
Proper grounding directs any errant current into the earth, greatly reducing the risk of electrical hazards. Never skip this important step when working on electrical systems.
Step 5: Connect the Neutral Wires
After securing the ground wire, connect the neutral wire from the power source to the neutral terminal (white) of the light socket. Typically, you’ll need to use a wire nut to join the neutral wire from the switch and the lamp socket.
A strong, secure connection here ensures that the circuit is complete, allowing electricity to flow properly and safely. Loose or weak connections can cause the light to flicker or lead to dangerous overheating.
Step 6: Secure All Connections
Once all the wires are in place, use electrical tape or wire nuts to secure each connection. This helps insulate the wires and prevent accidental short circuits or exposed wires. Be sure that no bare wires are showing and that all connections are secure and snug within the electrical box.
Carefully push the wires back into the box, making sure they fit securely without bending or damaging the wires. At this point, all wiring should be complete, and the light socket and switch should be ready for testing.
Step 7: Test the Wiring
After completing the wiring, turn the power back on at the breaker box. Test the light by flipping the switch to see if the light turns on and off as expected. If the light operates smoothly, you have successfully completed the wiring process.
If the light doesn’t work or behaves inconsistently, turn off the power again and check all connections to ensure the wires are securely attached and properly placed.
Common Mistakes to Avoid
A common mistake when wiring a light socket to a switch is confusing the hot and neutral wires. Misplacing these wires can lead to electrical hazards or cause the fixture to malfunction. Another frequent issue is failing to properly secure the ground wire, which is essential for safety.
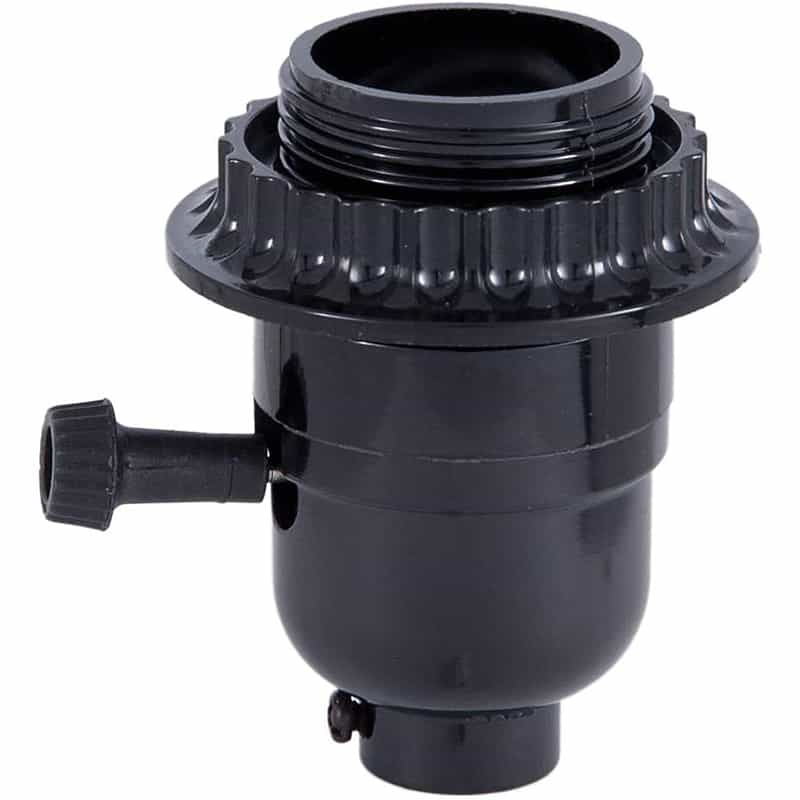
Also, some installers may not tighten the terminal screws enough, leading to loose connections. Always ensure that each wire is securely connected to its appropriate terminal to avoid any future problems with the light socket or switch.
Final Words:
Wiring a light socket to a switch correctly is important for the safety and functionality of your electrical system. Follow these steps, make secure connections, and avoid common mistakes to make sure your lights work and you don’t get shocked.

