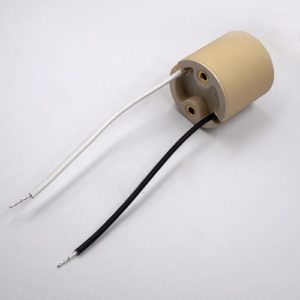
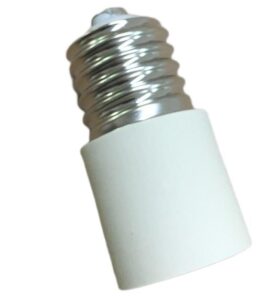
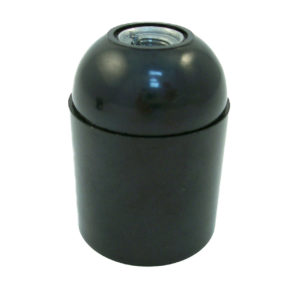
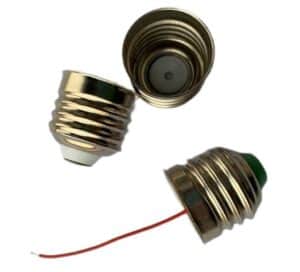
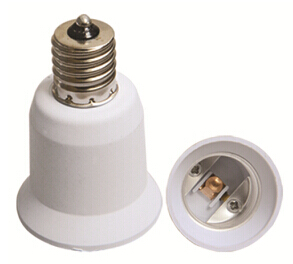
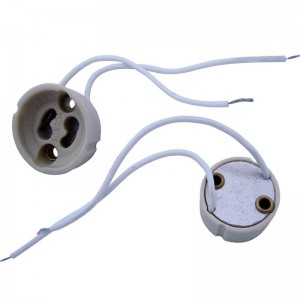
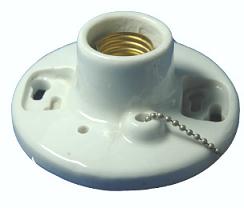
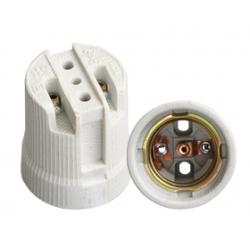
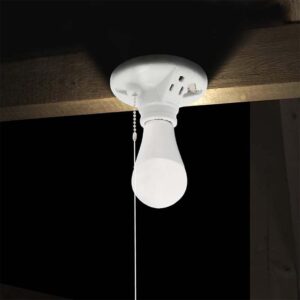
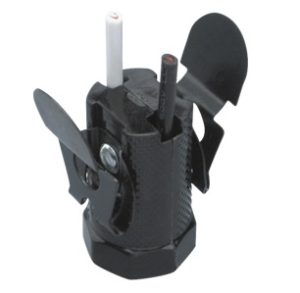
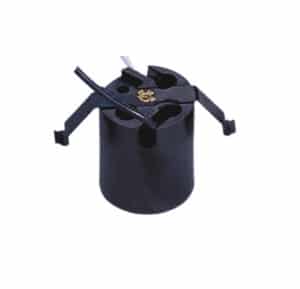
Painting a porcelain lamp socket can be a little tricky, especially if you don’t prepare the surface correctly. If you don’t use the right techniques, you could end up with paint that peels or a surface that won’t hold up under the heat of a light bulb. But don’t worry! I’ll show you how to do it.
The best way to paint a porcelain lamp socket is to clean the surface, apply heat-resistant primer, and then use high-temperature spray paint made for ceramic surfaces.
Okay, now let’s get into the steps for how to prepare and paint a porcelain lamp socket.
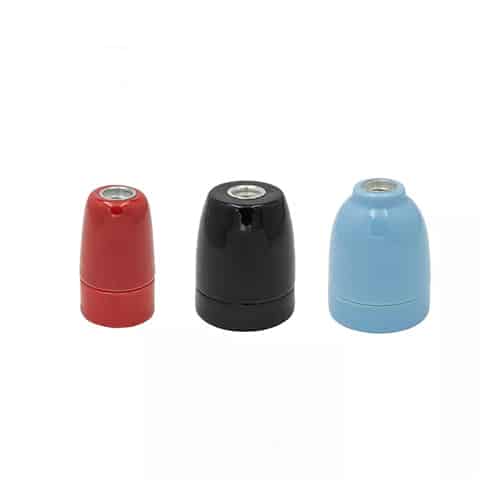
Why Proper Preparation is Essential for Painting Porcelain Sockets
Before you begin painting a porcelain bulb socket, it’s crucial to prepare the surface properly. This step is often overlooked, but without it, the paint won’t adhere as it should, leading to peeling or an uneven finish over time. Porcelain is a smooth, non-porous material that can be difficult to paint. Dirt, oils, and even dust on the socket’s surface will interfere with the adhesion of both primer and paint.
To start, clean the socket thoroughly using a mild detergent and water to remove any contaminants. Once cleaned, let the socket dry completely. Next, apply a heat-resistant primer. This primer acts as a bonding agent between the porcelain and the paint. Since bulb sockets experience heat, a standard primer won’t suffice. Using one specifically designed for ceramics or metal ensures that your paint will stay intact even after prolonged exposure to high temperatures.
Choosing the Right Paint for Porcelain Bulb Sockets
Since porcelain bulb sockets are often exposed to significant heat, it’s important to choose a paint that can handle these temperatures without degrading. Regular paints, especially water-based or oil-based ones, may peel or crack when exposed to the heat generated by a light bulb. For this reason, using high-temperature spray paints designed for ceramics or metal surfaces is the best option.
These paints are specially formulated to withstand the high heat produced by light bulbs. Look for paints that are rated to tolerate temperatures up to 200-250 degrees Celsius. By selecting the right paint, you’ll ensure that your newly painted socket maintains its finish and integrity over time, without any peeling, fading, or safety risks associated with standard paints.
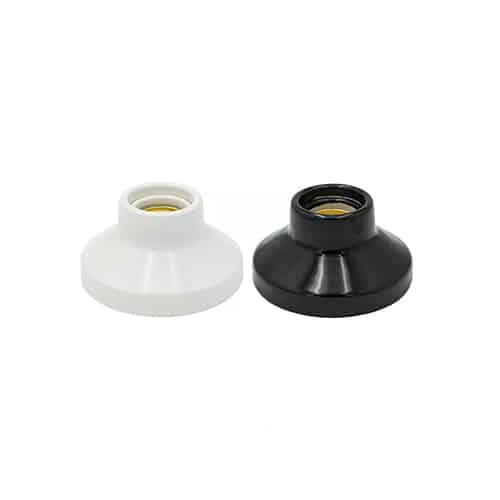
Step-by-Step Guide to Painting Porcelain Bulb Sockets
Step 1: Cleaning the Surface Begin by thoroughly cleaning the porcelain socket. Use a damp cloth and a mild soap to remove any dust, dirt, or oils. These substances can act as a barrier between the surface and the paint, so it’s important that the socket is completely clean before moving forward. Allow the socket to air dry fully before starting the next step.
Step 2: Sanding for Better Adhesion Once the surface is clean, use fine-grit sandpaper (200-400 grit) to gently sand the porcelain. This step might seem unnecessary, but it helps to roughen the smooth surface of the porcelain slightly, which allows the primer to adhere better. After sanding, wipe away any dust to ensure a clean surface for priming.
Step 3: Applying Heat-Resistant Primer Now that the surface is prepared, apply a thin layer of heat-resistant primer. This step is crucial for ensuring that the paint adheres properly and that it doesn’t peel off due to the heat generated by the bulb. Make sure the primer you use is rated for ceramic or metal surfaces. Allow the primer to dry completely before moving on to the next step.
Step 4: Painting with High-Temperature Spray Paint Once the primer is dry, apply the first coat of high-temperature spray paint. Hold the spray can about 12-16 inches from the socket and use smooth, even strokes to avoid drips or pooling. It’s better to apply multiple thin coats than one thick coat to achieve a more even finish. Allow the first coat to dry before applying a second coat, if necessary.
Step 5: Letting the Paint Cure After painting, allow the paint to cure for at least 24-48 hours before using the socket. This curing time is essential to ensure that the paint sets properly and becomes resistant to heat and wear. Once fully cured, your painted porcelain socket will be ready to use, with a durable, heat-resistant finish.
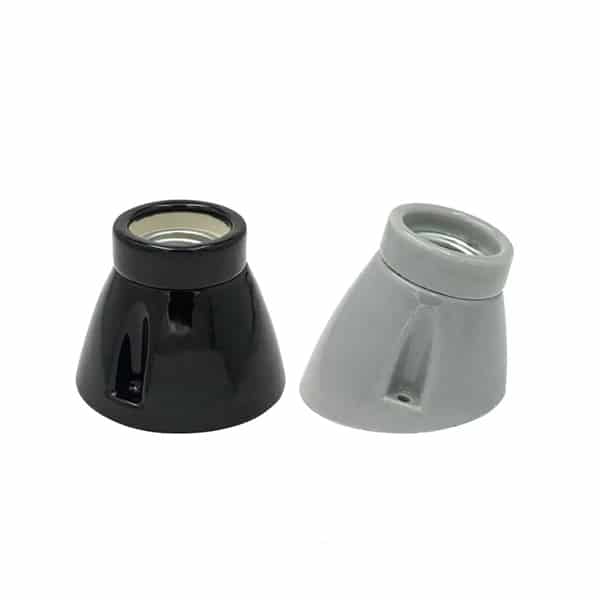
Common Mistakes to Avoid When Painting Porcelain Bulb Sockets
A common mistake people make when painting porcelain is skipping the primer. This often leads to peeling paint because the smooth porcelain surface doesn’t naturally bond well with paint. Primer provides the necessary foundation for a strong, lasting bond between the paint and the socket.
Another frequent mistake is using standard paint rather than high-temperature spray paint. Standard paints simply aren’t made to withstand the heat that a bulb generates, and they will start to degrade over time. This can result in a messy, unsafe situation if the paint begins to chip or melt.
Rushing the drying process is another pitfall to avoid. Allowing sufficient drying and curing time is critical. Skipping this step or using the socket too soon can cause the paint to crack or peel prematurely.
Safety Tips When Painting Bulb Sockets
Painting a porcelain bulb socket is a straightforward process, but safety should always come first. Always make sure to disconnect the power before removing the socket for painting. This will protect you from electrical shocks and ensure a safe workspace. Additionally, always work in a well-ventilated area, as spray paint and primer fumes can be harmful if inhaled for extended periods.
Wearing protective gloves and a mask is also recommended to avoid direct contact with chemicals and to protect your lungs from inhaling any harmful fumes. While painting, maintain a proper distance from the surface to avoid uneven application, drips, or splatter.
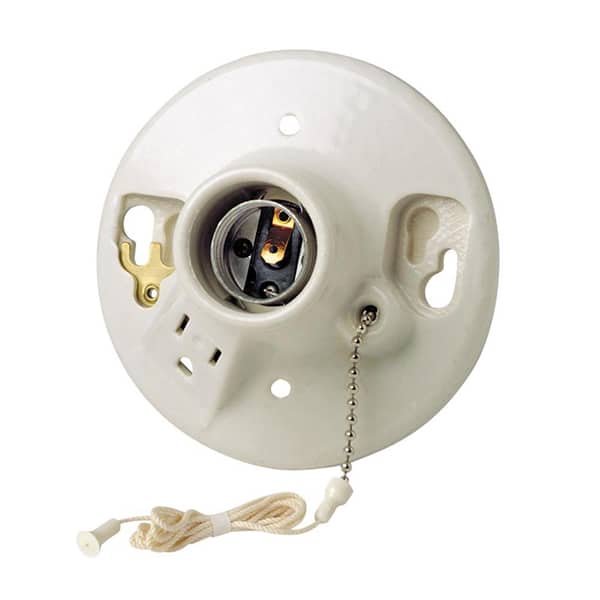
Final Words:
Painting a porcelain lamp socket is easy if done right. With the right preparation, the correct primer, and the correct high-temperature spray paint, you will have a great finish that lasts.

