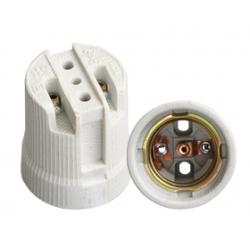
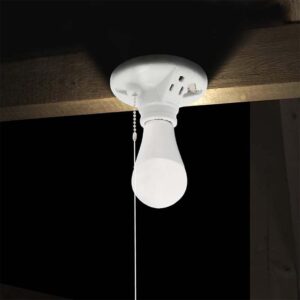
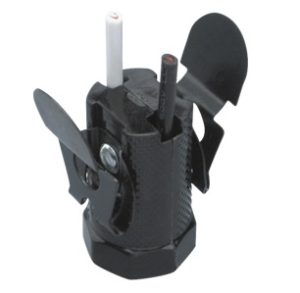
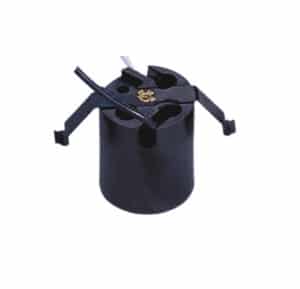
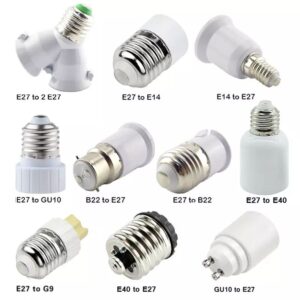
Replacing a broken fluorescent light bulb socket is important to fix your light. If you don’t do it, your light might flicker all the time, or it might not work at all. The good news is replacing the socket is an easy thing to do.
To replace a fluorescent light bulb socket, turn off the power, take the light down, disconnect the wires, take out the old socket, put the new one in, hook the wires back up, and put the light back in place.
Fluorescent light bulb sockets can wear out and cause your lights to flicker or not work. This article will show you how to replace a fluorescent light bulb socket step by step.
Gather the Required Tools and Materials
Before starting the replacement process, you will need to gather a few essential tools and materials. Having these items on hand will make the task easier and safer. You will need:
- A flathead and Phillips screwdriver
- Wire cutters/strippers
- A voltage tester
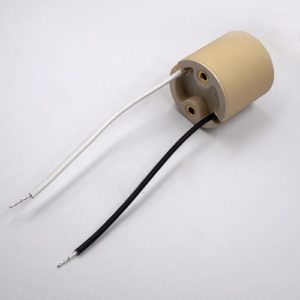
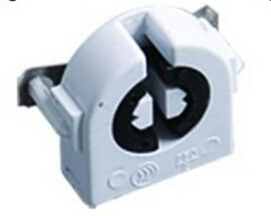
- A replacement fluorescent light socket
- Electrical tape
- A sturdy ladder
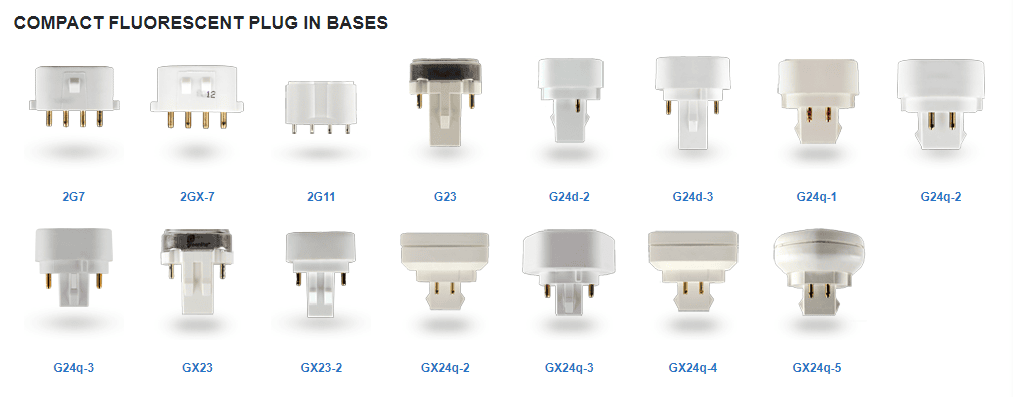
These tools are essential to safely removing the old socket and installing the new one. Make sure your replacement socket matches the specifications of your current one to ensure compatibility. Once you have these items ready, you can proceed with the replacement process.
Turn Off the Power at the Circuit Breaker
Safety is the number one priority when dealing with any electrical work. Before beginning, turn off the power to the fluorescent light at the circuit breaker. This step is critical to avoid any risk of electric shock. Locate your circuit breaker panel, find the switch controlling the fluorescent light, and flip it to the “off” position.
Once the power is off, use a voltage tester to check the wires connected to the fixture and ensure there is no electricity running through them. Only proceed once you have confirmed that the power is fully off. Taking this step guarantees your safety throughout the process.

Remove the Fluorescent Light Fixture
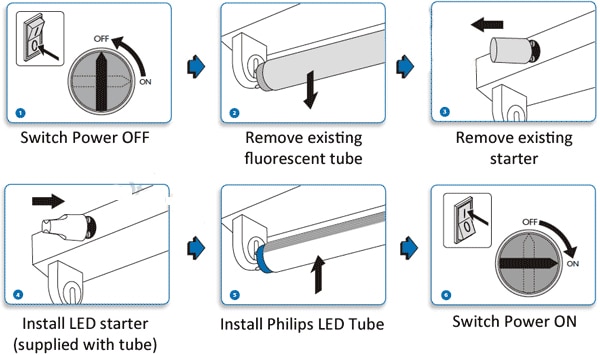
After turning off the power, the next step is to remove the fluorescent light fixture. Start by taking out the fluorescent tubes. Fluorescent tubes are fragile, so handle them carefully to prevent them from breaking. It’s advisable to wear gloves during this step to protect your hands from potential shards of glass or any residue.
Once the tubes are removed, locate the screws or clips securing the fixture to the ceiling or wall. Use a screwdriver to carefully remove these screws or undo the clips. Slowly lower the fixture to expose the wiring and sockets. If the fixture is large or heavy, it may help to have someone assist you in holding it while you work on the wiring.
Disconnect the Wiring
Now that the fixture is lowered, you can disconnect the wiring attached to the faulty socket. Fluorescent light sockets typically have two or more wires connected to them, which may be secured with screws or quick-connect terminals. Using your screwdriver or wire cutters, carefully disconnect the wires from the old socket.
If the wires are old or frayed, you might need to strip them back using wire strippers to expose fresh copper. Make sure to note the wire connections or take a picture before disconnecting them, so you’ll know how to reconnect the wires to the new socket. Labeling the wires can also help ensure proper reattachment later on.
Remove the Old Socket
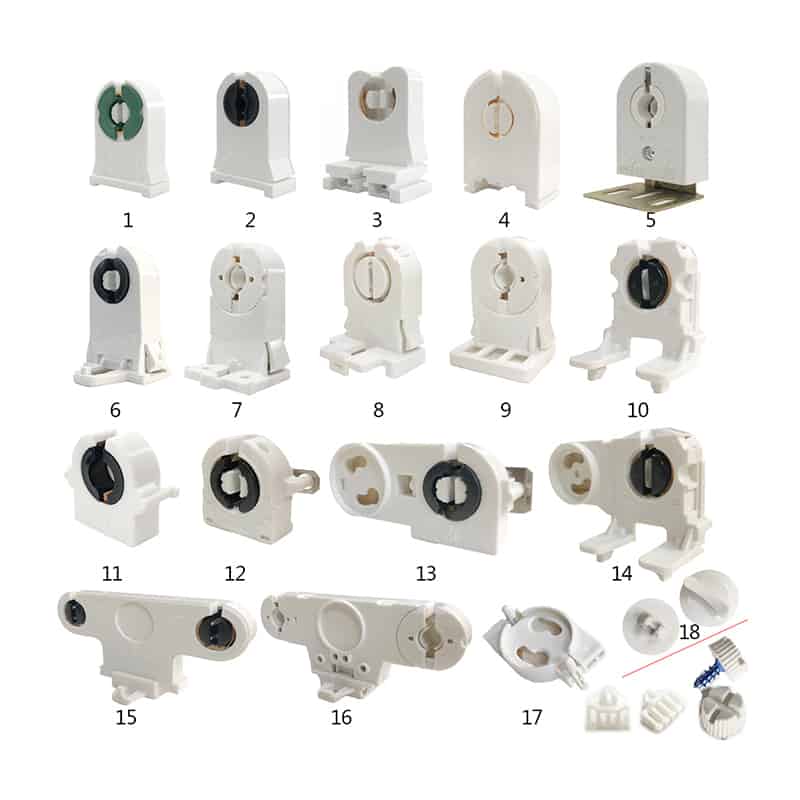
With the wires disconnected, it’s time to remove the old socket from the fixture. The socket may be held in place by screws, clips, or brackets. Depending on the design, unscrew or unclip the socket from the fixture using your screwdriver. Be careful not to damage the fixture during this process, as it may need to be reused.
Old fluorescent sockets might be corroded or stuck due to age, so it’s important to work slowly and avoid forcing the socket out. If it doesn’t budge, check for any hidden screws or fasteners you might have missed.
Install the New Fluorescent Light Socket
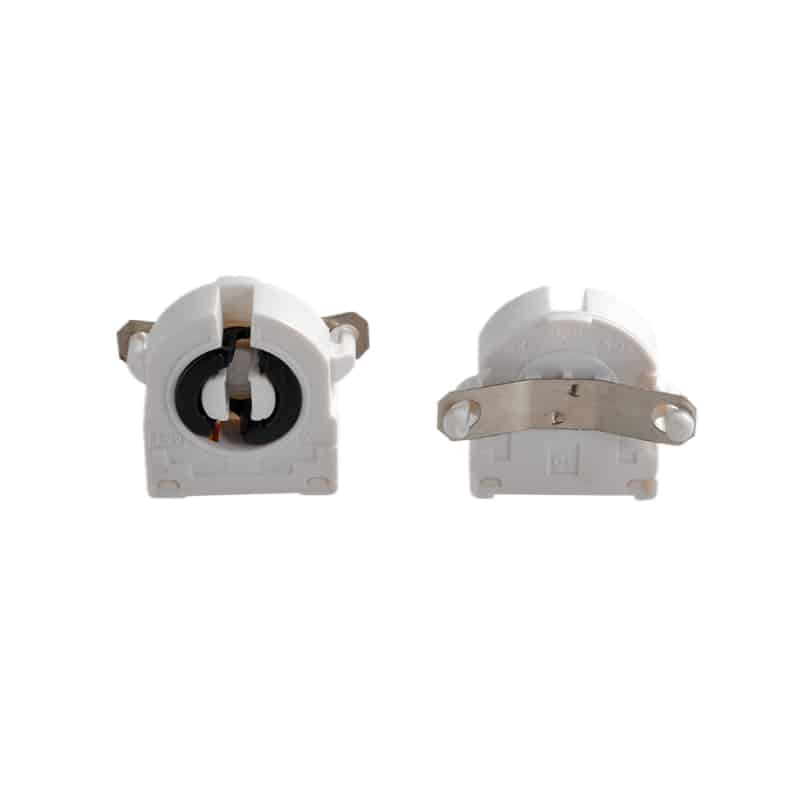
Once the old socket has been removed, you can install the new one. Place the new socket in the same position as the old one and secure it using the screws or clips provided with the replacement socket. Make sure the socket is properly aligned with the fixture and secured tightly to avoid any loose connections.
Ensure that the new socket matches the specifications of the old one, including the voltage and wattage ratings. A mismatched socket could lead to further electrical issues or a poorly functioning fixture. Once the new socket is securely in place, you’re ready to reconnect the wiring.
Reconnect the Wiring
With the new socket installed, it’s time to reconnect the wiring. Refer to the notes or picture you took earlier to connect the wires correctly. Typically, fluorescent light sockets use color-coded wires, where black is for the live connection, white for neutral, and green or bare copper for ground.
Use your screwdriver to secure the wires tightly to the terminals on the new socket. Make sure there is no exposed copper wire that could cause a short circuit. Once the wires are connected, use electrical tape to insulate the connections and ensure there is no risk of a short. Properly secured and insulated wires are key to preventing electrical hazards and ensuring a long-lasting connection.
Secure the Fixture and Install the Light Tubes
After reconnecting the wiring, you can now reattach the fixture to the ceiling or wall. Carefully lift the fixture back into position and secure it using the screws or clips you removed earlier. Ensure the fixture is securely fastened to avoid any future issues with it coming loose or falling.
Once the fixture is back in place, you can reinstall the fluorescent tubes. Gently slide the tubes into the new sockets, ensuring they click into place securely. Make sure the tubes are aligned correctly, as improper installation could result in poor lighting performance or flickering.
Turn the Power Back On and Test
With everything reassembled, you can now restore power to the light fixture. Return to the circuit breaker and flip the switch to turn the power back on. Head back to the fixture and turn it on to check if everything is working properly. If the light comes on without any flickering or buzzing, congratulations! You’ve successfully replaced your fluorescent light socket.
If the light doesn’t turn on, there may be a loose wire or an issue with the socket installation. Turn the power back off and recheck the connections, making sure everything is securely fastened and properly aligned.
Replacing a fluorescent light bulb socket can seem overwhelming, but if you follow these steps, it’s not that hard. Just make sure you get everything ready and pay attention to what you’re doing, and you’ll have your light working again in no time.

