Replacing a G4 socket is something that can be confusing for people to do. If you don’t understand the different types of sockets, if you don’t understand voltage, if you don’t understand what’s involved, you can end up with something that doesn’t work, flickering lights, or something that is unsafe.
To replace a G4 socket and install LED bulbs, you need compatible socket types, correct wiring, and to ensure voltage compatibility for reliable performance.
This article will walk you through everything you need to know from what to buy to how to install it and troubleshoot it.
Understanding G4 Sockets: Basics and Types
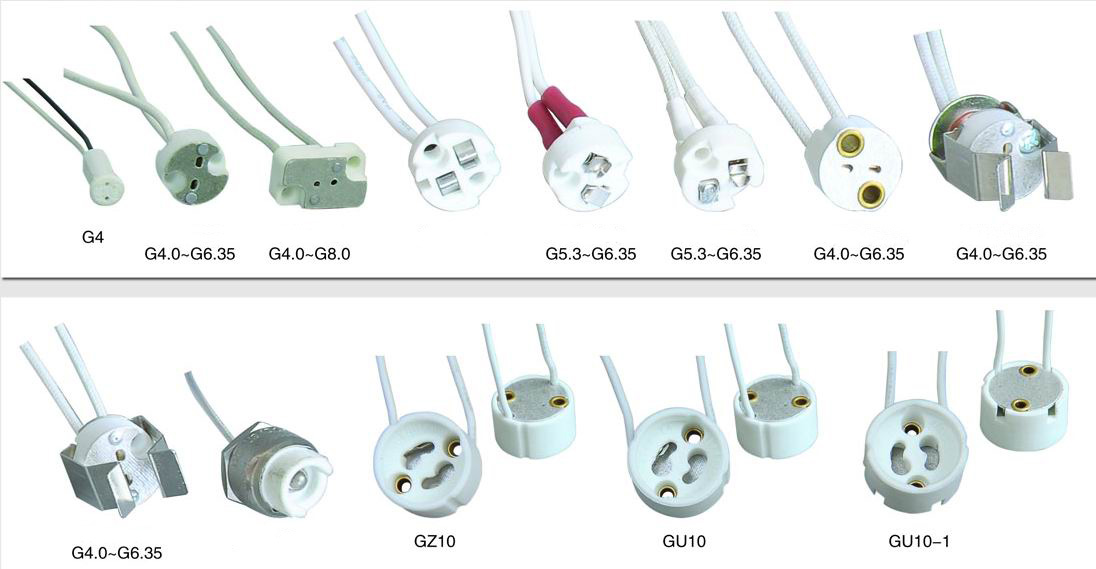
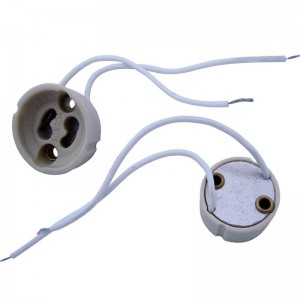
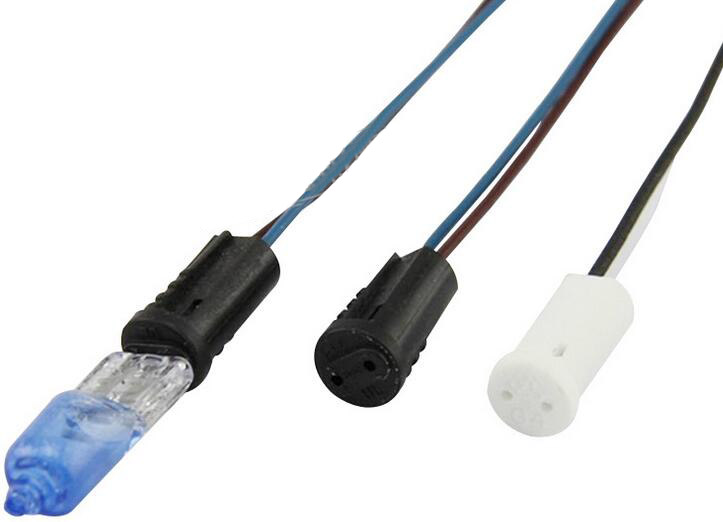
The G4 socket is a popular choice for low-voltage applications, known for its small, bi-pin design with a 4 mm pin spacing, hence the name “G4.” G4 sockets are widely used in under-cabinet lighting, displays, accent lights, and other compact fixtures where space is limited. They often support a range of voltages but are most commonly found in 12V and 24V configurations. This versatility makes them suitable for halogen and LED lights alike.
However, for optimal results, you’ll want to ensure that the G4 socket you choose is compatible with the type of bulb you plan to install, especially if upgrading to LEDs. LED bulbs are more sensitive to power type, so it’s essential to know whether the G4 socket you select supports alternating current (AC) or direct current (DC), as this can affect bulb performance and longevity.
Preparing for Replacement: Tools and Materials Needed
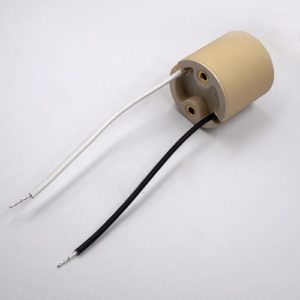
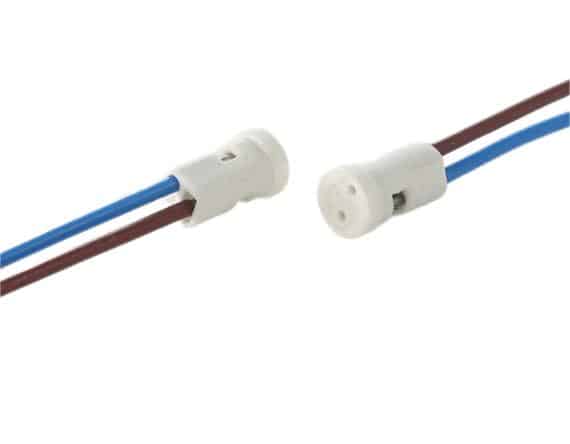
Replacing a G4 socket requires some basic tools and careful preparation to ensure a safe and successful installation. First, gather the necessary tools, such as a screwdriver, wire strippers, a voltage tester, and, if needed, wire connectors. These will help you access and securely install the new socket. Choosing the right G4 socket is crucial, especially if you’re upgrading to LED bulbs. Look for one that is heat-resistant, preferably ceramic, which will better withstand the higher temperatures associated with certain bulbs.
Additionally, check that the wiring is compatible with LED needs—some older G4 sockets may lack the necessary insulation or stability. Lastly, ensure the workspace is stable, and always turn off the main power supply before starting any electrical work to prevent shock or injury.
Step-by-Step Guide to Replacing a G4 Socket
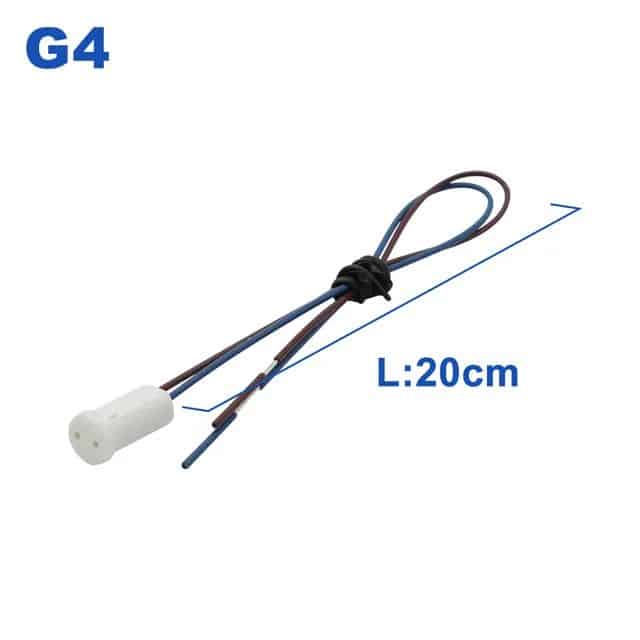
To start, carefully remove the old G4 socket. First, turn off the main power and confirm the circuit is off with a voltage tester. Unscrew or release any mounting components holding the old socket in place, and gently disconnect the wires.
Note the original wiring configuration, as you’ll need to replicate this when connecting the new socket. Once the old socket is removed, install the new G4 socket by connecting the wires securely to the appropriate terminals. Ensure all connections are tight and that there are no exposed wires. Carefully position the socket within the fixture, securing it in place to prevent movement. After installation, perform a quick test using a low-wattage bulb to ensure everything is functioning correctly before moving on to the LED bulb.
Choosing the Right LED G4 Bulbs: Compatibility and Specifications
With the new G4 socket in place, selecting a compatible LED G4 bulb is essential for long-lasting, efficient lighting. First, check the voltage and wattage requirements. LED G4 bulbs are available in 12V and 24V options, so it’s crucial to match this with the socket and fixture specifications to avoid electrical issues. LED G4 bulbs consume less power than halogen bulbs, but you still need to ensure that the fixture’s wattage limit isn’t exceeded.
Furthermore, it’s important to check whether the socket and fixture use AC or DC power. Many LED G4 bulbs require DC power to function optimally, so using the wrong power type could cause flickering or overheating. Finally, consider the physical size of the LED bulb, as some LEDs are slightly larger than halogen bulbs, potentially making them unsuitable for tight spaces. Ensure that the LED bulb’s lumen output matches your needs, as LEDs generally emit different brightness levels compared to halogen bulbs, even at the same wattage.
Understanding LED Drivers and Transformers for G4 LED Bulbs
Most G4 LED bulbs require a low-voltage transformer, especially if the existing fixture operates on AC power. Transformers convert the power to the correct voltage, but not all transformers are LED-compatible. For example, older transformers used with halogen bulbs may not work effectively with LEDs and can lead to flickering or inconsistent light output. In such cases, you may need to replace the transformer with an LED-compatible model.
When selecting a transformer or LED driver, check that it meets the voltage and wattage requirements of the G4 LED bulbs you plan to use. If you want dimmable LED bulbs, make sure the transformer supports dimming features. Using the correct transformer prevents common issues like overheating and ensures that the bulbs operate at their intended brightness without flickering or strobing.
Testing and Troubleshooting After Installation
After completing the installation, it’s essential to test the new setup to verify everything works as expected. Turn on the power and observe the LED bulb’s performance—steady, flicker-free light is the goal. Flickering or dimming can indicate an issue with transformer compatibility, wiring connections, or an inadequate power source. If you encounter flickering, check that the transformer is compatible with LEDs and review the voltage output.
Loose or incorrect wiring can also cause intermittent light issues, so make sure all connections are secure. Perform a final safety check by inspecting the socket and wiring for any signs of instability, and ensure that all components are properly enclosed to avoid accidental contact or heat buildup.
Final Words:
Replacing a G4 light socket is something that can be confusing for people to do. If you don’t understand the different types of sockets, if you don’t understand voltage, if you don’t understand what’s involved, you can end up with something that doesn’t work, flickering lights, or something that is unsafe.

