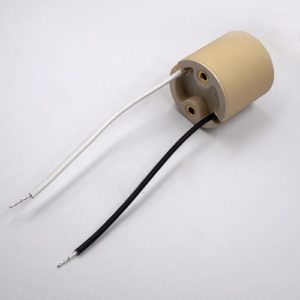
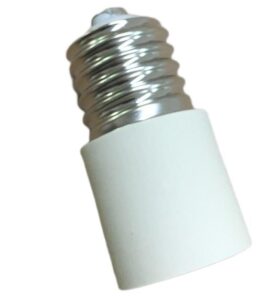
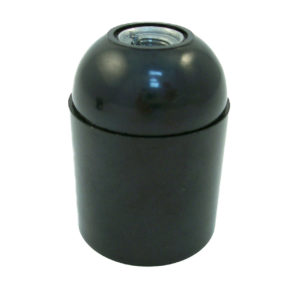
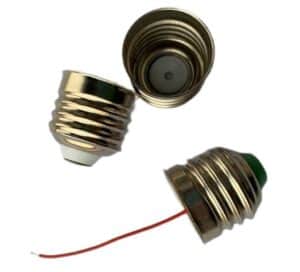
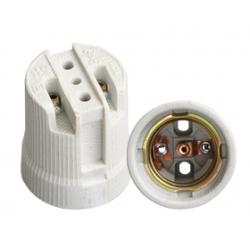
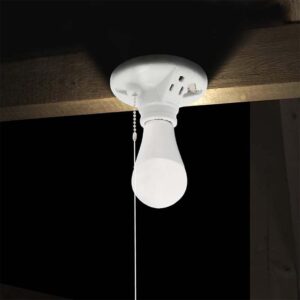
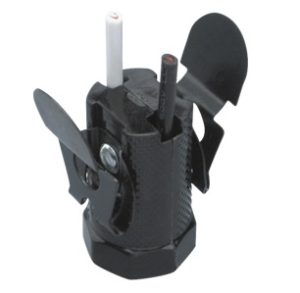
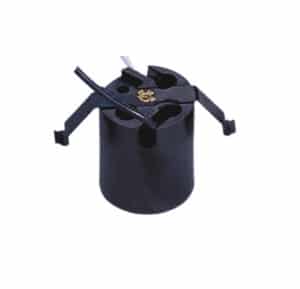
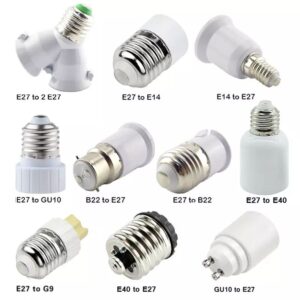
Installing a new light bulb socket can seem scary at first, but if you follow the steps and take the precautions, you can replace or install a new socket and get your fixture working again. Whether you’re putting in a new one because the old one is broken or you’re upgrading, I’ll walk you through the steps to make sure everything goes smoothly.
To Install a New Light Socket, Turn Off the Power, Connect the Wires, and Secure the Socket
In short, installing a new light socket involves turning off the power, preparing the fixture, connecting the wires to the new socket, and securing it in place. With these steps, you’ll be able to complete the task confidently.
Tools and Materials Needed
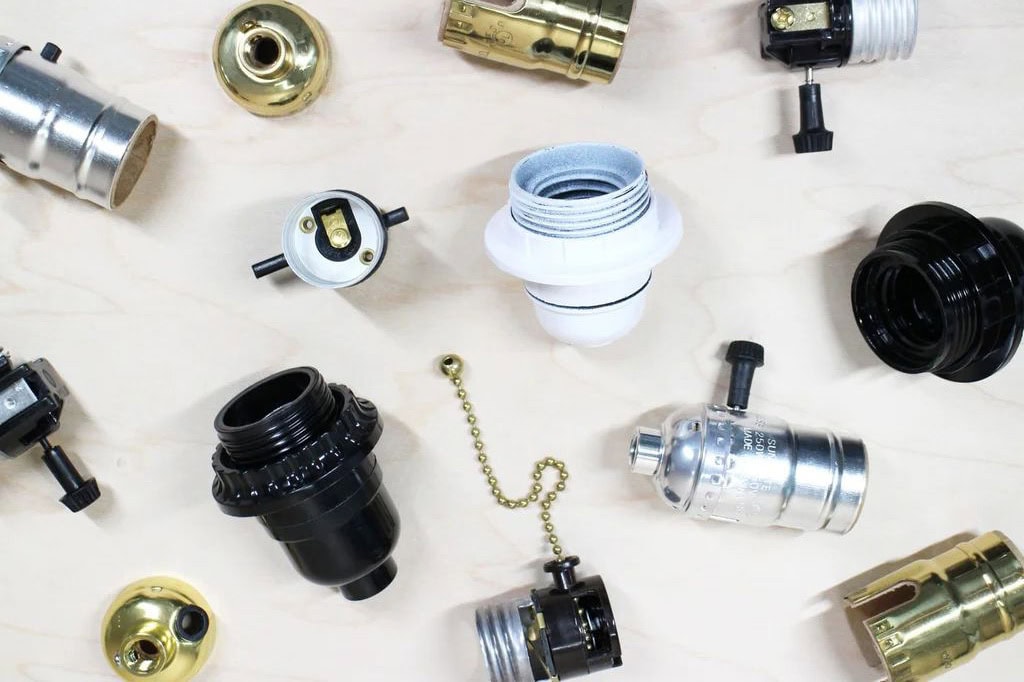
Before starting, gather the essential tools and materials for the job. You’ll need a screwdriver, wire stripper, needle-nose pliers, and a voltage tester. A new light socket compatible with your fixture is also required, along with wire connectors if your setup needs them. Safety equipment, such as rubber gloves and safety glasses, will add an extra layer of protection, helping prevent accidental shocks or injuries.
Step-by-Step Guide to Installing a New Light Socket
- Turn Off Power at the Circuit Breaker: First and foremost, ensure the power is off at the main breaker. Switching off the power at the wall switch is not enough, as the fixture may still carry an electrical current. Use a voltage tester to confirm that no current is running to the socket.
- Remove the Old Socket (if applicable): If you’re replacing an existing socket, carefully unscrew or detach it from the fixture to expose the wiring. Many light sockets can be removed by simply unscrewing the socket housing, but some may require a screwdriver to detach. Once you’ve exposed the wires, take note of how the existing wires are connected, as this can serve as a helpful guide for the new installation.
- Strip the Wire Ends: Use your wire stripper to remove about 1/2 inch of insulation from each wire end. Exposing the right length of wire will ensure a secure connection, which is essential for both safety and functionality. Inspect the wire ends for any fraying or damage, as damaged wires may need to be trimmed and re-stripped for a clean connection.
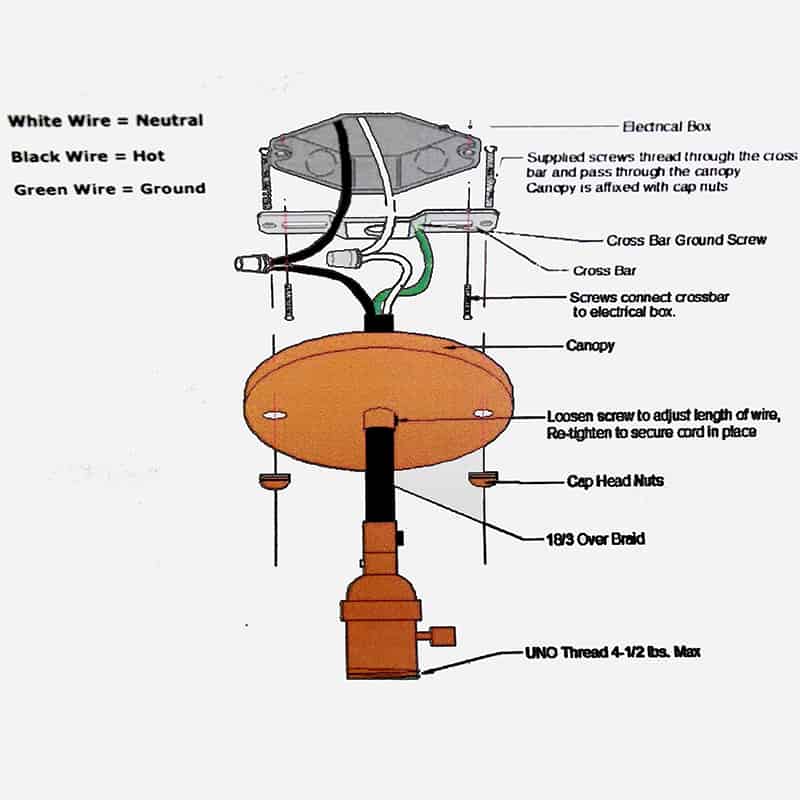
- Connect Wires to the New Socket: Take your new light socket and connect the wires according to their corresponding terminals. Attach the neutral (usually white) wire to the silver terminal, and the hot (black) wire to the brass terminal. Tighten each terminal screw securely to hold the wire in place. Make sure the wires are tightly fastened, as loose connections can cause flickering or even overheating. If your fixture has a grounding wire (often green or bare copper), attach it to the socket’s grounding terminal or directly to the fixture body if there is no designated terminal.
- Secure the New Socket: Place the new socket into the fixture base and secure it using any screws or fittings removed earlier. Reassemble any other components, such as the socket cover or decorative base, according to the original setup. Once secured, check that the socket is stable and properly aligned before proceeding.
Testing the New Socket
With the new socket installed and securely connected, it’s time to test your work. Go back to the breaker and restore power to the circuit. Switch on the light to confirm that the new socket is functioning properly. If the light does not turn on, or if you notice any flickering, turn the power back off and double-check your wire connections. Sometimes, loose connections or incorrectly connected wires can cause issues, so ensuring each connection is tight and correctly placed is essential for a successful installation.
Safety Tips and Precautions
Working with electricity requires a careful approach to safety. Always confirm that the power is off using a voltage tester, even after turning off the breaker. Additionally, inspect the fixture wiring for signs of damage, such as fraying or discoloration, as these can pose risks. If you notice any damaged wires, it’s best to replace them or consult an electrician for advice. Wearing rubber gloves and using insulated tools can provide additional safety, reducing the risk of accidental shocks.
When to Call a Professional
While replacing a single light socket is manageable for most people, there are times when a professional’s expertise is beneficial. If you’re working with complex wiring setups, multi-socket fixtures, or older fixtures with outdated or worn wiring, consulting a licensed electrician may be the safest option. Electricians can ensure the installation meets local code requirements and address any unforeseen issues with the wiring.
Conclusion
Installing a new lamp socket is a simple yet effective way to restore your light fixture’s functionality. By following these steps and prioritizing safety, you can confidently complete the job yourself, saving both time and money. With the right tools and a methodical approach, your fixture will be up and running again in just a few minutes.

