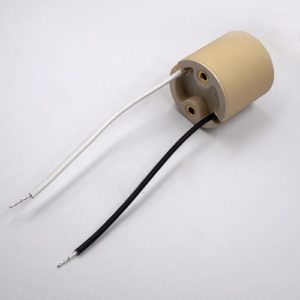
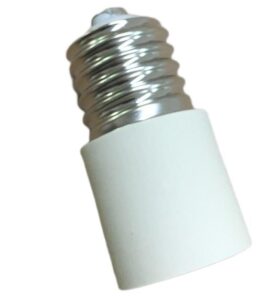
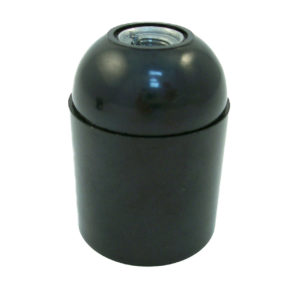
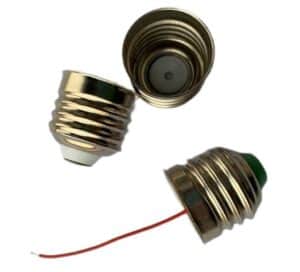
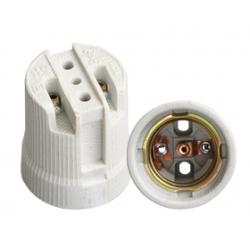
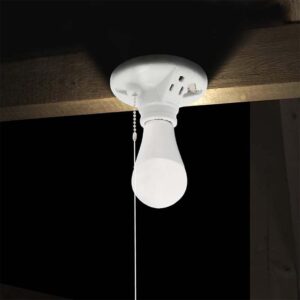
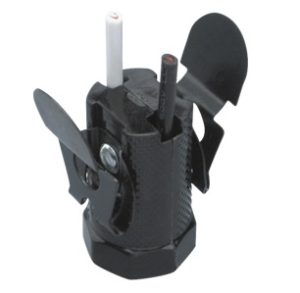
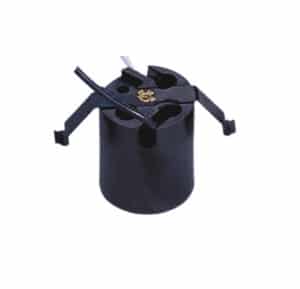
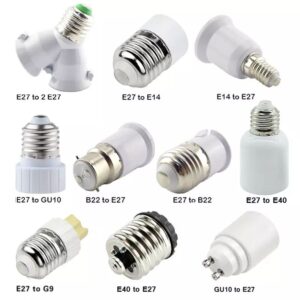
When a light bulb stops functioning due to a loose or damaged lamp base, many people immediately replace it. However, reconnecting the bulb to its base can save money, reduce waste, and help you restore its functionality. Follow this guide to safely and effectively repair your incandescent light bulb.
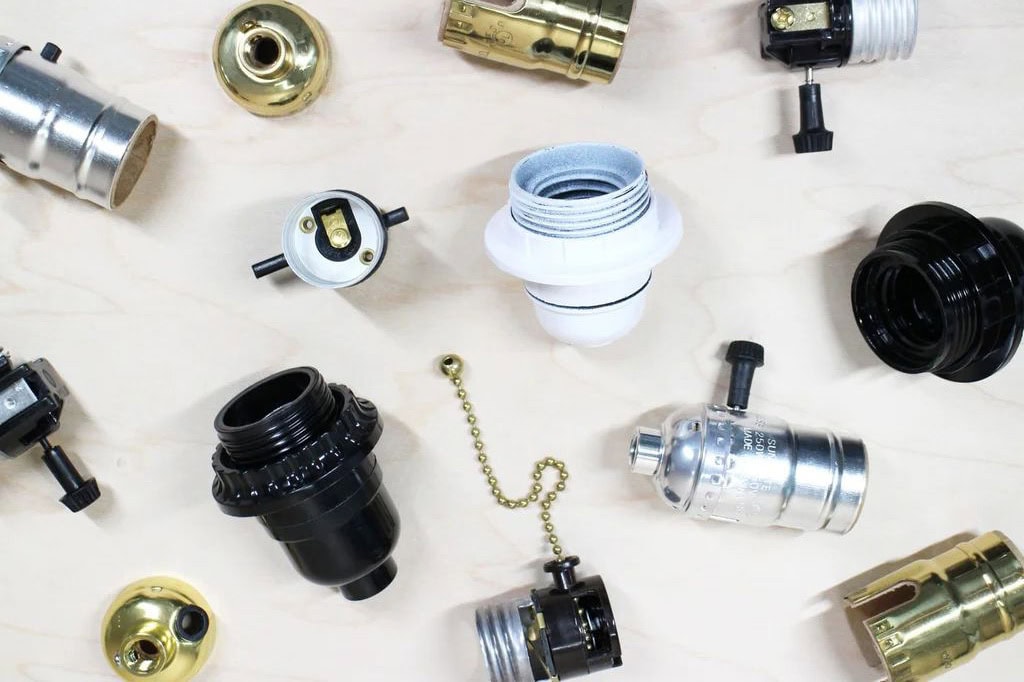
What You’ll Need
To reconnect an incandescent bulb to its base, gather the following tools and materials:
- Insulated gloves to ensure safety
- A screwdriver for disassembly
- A soldering iron and solder for reconnection
- Electrical tape for insulation
- Replacement parts, such as wires or connectors, if needed
Having these items ready will make the process smoother and more efficient.
Understanding the Anatomy of an Incandescent Bulb
Incandescent light bulbs are simple yet intricate devices. They consist of three primary components: the glass bulb, the filament, and the base. The filament is the part that glows when electricity flows through it, while the base houses the electrical contacts that connect to the light fixture. Knowing how these parts interact will help you identify the problem and guide your repair process.
The base size of your bulb, such as E26 or E27, determines compatibility with light fixtures. The glass encases the filament, which is often connected to the base via two small wires. Damage usually occurs when these wires become disconnected or the base loosens.
Safety Precautions
Before starting any repair, prioritize safety. Begin by turning off the power supply to avoid electrical shocks. Always wear insulated gloves and work on a clean, flat surface. If the glass bulb is broken, handle it carefully to avoid injury, and dispose of the shards in a secure container. Use insulated tools to ensure further protection while working on electrical components.
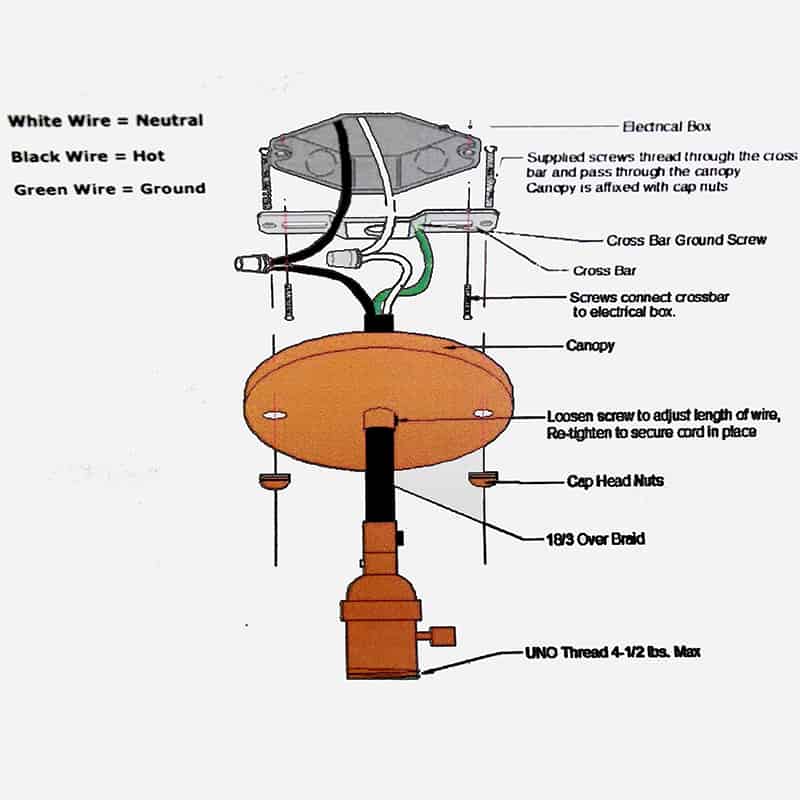
Step-by-Step Guide
Step 1: Remove the bulb from its fixture. Turn the bulb counterclockwise to unscrew it gently. Inspect the base and glass for visible damage.
Step 2: Assess the extent of the problem. Look for loose wires, corroded contacts, or detached filament connections. If the damage is minimal, you can proceed with the repair. For significant damage, consider replacing parts.
Step 3: Detach the old base if necessary. If the base is severely damaged, use a screwdriver to carefully pry it off the bulb. Be cautious not to damage the filament wires during this process.
Step 4: Prepare the base for reconnection. Clean any corrosion or debris from the contacts using a small file or sandpaper. If you are using a new base, ensure it matches the original size and type.
Step 5: Solder the connections. Use a soldering iron to reattach the filament wires to the electrical contacts inside the base. Ensure the wires are securely connected and avoid leaving any loose strands. This step is crucial for the bulb to function correctly.
Step 6: Reattach the base. Once the connections are secure, press the base back onto the bulb. Reinforce it with electrical tape or adhesive if necessary to ensure it remains stable.
Step 7: Test the bulb. Place the repaired bulb into a compatible fixture and turn on the power. If the bulb lights up, your repair was successful. If not, recheck the connections.
Troubleshooting Tips
If the bulb doesn’t work after repair, check the soldered connections for any gaps or weak points. Ensure the wires are not damaged and that the base is properly aligned. If the filament is broken or the glass is cracked, it’s best to replace the bulb entirely. Additionally, verify that the base type matches the light fixture to avoid compatibility issues.
When to Replace Instead of Repair
While reconnecting a bulb can often solve the issue, there are situations where replacement is a better option. If the filament is broken, the glass is shattered, or the base is extensively corroded, repairs may not be feasible. In such cases, replacing the bulb ensures safety and optimal performance.
Environmental and Economic Benefits
Repairing an incandescent bulb offers several benefits. It reduces waste by extending the bulb’s lifespan, which helps minimize environmental impact. Additionally, repairing instead of replacing can save you money, particularly if you frequently use incandescent bulbs. By learning to reconnect the light base, you contribute to sustainability and resource conservation.
Conclusion
Repairing an incandescent light bulb by reconnecting it to its base is a practical and rewarding task. It saves money, reduces waste, and promotes sustainability. By following the steps outlined in this guide and adhering to safety precautions, you can successfully restore your bulb’s functionality and gain valuable DIY skills.
FAQs
Can I repair all types of bulbs? Incandescent bulbs are the easiest to repair. For LEDs or CFLs, professional help is recommended due to complex circuits.
What’s the expected lifespan of a repaired bulb? The lifespan depends on the repair quality and the bulb’s initial condition, but it’s often comparable to a new bulb.
Are there risks associated with using a repaired bulb? If repaired improperly, the bulb could pose safety risks. Always ensure secure connections and test thoroughly before use.

