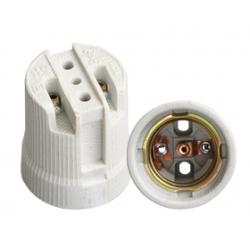
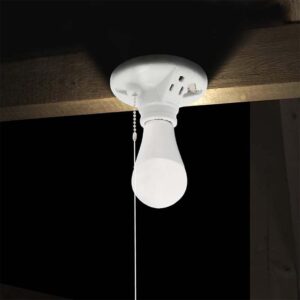
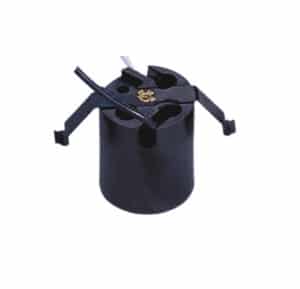
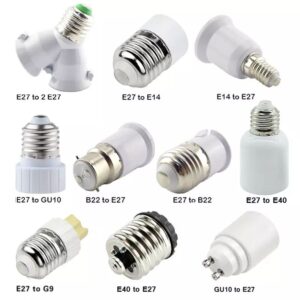
Improperly open, wire, or close this E27 lamp holder and you could have an electrical hazard or it might not work. Be careful with each step.
To safely open, wire and close this E27 lamp holder, turn off the power, use the right tools to take it apart, wire it correctly, and put it back together.
Do these things so it is safe, doesn’t get messed up, and works right.
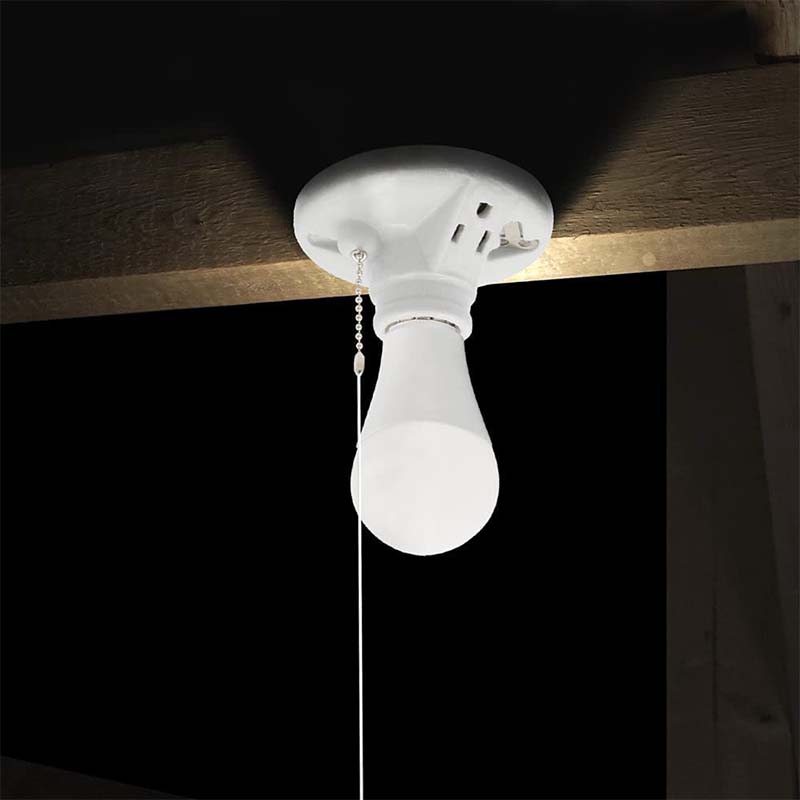
How to Open an E27 Lamp Holder
To open an E27 lamp holder, start by turning off the power supply at the mains to avoid electrical shocks. Once the power is off, use a flathead screwdriver or similar tool to gently pry open the cap of the lamp holder. Most E27 holders have a locking mechanism or a push-fit system, so carefully insert the tool into the seam between the cap and the base.
Apply gentle pressure to lift the inner cap and twist slightly to release it from its locked position. Be mindful not to apply too much force, as the plastic or metal components may crack or deform. Once the cap is off, the internal components and wiring terminals will be accessible.
How to Remove Wires from an E27 Lamp Sockets
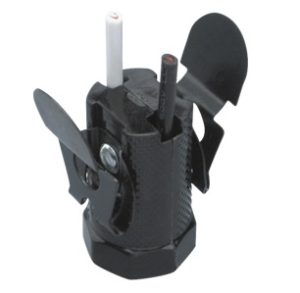
Removing wires from an E27 lamp sockets depends on the type of connection used inside. For push-fit terminals, you will need to press down on the tab holding the wire in place, while gently pulling the wire out. A small flathead screwdriver can be used to press down the tab while the wire is being removed.
If your E27 socket uses screw terminals, simply unscrew the terminals until the wires can be freed. Be sure to avoid stripping the screws or damaging the wires during removal. Take care not to tug the wires with excessive force, as this can damage the connection points.
How to Safely Strip Lamp Wires
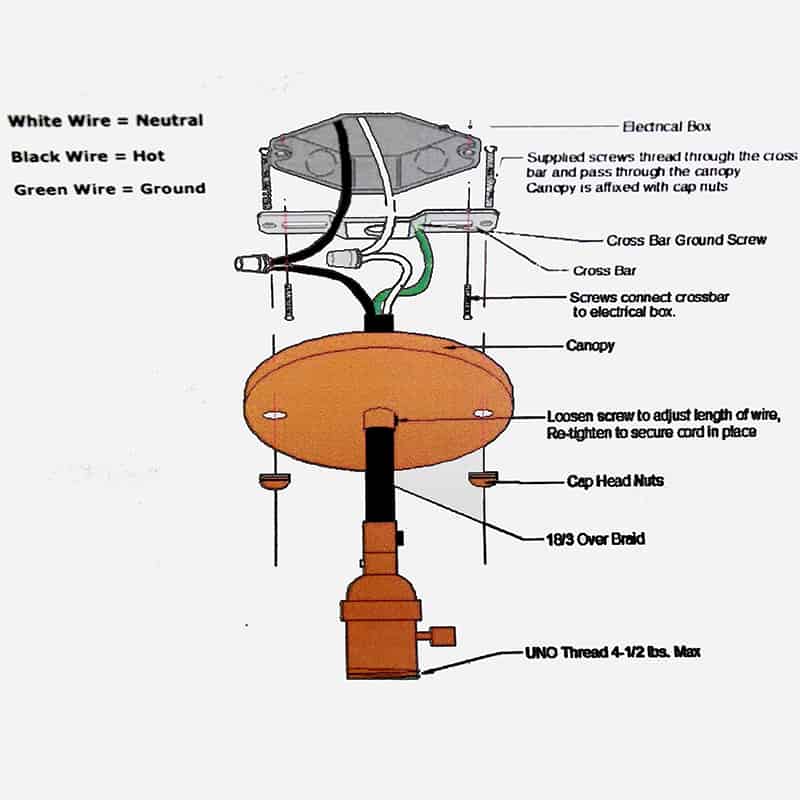
To wire the lamp holder properly, you must first strip the wires correctly. Use a wire stripper or a sharp knife to carefully remove about 1 cm of the insulation from the wire. Ensure that you do not cut into the copper strands inside, as this can weaken the wire and create poor connections.
For stranded wire, twist the exposed strands together to ensure a solid and clean connection point. Properly stripped and prepared wires reduce the risk of poor contact, electrical shorts, or fixture malfunctions.
How to Wire an E27 Lamp Holder
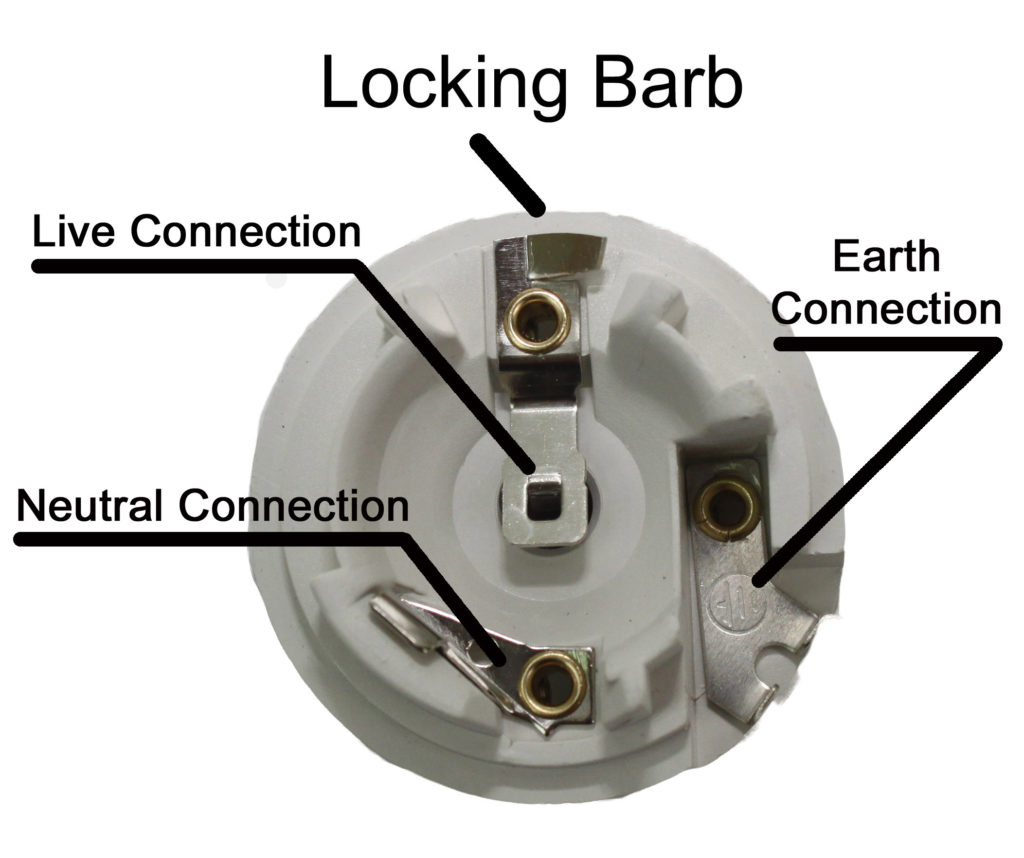
Wiring an E27 lamp holder requires attention to detail. Once the wires are stripped, they can be connected to the appropriate terminals. For push-fit connections, press the terminal tab and insert the stripped wire end into the hole, then release the tab to secure it.
For screw terminals, wrap the exposed wire around the screw in a clockwise direction and tighten the screw securely. Ensure that the live wire (typically brown or red) connects to the live terminal, while the neutral wire (blue or black) goes to the neutral terminal. Tighten all connections firmly, ensuring there is no exposed copper beyond the terminal.
Securing the Wires Inside the Lamp Holder
After the wiring is complete, make sure the wires are tucked neatly into the base of the lamp holder. The wires should not be pinched or overly bent, as this can cause stress and damage over time. Ensure the wires are positioned in a way that allows the cap to close smoothly.
Make sure the wiring is neatly arranged and that there is no unnecessary tension on the wire connections. Proper wire arrangement ensures that the lamp holder closes securely without causing internal damage or future electrical issues.
How to Close the E27 Lamp Holder
To close the E27 lamp holder, align the inner components correctly before placing the cap back on. If the lamp holder uses a twist-lock system, carefully twist the cap into place until it locks securely. For push-fit models, press the cap back onto the base until you hear a click, indicating that it is securely closed.
Double-check that the cap is fully seated and that no gaps are present between the base and cap. Gaps can expose the wiring and lead to safety hazards such as short circuits or electrical fires.
Testing the Lamp Holder After Wiring
Before turning the power back on, it’s important to double-check all connections. Make sure the wires are securely fastened to the terminals, and no copper is exposed outside the connection points.
Once everything is secured, restore power and test the lamp holder by installing a light bulb and turning it on. If the light flickers or doesn’t turn on, revisit the connections to ensure everything is properly wired. Testing the fixture ensures the wiring is correctly installed and operational.
Common Mistakes to Avoid When Wiring an E27 Lamp Holder
Several common mistakes can compromise safety or cause malfunctions. First, always turn off the power before starting any work. Failing to do so can lead to dangerous electric shocks. Second, using the wrong tools can damage the wiring or the lamp holder itself, so be sure to use appropriate screwdrivers and wire strippers.
Additionally, make sure the wires are stripped properly to avoid weak connections. Loose or poor connections can result in flickering lights, short circuits, or even electrical fires. Tightening screws too loosely or too tightly can also compromise the connection, so aim for secure, balanced connections.
Additional Tips for Working with E27 Lamp Holders
- Handle Components Carefully: The plastic or metal parts of lamp holders can be fragile, especially with older fixtures. Handle them with care when prying open the holder or closing it back.
- Follow Electrical Codes: Always follow local electrical safety standards and codes to ensure your installation is safe and compliant.
- Seek Professional Help: If you’re unsure about the wiring process, it’s always best to consult a professional electrician to avoid any risks or mistakes.
Safely open, wire and close this E27 lamp holder to make sure it works and doesn’t kill you. Be careful with all the steps.

