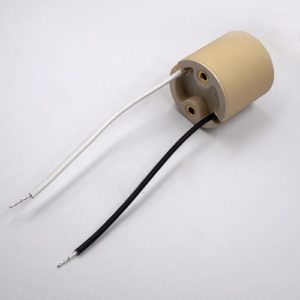
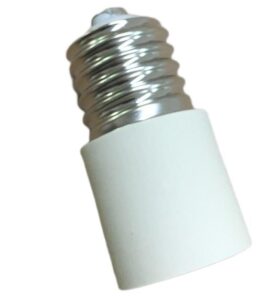
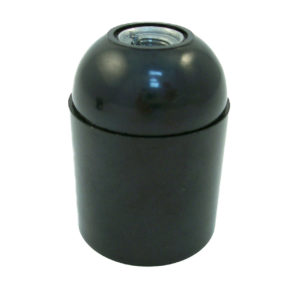
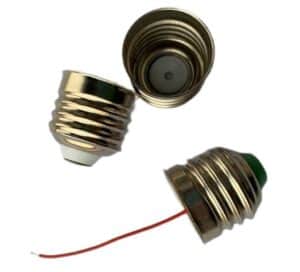
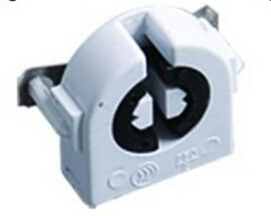
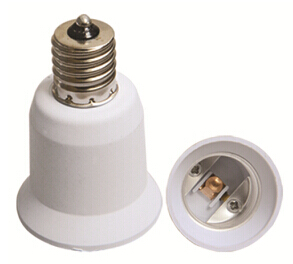
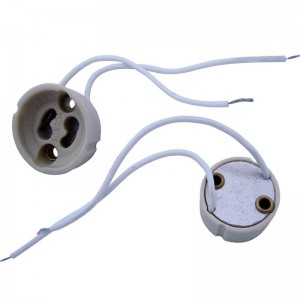
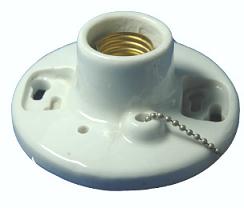
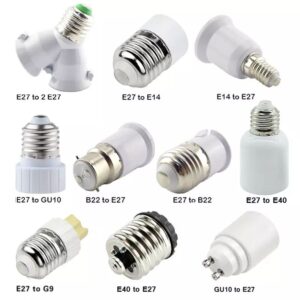
If you don’t attach the wires to an E27 T210 lamp holder correctly, you might have a fire or your lamp holder might not work.
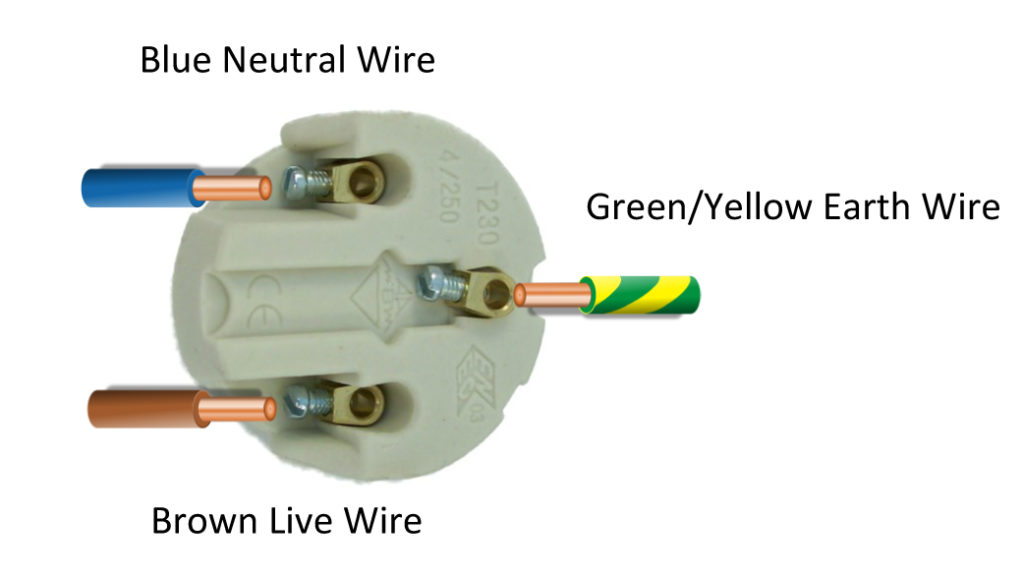
To affix wires to an E27 T210 lamp holder, first turn off the power. Strip the ends of your wires, connect your live (brown) wire to your live terminal, and connect your neutral (blue) wire to your neutral terminal.
Here’s how you attach wires safely to an E27 T210 lamp holder.
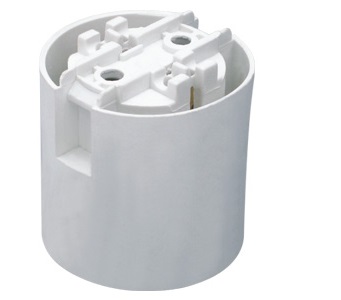
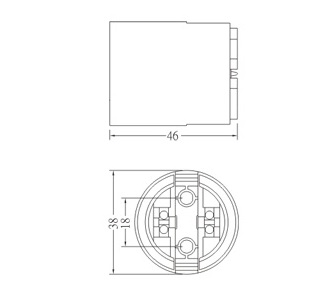
Preparing the Wires for Installation
Before beginning, make sure the power is switched off at the source. Prepare the wires by stripping about 10mm of insulation from both the live (brown) and neutral (blue) wires. Twist the exposed copper strands to ensure they don’t fray during installation.
Correctly prepared wires ensure a secure connection and reduce the risk of loose wires, which can lead to electrical hazards.
Identifying the Terminals on the E27 T210 Lamp Holder
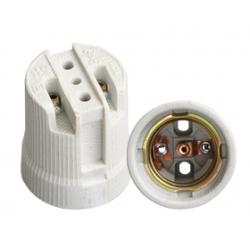
The E27 T210 lamp holder has two terminals: one for the live wire, marked with an “L,” and one for the neutral wire, marked with an “N.” Connecting the wires to the correct terminals is crucial for the lamp holder to function properly. Reversing the connections could cause malfunctions or damage to the fixture.
Always double-check the markings on the lamp holders before affixing the wires.
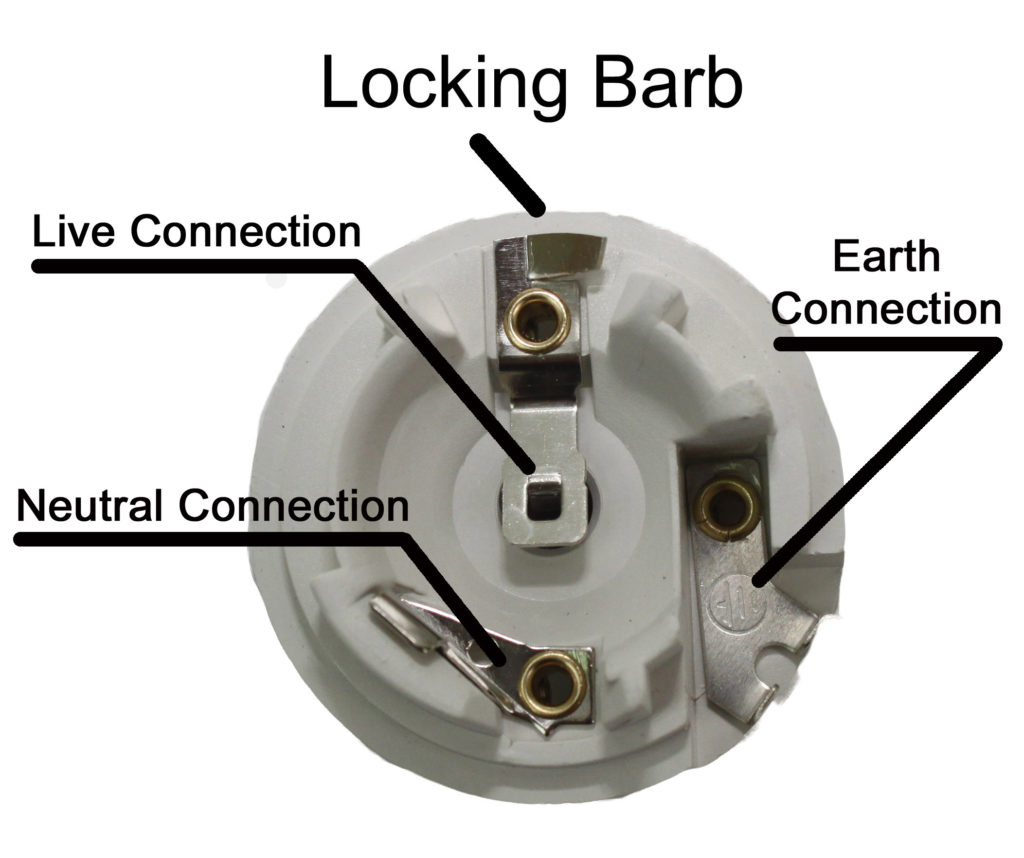
Attaching the Live and Neutral Wires
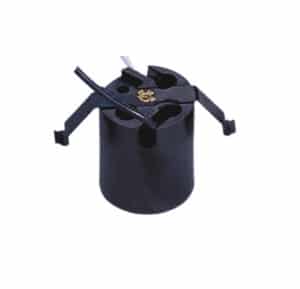
Loosen the screws on the terminals of the lamp holder. Insert the stripped end of the live (brown) wire into the terminal marked “L” and the neutral (blue) wire into the terminal marked “N.” Secure the wires by tightening the screws, ensuring that no copper strands are exposed outside the terminals.
Tightly securing the wires in the terminals prevents loose connections that could lead to electrical faults.
Ground Wire Installation (If Applicable)
If your E27 T210 lamp holder requires a ground wire (green/yellow), it should be connected to the grounding terminal. Plastic lamp holders may not need grounding, but metal holders require it for safety. Proper grounding protects against potential electric shock in case of wiring faults.
Ensure that the ground wire is securely attached to the grounding terminal to maximize safety.
Strain Relief and Securing the Wires
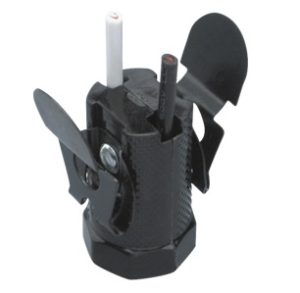
The strain relief mechanism ensures that the wires stay in place and are not pulled out by external forces. After connecting the wires to the terminals, guide them through the strain relief clamp and tighten it. This prevents tension on the wires and reduces the risk of them loosening over time.
Strain relief adds durability to the installation and reduces wear on the wire connections.
Final Reassembly of the Lamp Holder
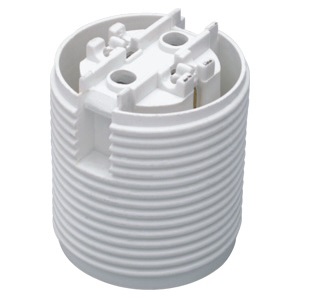
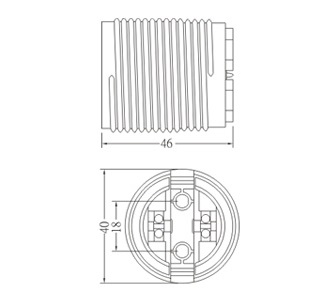
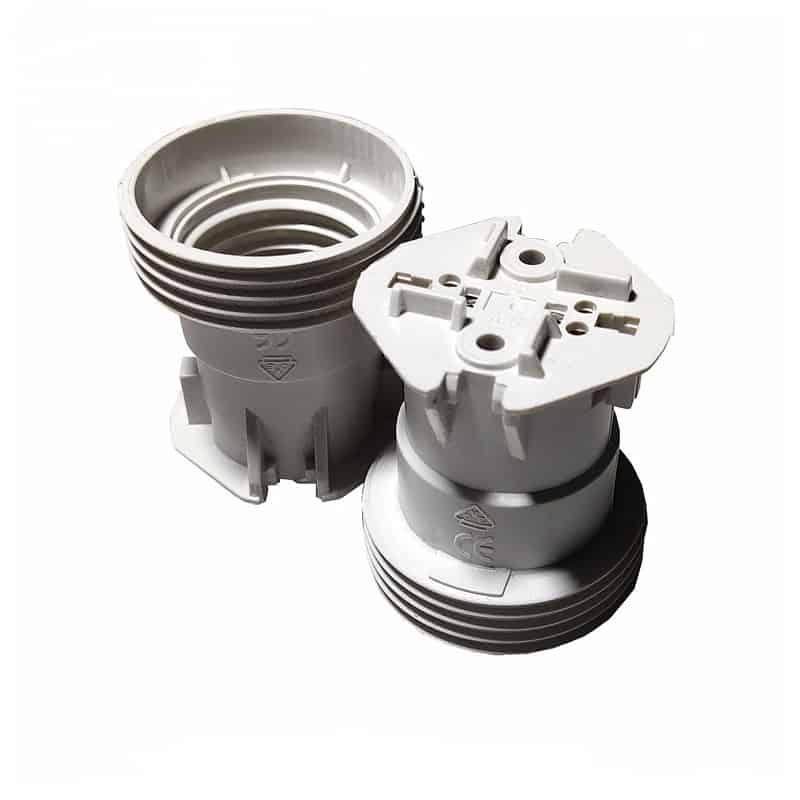
Once the wires are securely affixed, reassemble the E27 T210 lamp holder. Replace any covers or caps and screw them on tightly. Ensure that all parts are secured, with no loose components, and that no wires are exposed.
Proper reassembly ensures the safety and longevity of the lamp holder.
Testing the Installation
After completing the wiring and reassembly, turn the power back on and test the lamp. If it doesn’t light up, switch the power off and check the connections to ensure they are securely fastened to the correct terminals.
Testing ensures that the installation is safe and fully operational before regular use.
What to Do If Wires Are Affixed Incorrectly
If the wires were incorrectly connected, such as swapping the live and neutral wires, the lamp holder may not function correctly or could be a safety hazard. Immediately turn off the power and rewire the connections according to the correct terminal designations.
Correcting any wiring errors promptly reduces the risk of electrical problems.
When to Seek Professional Assistance
If you’re unsure about wiring the lamp holder or if the installation doesn’t work after following the steps, consider seeking assistance from a professional electrician. They can ensure that the wiring is done correctly and safely.
A professional electrician can help avoid potential electrical risks and ensure compliance with safety regulations.
Final Words:
Attaching the wires to an E27 T210 lamp holder is easy to do if you follow these steps.

