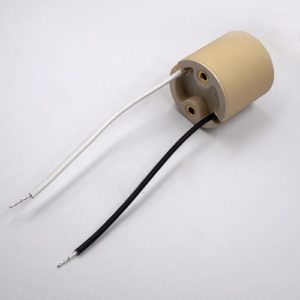
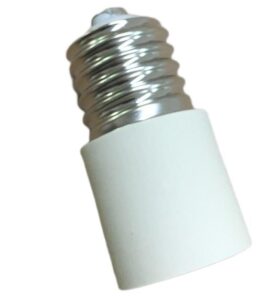
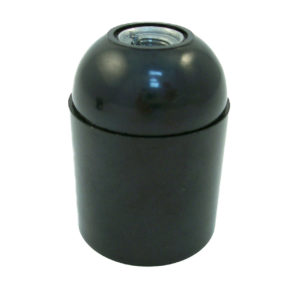
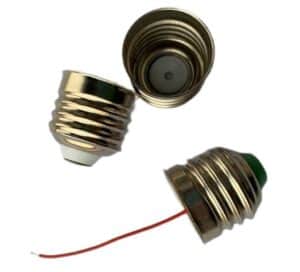
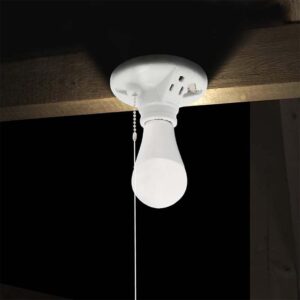
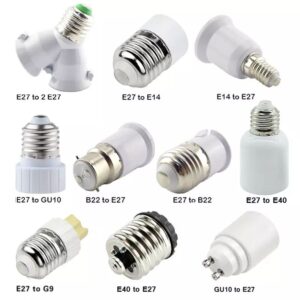
Improperly connecting wires to a ceiling fixture can create potential problems, like electric shock, and the fixture not working correctly. You need to know how to connect a ceiling fixture safely for your safety and to have a functional fixture.
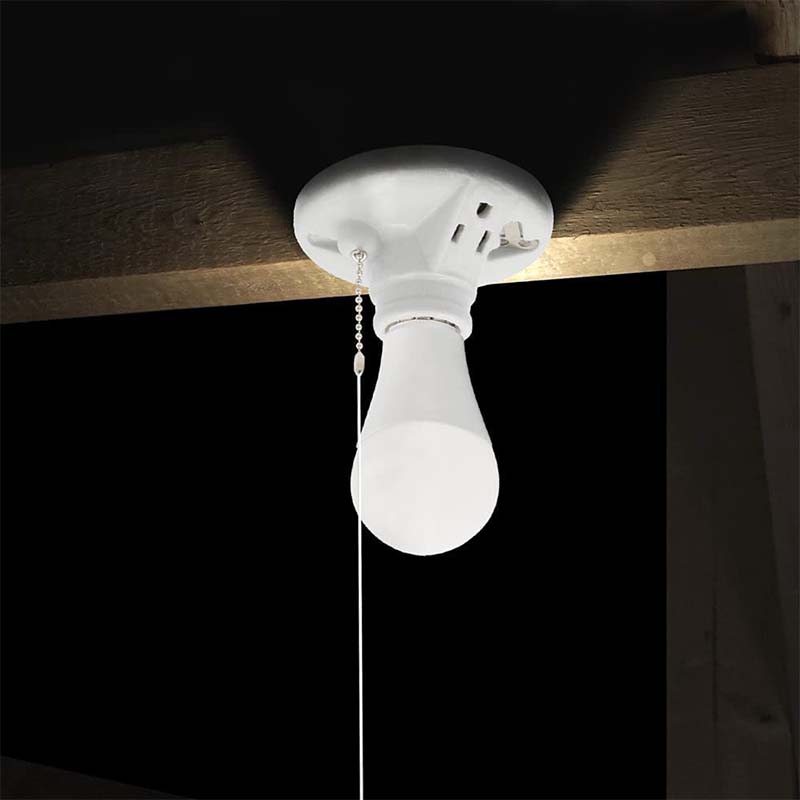
Step 1: Gather Necessary Tools and Materials
For any wiring project, the right tools and materials are essential to ensure a smooth and safe installation. Gather tools like wire strippers, screwdrivers, voltage testers, and insulated gloves. Each of these items contributes to a safer process. Wire strippers allow for precise stripping, minimizing accidental nicks in the wire that could cause it to break or malfunction. Insulated gloves are also essential when handling wires, as they provide a protective barrier against electrical shocks.
In addition to tools, the wiring materials must be compatible with ceiling sockets, compliant with safety standards, and certified by regulatory bodies. High-quality wire connectors, electrical tape, and appropriate junction boxes ensure stability in your wiring setup, reducing the risk of loose connections and potential fires. Always check the fixture’s manual for any socket-specific requirements, such as compatible bulb types or maximum wattage.
Step 2: Turn Off the Power
Before working with any electrical components, it is critical to turn off the power at the circuit breaker. Locate the main circuit breaker panel, and flip the appropriate breaker to the “off” position. This will cut off power to the area, reducing the risk of electric shock when handling exposed wires. After switching off the breaker, verify that the power is truly off by using a voltage tester on the wires in the socket area. This step is often overlooked but can be lifesaving, ensuring the workspace is free from any live currents.
Step 3: Prepare the Ceiling Socket
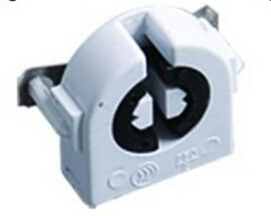
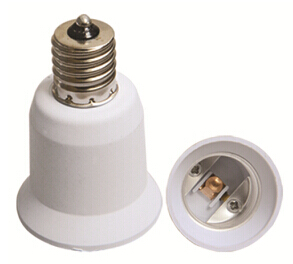
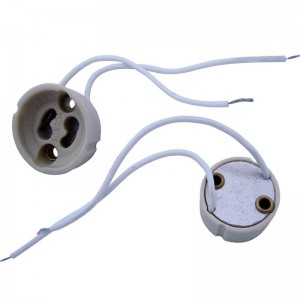
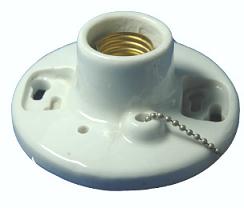
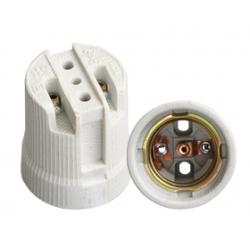
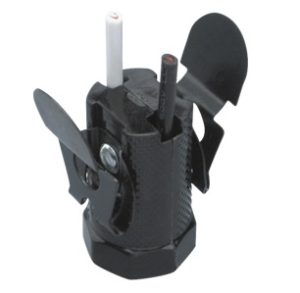
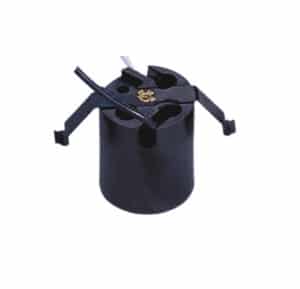
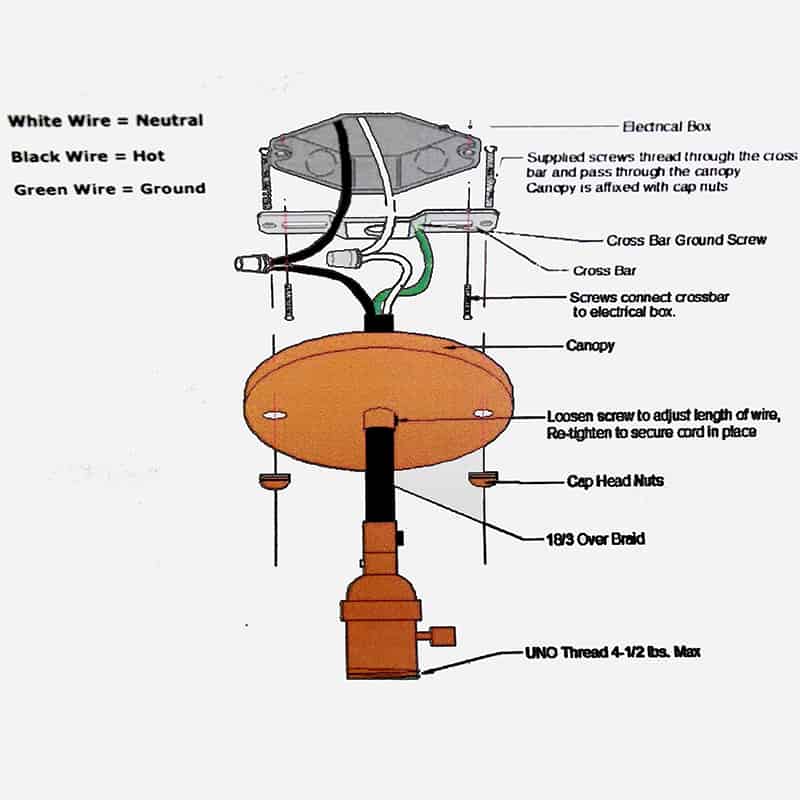
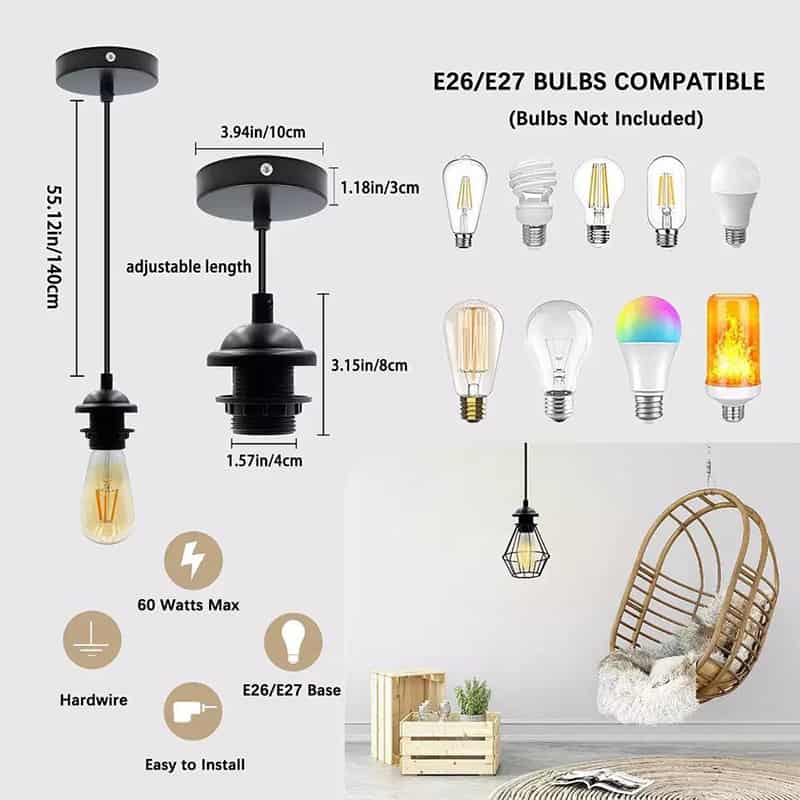
Next, focus on preparing the ceiling light socket for wiring. Remove any covers or caps that might be concealing the terminal screws within the socket. In some cases, ceiling sockets may come with attached mounting brackets, which need to be detached temporarily. Examine the socket closely to identify where each wire will be connected; typically, there will be terminals for the live (hot), neutral, and ground wires. Ensuring that the socket matches your fixture requirements is also essential. Different socket types like E26 or E27, widely used in North America and Europe respectively, require proper verification of voltage and wattage to prevent mismatches or bulb compatibility issues.
Step 4: Strip and Prepare the Wires
To connect wires securely, prepare each wire by stripping about half an inch of insulation from the ends of the live, neutral, and ground wires. Using wire strippers, gently remove only the outer layer of insulation without damaging the wire strands. When stripping wires, be sure to follow local color codes to identify the live, neutral, and ground wires accurately. Typically, in the U.S., the black wire is live, the white wire is neutral, and the green or bare wire serves as the ground. In Europe, the live wire is generally brown, the neutral blue, and the ground remains green or yellow. This attention to wire preparation will enable secure, reliable connections once affixed to the socket.
Step 5: Connect the Wires to the Socket
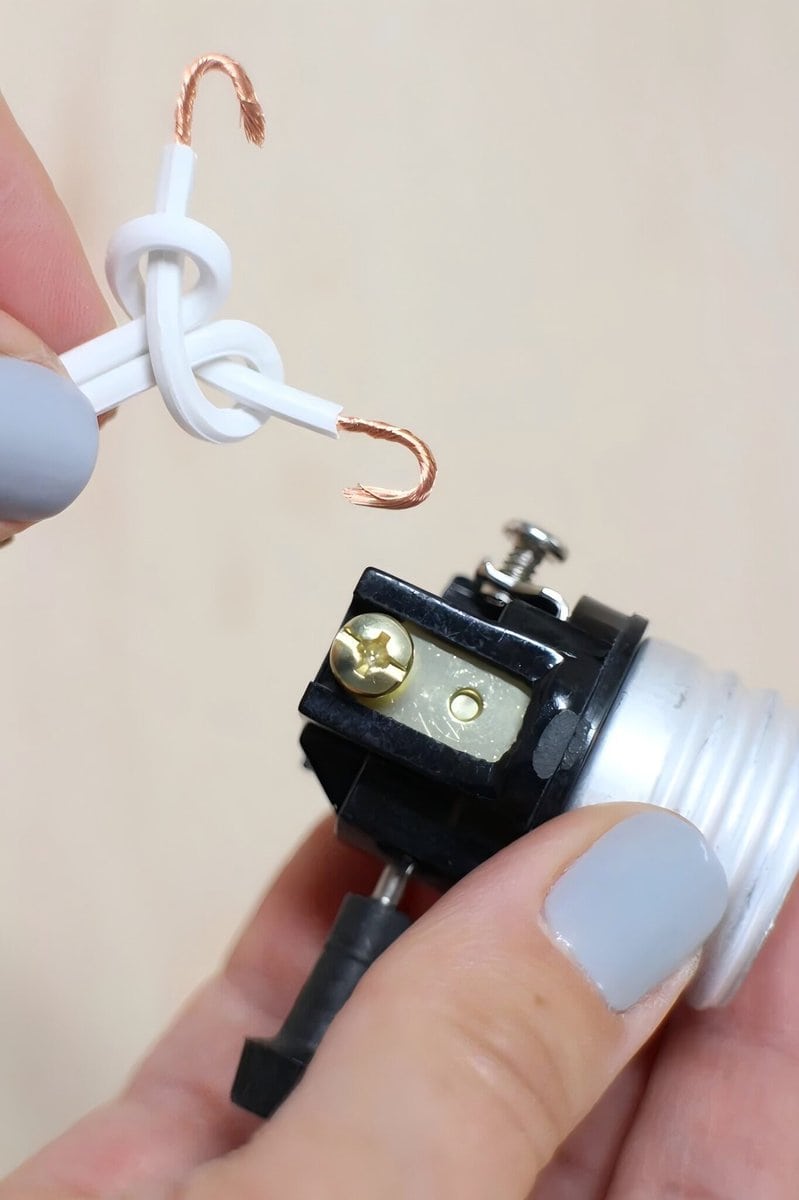
With the wires prepared, you can now connect them to the ceiling socket. Start by connecting the live wire (usually black or brown) to the terminal marked “L” for “line” or “live.” Loosen the screw, insert the stripped wire end, and tighten it securely to hold it in place. Next, connect the neutral wire (typically white or blue) to the terminal labeled “N.” Again, ensure the wire is firmly attached to prevent it from loosening over time. Finally, attach the ground wire (green or bare copper) to the terminal marked with a grounding symbol or to the grounding screw inside the socket housing. This is vital for safety, as grounding prevents accidental electric shocks by redirecting fault currents.
Make sure each connection is secure and that no bare wire is exposed outside the terminal. Any exposed wire could create a short circuit or shock hazard. After connecting, gently tug on each wire to test that it’s firmly in place before moving to the next step.
Step 6: Secure the Socket and Test the Connection
Once the wires are connected, carefully place the ceiling socket back into its housing or bracket, securing it with screws. Ensure that no wires are pinched or excessively twisted, as this could cause future malfunctions. With the socket mounted and all connections securely fastened, reattach the cover or plate to conceal the wiring.
After securing the fixture, test the setup by first turning on the circuit breaker, then using a voltage tester or plugging in a compatible light bulb. Flip the switch on and off to confirm that the socket is receiving power properly. If everything works, the connection is successful. If it doesn’t, turn off the power and recheck the connections for any loose or misconnected wires.
Step 7: Common Mistakes to Avoid
Avoiding common wiring mistakes is crucial for a successful ceiling socket installation. One common error is over-stripping the wires, which can expose too much bare metal, increasing the risk of short circuits. Similarly, not tightening the connections adequately can lead to loose wires, resulting in electrical issues or potential fire hazards. Another common oversight is forgetting to double-check the power before beginning. Always verify that the circuit breaker is off and use a voltage tester for an additional safety measure.
Also, ensure you’re using the correct light socket type for your bulb and region. E26 sockets are standard in North America, while E27 sockets are more common in Europe. Mixing these could lead to issues with voltage compatibility, potentially damaging the bulb or fixture. Each step is designed to ensure a safe and durable connection, so following them carefully is key.
Final Words:
A properly connected ceiling fixture guarantees you’re safe and your fixture will last a long time.

