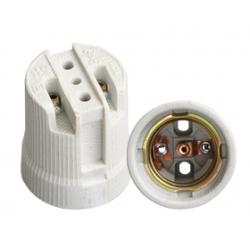
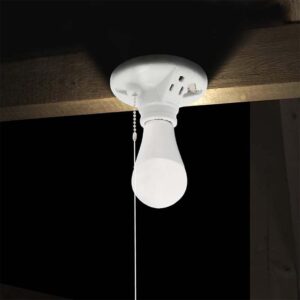
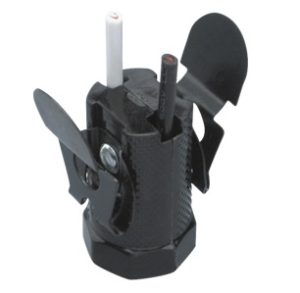
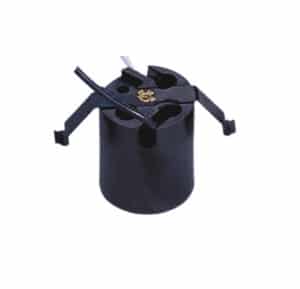
Corroded light bulb sockets can cause bad electrical connections, leading to lights that flicker or won’t work. Ignoring this problem could lead to more damage and might even be a safety hazard. Here’s how to fix a corroded light socket.
To fix a corroded light bulb socket, turn off the power, take the light bulb out, and look at the socket to see if there’s any rust or corrosion. Clean the socket with a wire brush or sandpaper. You can use electrical contact cleaner to get rid of any debris. If there’s a lot of corrosion, you might need to replace the whole socket.
It’s important to follow these steps carefully to get your light socket working again and to stay safe.
Identify Signs of Corrosion in the Socket
Before you begin any repairs, the first step is to identify whether the socket is truly corroded. Common signs of corrosion include flickering lights, bulbs that no longer work despite being new, or a burnt smell coming from the fixture. Upon close inspection, you may also notice visible signs of rust or greenish deposits on the socket’s metal contacts. Corrosion is particularly common in areas with high humidity, such as outdoor or bathroom light fixtures.
These symptoms indicate that moisture has entered the socket, causing the metal contacts to corrode. Catching these signs early can save you from having to replace the entire fixture, as well as preventing electrical problems that could worsen over time.
Turn Off Power and Dismantle the Socket
When dealing with electrical components, safety should always come first. Start by turning off the power supply at the circuit breaker to eliminate any risk of electric shock. Even if the light switch is off, residual current could still be present, so a voltage tester is a good tool to confirm that the circuit is dead. Once the power is off, unscrew the light bulb from the socket and take a close look inside.
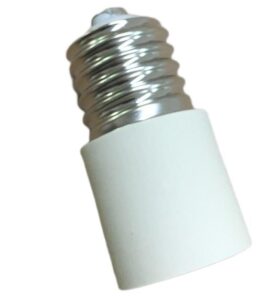
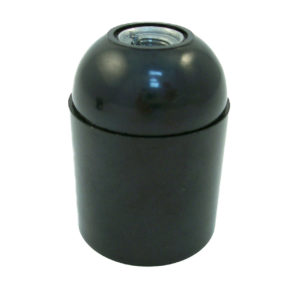
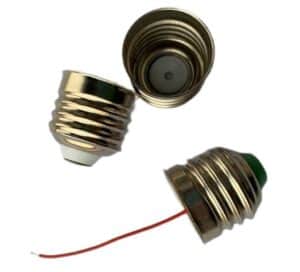
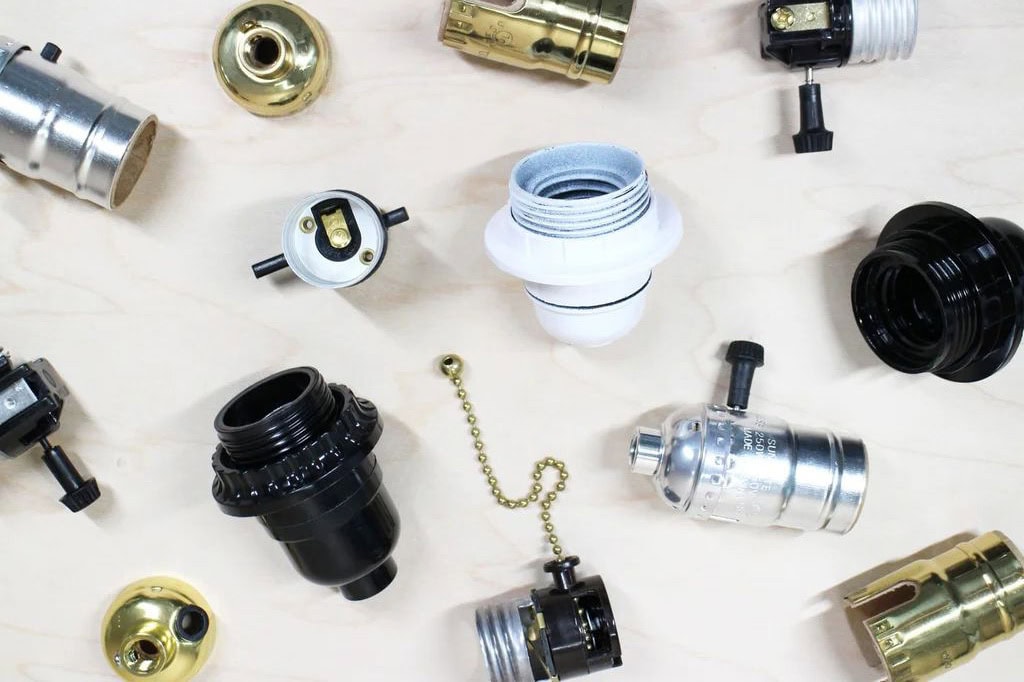
Depending on the socket type—whether it’s an E26, E27, or another common variety—you may need to remove additional screws to fully access the socket. This will allow you to examine the base of the socket where corrosion typically occurs. Be careful during this process to avoid damaging the socket or any connected wires.
Clean the Corroded Socket
Once the socket is exposed, you can begin cleaning it. Light corrosion can often be remedied with a simple cleaning process. Use a wire brush or sandpaper to gently scrape off the rust or corrosion from the socket’s metal contacts. Be thorough in your cleaning; even small amounts of corrosion left behind can prevent a proper electrical connection. After removing the visible corrosion, apply an electrical contact cleaner to the area. This will help remove any residual particles and improve conductivity.
Allow the contact cleaner to dry fully before continuing. This step ensures the socket is prepared to create a solid electrical connection once the light bulb is replaced.
Apply Electrical Grease
To protect the socket from future corrosion, applying a small amount of dielectric grease to the metal contacts is highly recommended. This specialized grease acts as a protective barrier, shielding the socket from moisture and air that can lead to further oxidation. A thin layer is all that’s needed—avoid over-applying, as it could interfere with the connection between the bulb and the socket.
This step is particularly important for light sockets installed in outdoor fixtures or in rooms with high humidity, such as bathrooms or kitchens. The grease not only prevents corrosion but also makes it easier to insert and remove light bulbs in the future.

Replace the Socket if Necessary
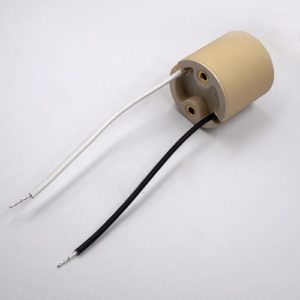
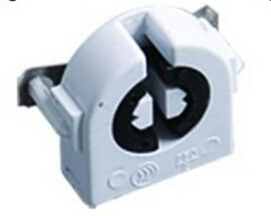
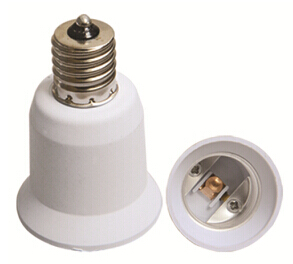
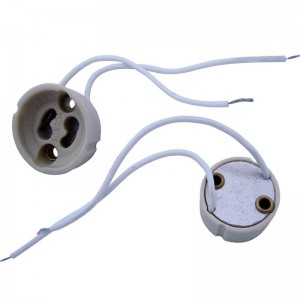
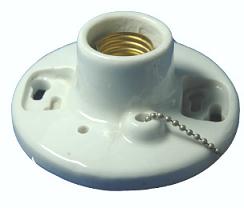
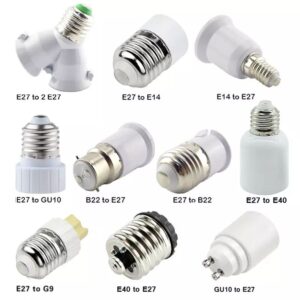
If the corrosion is severe, cleaning may not be enough to restore the socket’s functionality. In these cases, it’s often more practical to replace the entire socket. Replacing a light socket is relatively simple and cost-effective. First, ensure you purchase a compatible socket—whether it’s an E26, E27, or GU10, depending on your fixture’s needs.
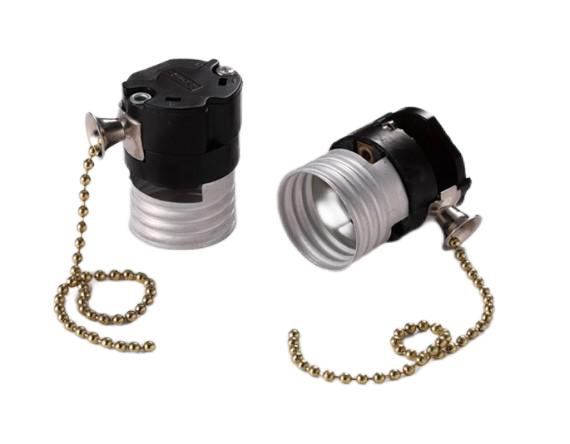
Once you have the new socket, disconnect the wires from the old one and carefully remove it from the fixture. Install the new socket by connecting the wires as they were before, ensuring they are tightly secured. After replacing the socket, test the light by turning the power back on and checking if the fixture works correctly. If all has been done properly, the light should function without issues, and you’ll have eliminated the corrosion problem entirely.
Prevent Future Corrosion
After you’ve fixed or replaced the corroded socket, it’s important to take steps to prevent future problems. For light fixtures in high-moisture areas, consider installing moisture-resistant sockets or using light bulbs designed for damp environments. Outdoor fixtures should be properly sealed to prevent water from seeping into the socket.
Regular maintenance can also help prevent corrosion. Make a habit of checking your light sockets, especially in rooms or outdoor areas prone to moisture. If you notice early signs of corrosion, cleaning and applying electrical grease can help stop it from progressing. This proactive approach can extend the life of your light sockets and keep your fixtures working reliably for years to come.
By following these simple steps, you can easily fix a corroded light socket and take measures to prevent future issues.

