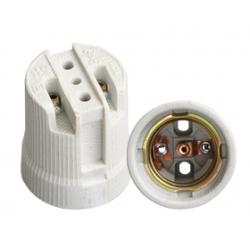
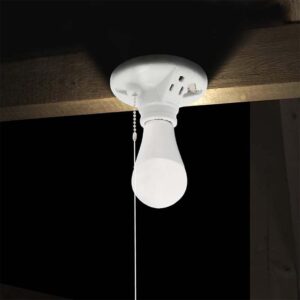
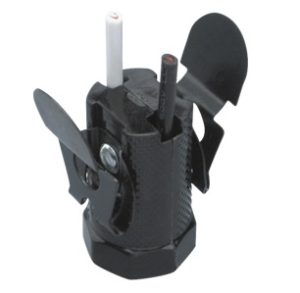
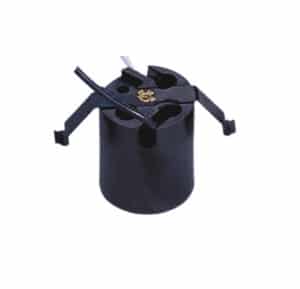
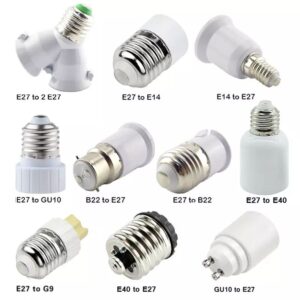
A bad lamp socket can be frustrating and even a safety hazard in your home. Whether you have flickering lights, a bulb that doesn’t work, or signs of an electrical problem, you might have a bad socket. Knowing how to diagnose a bad lamp socket can help you figure out what’s wrong. In this guide, we’ll talk about the common signs, how to test it, and what to do to fix or replace a bad socket.
You can tell if you have a bad lamp socket if your lights flicker, the connections are loose, you see burn marks, or if you check the continuity with a multimeter and it doesn’t work. If you have any of these problems, you might need to replace the socket.
Knowing the symptoms of a bad socket will help you figure out what’s wrong and fix your lighting problems.
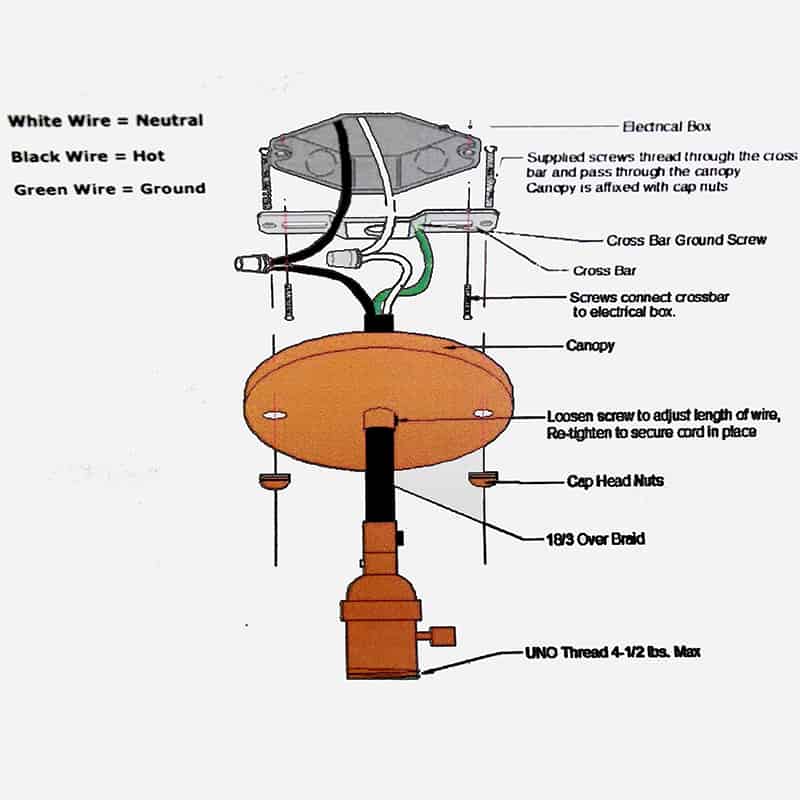
Common Signs of a Bad Lamp Socket
There are several warning signs that indicate your lamp socket may be malfunctioning. Recognizing these early can prevent further damage to the lamp or potential electrical hazards. Here are some of the most common signs that your lamp socket might be faulty:
- Flickering lights: One of the most common signs of a bad socket is flickering lights. This is often due to inconsistent electrical contact between the bulb and the socket. If your light flickers even after securely screwing in the bulb, the socket may be worn or damaged, causing poor contact.
- Loose connections: If the light bulb feels wobbly or doesn’t screw in tightly, this is a clear sign that the socket is failing. Over time, the metal contacts inside the socket may wear down or become misaligned, preventing the bulb from making a secure connection. This loose fit can lead to flickering, dimming, or the light not turning on at all.
- Burn marks or discoloration: Overheating sockets can cause visible damage. Check the socket for burn marks, melting, or discoloration around the base. These are strong indicators that the socket has been overheating and may pose a fire hazard if left unrepaired.
- Unusual odors: If you notice a burning smell near the socket, this could signal serious electrical issues. Overheating or electrical arcing (sparks jumping between contacts) can cause a distinct burnt smell, which requires immediate attention.
These symptoms are usually the first clues that your socket may need replacement. Addressing the issue promptly is important to ensure safe operation of the lamp and avoid more serious electrical problems.
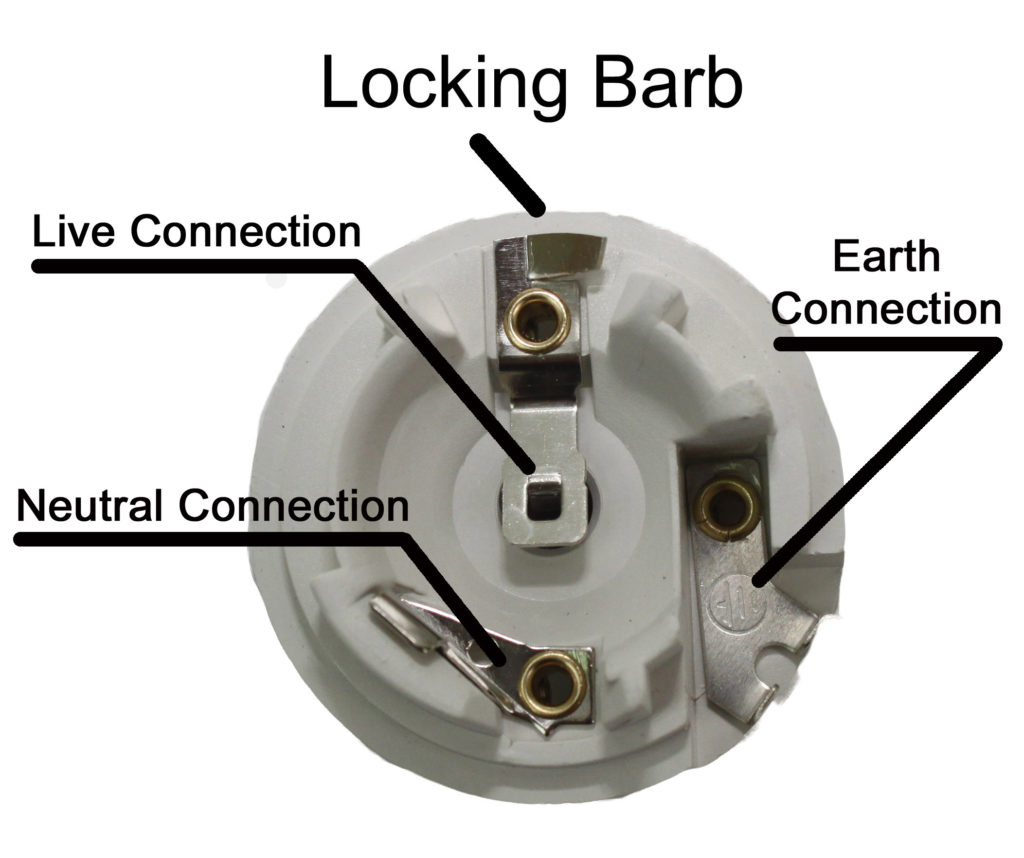
Testing the Socket with a Multimeter
If you suspect that your lamp socket is faulty, one of the most effective ways to confirm this is by testing it with a multimeter. A multimeter can help you check for electrical continuity (whether electricity is flowing properly through the circuit) and voltage (whether the socket is receiving power). Here’s how to safely test your socket:
- Turn off the power: Always begin by turning off the power to the lamp. If the lamp is plugged into an outlet, unplug it. If it’s wired into a circuit, turn off the breaker to avoid the risk of electrical shock.
- Remove the bulb: Carefully unscrew the bulb from the socket to access the electrical contacts inside.
- Set the multimeter: Set your multimeter to measure continuity (usually marked with a symbol resembling sound waves) or resistance (measured in ohms, Ω).
- Test for continuity: Place one of the multimeter’s probes on the bottom metal tab inside the socket and the other probe on the metal side of the socket. If the multimeter beeps or shows a low resistance reading, it means the socket has continuity and is likely working properly. If there is no continuity (the meter doesn’t beep or show a reading), the socket may be faulty.
- Check for voltage: If you’re comfortable working with live circuits, you can plug in the lamp or turn the breaker back on and switch your multimeter to the voltage setting. Carefully test the socket by placing one probe on the metal tab at the base of the socket and the other on the socket’s metal side. If no voltage is present, there may be an issue with the wiring or the socket itself.
By testing with a multimeter, you can quickly confirm whether your socket is functioning correctly or if it needs to be replaced.
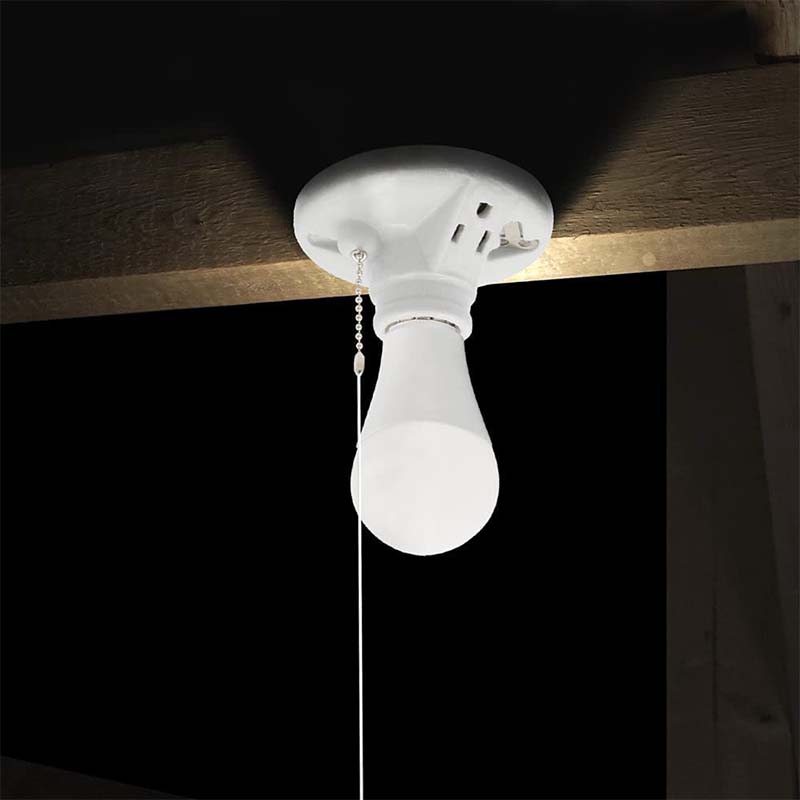
Inspecting the Wiring Connections
A bad lamp socket isn’t always the problem—sometimes the wiring inside the lamp can also cause malfunctions. Faulty wiring connections can lead to inconsistent power flow or complete failure of the lamp. If your socket seems fine after testing, the next step is to inspect the wiring:
- Turn off the power: As always, ensure the power is off before opening the lamp or touching any wiring.
- Open the socket: Depending on the type of lamp, you may need to unscrew the socket cover or base to access the internal wiring.
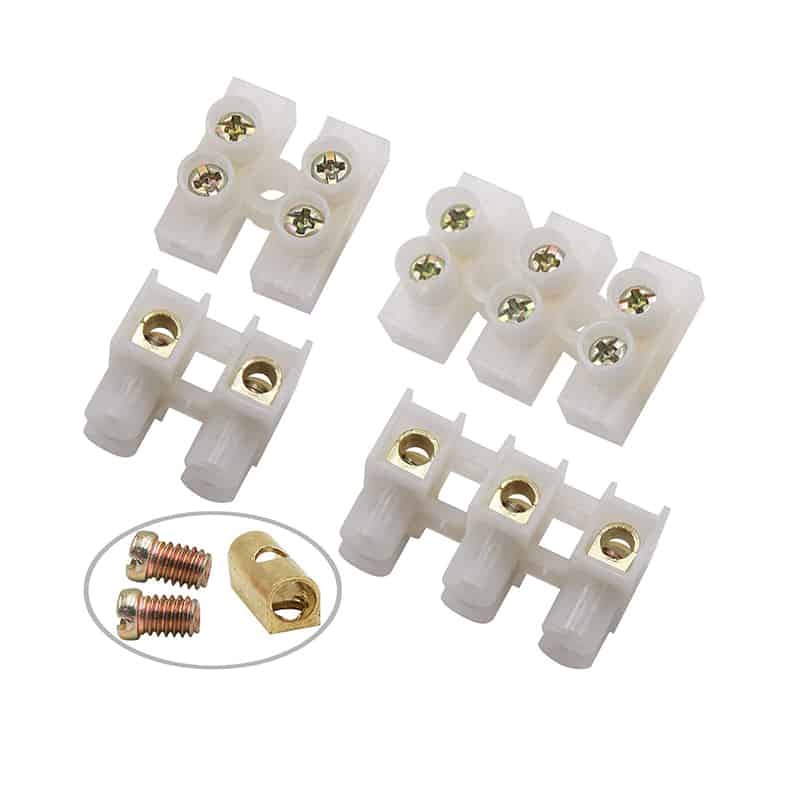
- Inspect the wires: Check for loose, frayed, or broken wires. If the wires are not securely connected to the socket terminals, they can cause flickering, dimming, or no power at all. Reattach or tighten any loose wires.
- Look for corrosion: If the lamp has been used in a humid environment, corrosion can build up on the wire connections or socket contacts. Corrosion interferes with the electrical flow and should be cleaned or the affected parts replaced.
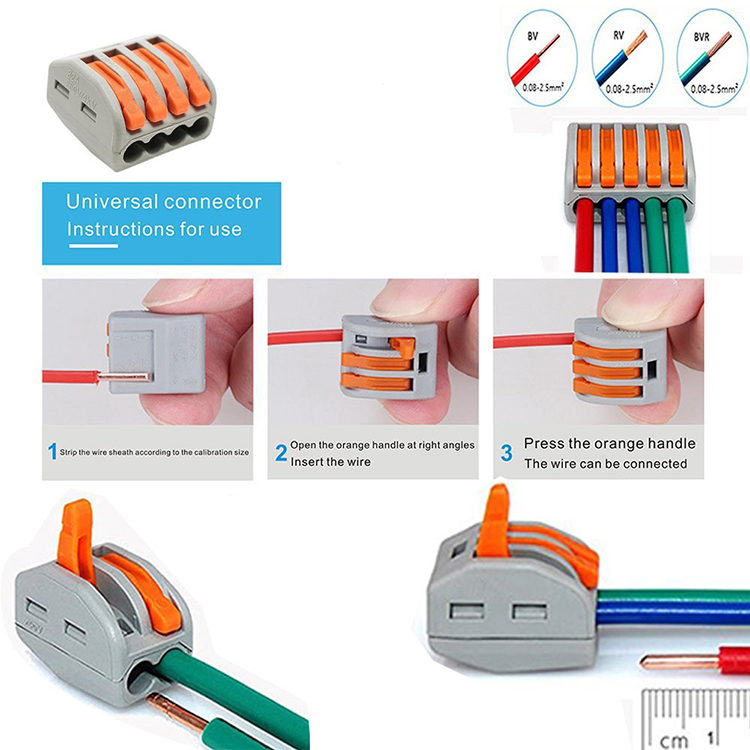
- Replace damaged wires: If you find any wires that are visibly frayed, broken, or corroded beyond repair, it’s important to replace them. Using electrical tape or wire nuts, you can safely reconnect the wiring to the socket terminals.
Once you’ve checked the wiring and corrected any issues, reassemble the lamp and test it again to see if the problem has been resolved.
Replacing a Faulty Lamp Socket
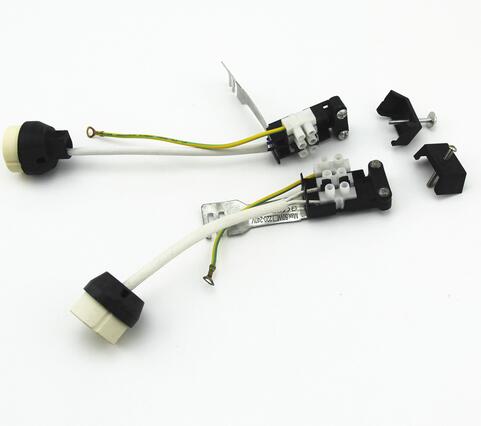
If you’ve determined that the socket is indeed faulty and beyond repair, replacing it is a relatively simple process. Here’s how to do it:
- Turn off power and disassemble the lamp: Unplug the lamp or turn off the power at the breaker. Then, remove the bulb and disassemble the lamp to access the socket.
- Remove the old socket: Unscrew or pull apart the old socket. Carefully detach the wires from the socket’s terminals—remember which wire goes to which terminal (typically, black or red wires are live, white is neutral, and green or bare copper is ground).
- Install the new socket: Take your new socket and attach the wires in the correct order—live to live, neutral to neutral, and ground to ground. Tighten the connections securely, ensuring that the wires are firmly attached to the correct terminals.
- Reassemble the lamp: Once the new socket is installed, reassemble the lamp and screw the new socket into place. Replace the bulb and turn the power back on to test the fixture.
Replacing the socket is often the best solution when troubleshooting issues like flickering, loose connections, or power failure. This ensures the lamp works safely and reliably.
When to Call a Professional Electrician
While testing and replacing a socket can be a DIY-friendly task, there are situations where it’s best to call a professional electrician:
- Wiring issues beyond the socket: If the problem lies in the wiring leading to the socket or in the lamp’s electrical connections, it’s safer to have a professional inspect and repair the fixture.
- Persistent overheating: If the socket or surrounding area continues to overheat even after replacing the socket, this could indicate a deeper electrical issue that needs expert attention.
- Complex lighting systems: If the lamp is part of a built-in lighting system, or if you’re unsure about handling electrical components, it’s best to leave the job to a licensed electrician.
An electrician can ensure that the wiring and socket are properly installed and meet electrical safety codes, giving you peace of mind that your lamp will function safely.
Preventive Maintenance Tips to Avoid Socket Failures
To extend the life of your lamp sockets and avoid future failures, consider these preventive maintenance tips:
- Use the correct wattage bulbs: Overloading the socket with bulbs that exceed the recommended wattage can cause overheating and damage the socket. Always check the lamp’s wattage limit and use bulbs within those guidelines.
- Regularly check for signs of wear: Inspect your lamp sockets periodically for any signs of damage, discoloration, or loose connections. Addressing issues early can prevent more serious problems down the road.
- Keep sockets clean: Dust and debris can accumulate in sockets, interfering with the connection between the bulb and the socket. Regularly clean the socket area to ensure good electrical contact.
By maintaining your sockets and following these safety practices, you can ensure your lamps function efficiently and last longer.
Final Words
A bad lamp socket can cause your lights to flicker, stop working, or create a safety hazard. By looking for signs like flickering lights, loose connections, or burn marks, you can figure out if the socket is bad.
Testing with a multimeter and inspecting the wiring are ways to diagnose the problem. If you need to, you can replace the light socket to make your lamp work again. If you’re not sure, make sure to get a professional to help you do the work.

