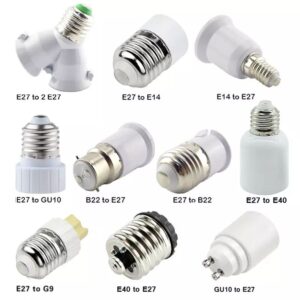
Many people have trouble connecting multiple bulb sockets together to create a consistent and reliable lighting system. But, with a few simple wiring techniques, you can have a dependable and functional lighting system.
The Simplest Way to Link Multiple Bulb Sockets Together
The easiest and safest way to connect multiple light bulb sockets together is to wire them in parallel. This way, each bulb gets the same voltage, so you don’t have any power fluctuations, and all the bulbs are the same brightness.
Why Connecting Multiple Bulb Sockets Can Be Useful
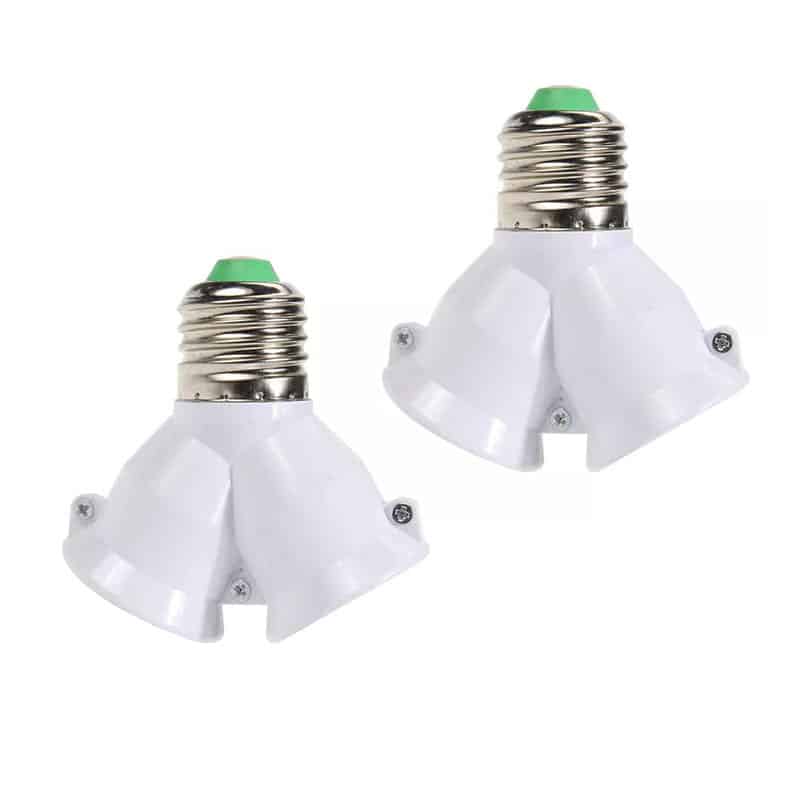
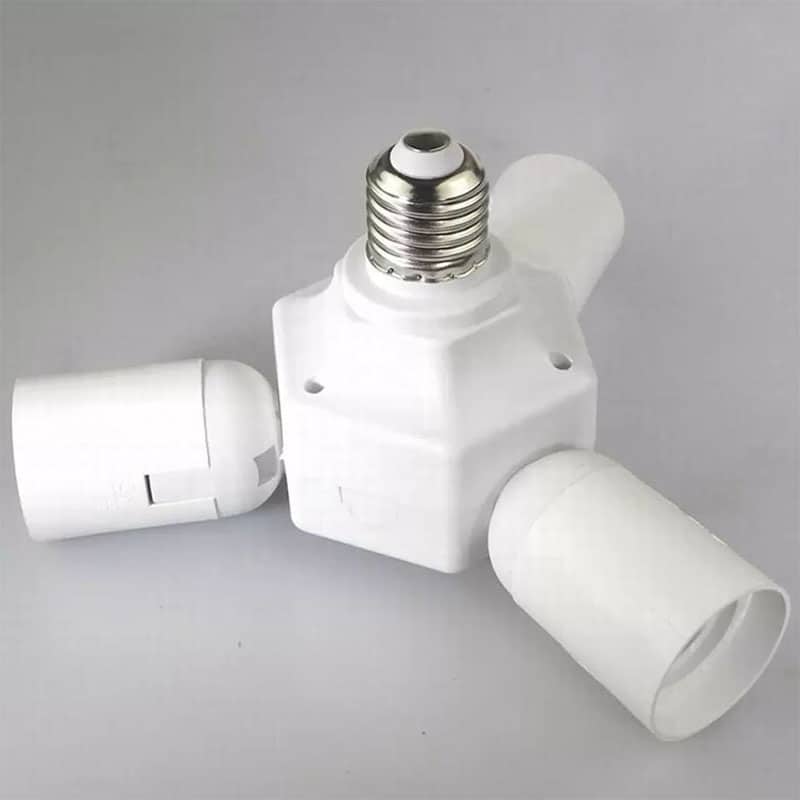
Linking multiple bulb sockets together has a wide range of practical applications. In homes, it can allow you to create well-distributed lighting across a room or different areas of a large space. In commercial or industrial settings, such as warehouses or event spaces, connecting multiple sockets enables the use of multiple bulbs to light up large areas efficiently. Whether it’s for home improvement, event setups, or industrial applications, connecting multiple sockets can simplify control over lighting while ensuring uniform brightness.
Materials You Will Need for Linking Multiple Bulb Sockets
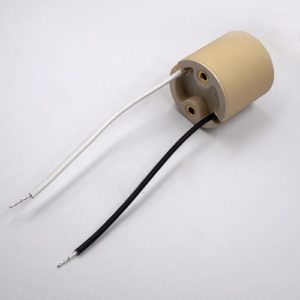
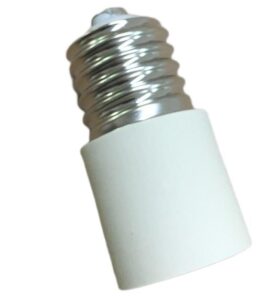
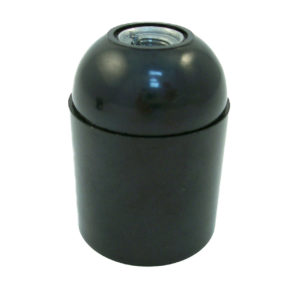
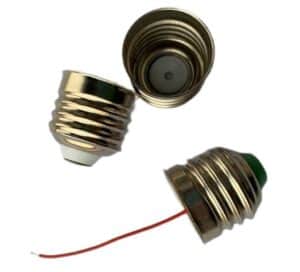
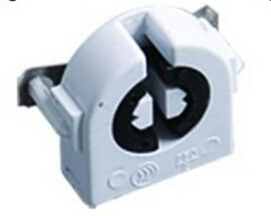
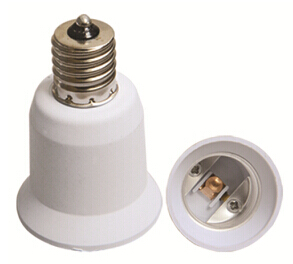
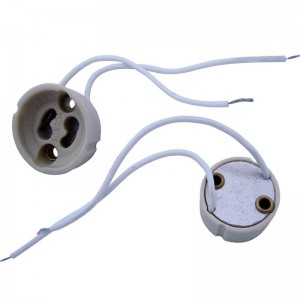
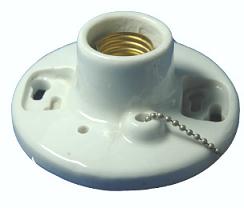
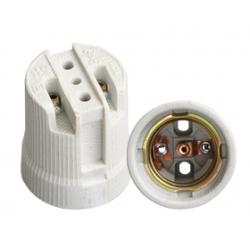
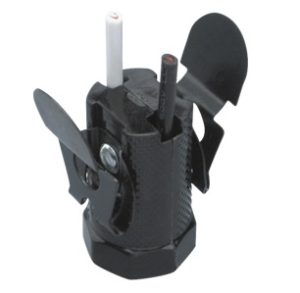
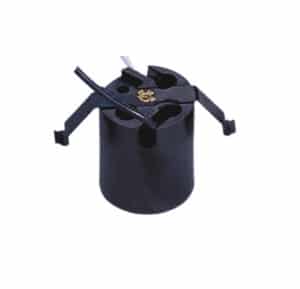
To successfully link multiple bulb sockets, you’ll need a few basic tools and materials. Start with the right type of bulb sockets, such as E26 or E27 sockets, which are compatible with standard household bulbs. Ensure that the sockets can handle the same voltage and wattage as your power supply. You’ll also need electrical wire, ideally the same gauge that matches your system’s requirements, wire connectors, electrical tape, a screwdriver, and wire strippers.
Choosing the correct bulbs and sockets is essential. You need to match the voltage of the bulbs with the power supply of your circuit. For example, if you’re using 240V sockets like the E27, be sure that your bulbs are compatible with this voltage. For more advanced setups, consider using a junction box to house all the wiring for a clean and professional finish.
Safety Measures Before Starting
Before diving into wiring, safety is paramount. First and foremost, always ensure that the power is turned off from the circuit breaker before beginning any electrical work. Wear insulated gloves to protect against accidental electric shocks and use goggles to safeguard your eyes from debris. If you’re unfamiliar with wiring or have doubts about the process, consult a licensed electrician for guidance.
Double-check that your tools, including wire strippers and screwdrivers, are insulated and in good working condition. Taking these precautions will minimize the risk of accidents and ensure a smooth installation.
Understanding Parallel and Series Wiring: Which is Best for Multiple Sockets?
When it comes to linking multiple sockets, you’ll typically have two options: parallel wiring or series wiring. Each has its own pros and cons, but for connecting multiple sockets, parallel wiring is by far the best choice.
In series wiring, electricity flows through each socket in turn, which means if one socket fails or a bulb burns out, the entire circuit breaks, turning off all the bulbs. This setup is more suited for Christmas lights or similar decorative lighting.
On the other hand, parallel wiring ensures that each socket has its own connection to the power supply, so if one bulb burns out, the others will continue to function. This method provides full voltage to each socket, resulting in consistent brightness across all bulbs. Parallel wiring is also more energy efficient in terms of power distribution and maintenance.
Step-by-Step Guide to Wiring Multiple Bulb Sockets in Parallel
- Prepare the Wires: Begin by stripping about half an inch of insulation off the ends of the wires that will connect the bulb sockets. Make sure the wires are long enough to reach between each socket.
- Connect the Sockets: Attach one wire to the positive terminal of the first socket and connect the other end to the positive terminal of the next socket. Repeat this process for the negative terminals, ensuring that all the positive and negative connections are properly aligned. Use wire connectors to secure the connections between wires.
- Secure the Connections: Once all the wires are connected, wrap them with electrical tape to prevent exposure and accidental contact. This is especially important in preventing electrical shorts.
- Test the Circuit: After you have finished wiring all the sockets, turn the power back on at the circuit breaker and test the setup. Insert light bulbs into the sockets, flip the switch, and check if all the bulbs light up evenly. If they do, you have successfully linked the sockets.
- Mount the Sockets: Secure the bulb sockets in their final positions using screws or mounting brackets. Make sure they are properly aligned and stable to avoid any future loosening or damage.
Common Mistakes to Avoid When Wiring Multiple Bulb Sockets
One of the most common mistakes is misaligning the positive and negative terminals when wiring the sockets. Always double-check that the positive and negative terminals are connected correctly; otherwise, the circuit will not function properly. Additionally, overloading the circuit by using bulbs with too high a wattage can cause overheating and increase the risk of fire hazards.
Another mistake to avoid is not securing the connections with wire nuts or connectors. Loose connections can lead to inconsistent lighting or flickering bulbs, which can also pose a safety risk. Make sure to use proper connectors for a reliable and secure connection.
Troubleshooting: What to Do if the Circuit Doesn’t Work
If the bulbs do not light up after wiring, start by checking the connections. Ensure that all the wires are securely connected and that none are exposed. Use a voltage tester to verify that the power is flowing through the wires. If one or more bulbs are flickering or not lighting up, it may indicate a loose connection or faulty socket. Check each socket individually and re-tighten any loose connections.
In some cases, a faulty light switch or overloaded circuit breaker might be the culprit. Double-check your electrical panel and replace any faulty components if necessary.
How to Optimize Your Setup for Energy Efficiency
To improve the energy efficiency of your lighting setup, consider using energy-saving bulbs like LED or CFL bulbs. These bulbs consume less power while providing the same level of brightness as incandescent bulbs. Additionally, LEDs have a longer lifespan, reducing the need for frequent replacements. Calculate the total wattage of your bulbs and compare it with the capacity of your circuit to ensure that you’re not exceeding the limit.
If possible, install a dimmer switch to control the brightness of the bulbs, allowing you to reduce energy consumption when full brightness isn’t necessary. A timer or motion sensor can also help optimize energy usage, automatically turning lights off when they are not needed.
Final Words:
Connecting more than one light bulb socket together is a useful way to meet different lighting needs. With the right materials, safety precautions, and wiring methods, you can have a dependable and efficient lighting system in any space.

