Removing a burned-out CFL (Compact Fluorescent Lamp) bulb from its light socket can be challenging, especially if the bulb is stuck or fragile. Handling the bulb carefully and safely is crucial to prevent injuries, damage to the socket, or environmental hazards.
Understanding CFL Bulb Mechanics
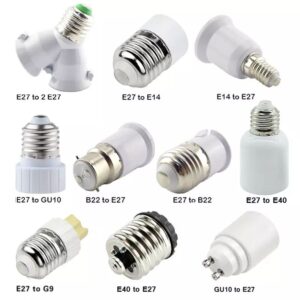
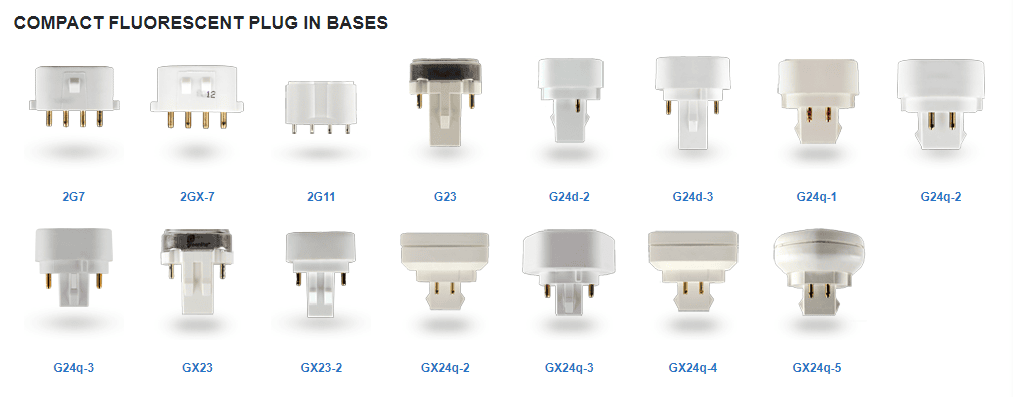
CFL bulbs consist of a glass tube filled with gas, a base that connects to the socket, and internal components that regulate the electric current. They come in two main types: screw-in and pin-based. Screw-in CFLs have a threaded metal base that twists into the socket, while pin-based CFLs connect via two or four pins that push into corresponding slots. Understanding these differences is key to safe removal.
Safety Precautions Before Removal
Before attempting to remove a CFL bulb, prioritize safety. Turn off the power to the fixture by switching off the wall switch or circuit breaker. Allow the bulb to cool completely, as CFLs can become hot during operation. Wear gloves to protect your hands in case the glass shatters during removal. Having a cloth or rubber grip nearby can also help with traction if the bulb is difficult to remove.
Removing a Standard Screw-In CFL Bulb
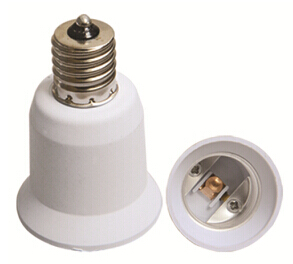
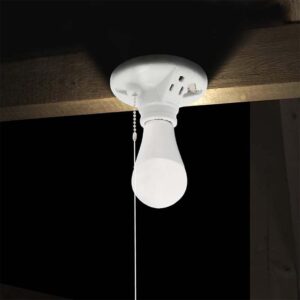
To remove a screw-in CFL bulb, gently grip the base of the bulb rather than the glass tube to avoid breaking it. Twist the bulb counterclockwise to unscrew it from the socket. If the bulb is stuck, use a cloth or rubber grip to increase traction. Apply steady, even pressure to avoid snapping the glass or damaging the socket. Avoid forcing the bulb, as excessive pressure can cause the glass to break or the base to deform.

Removing a Pin-Based CFL Bulb
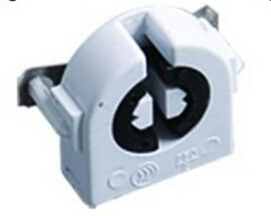
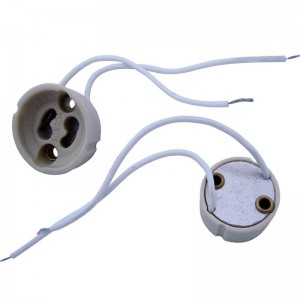
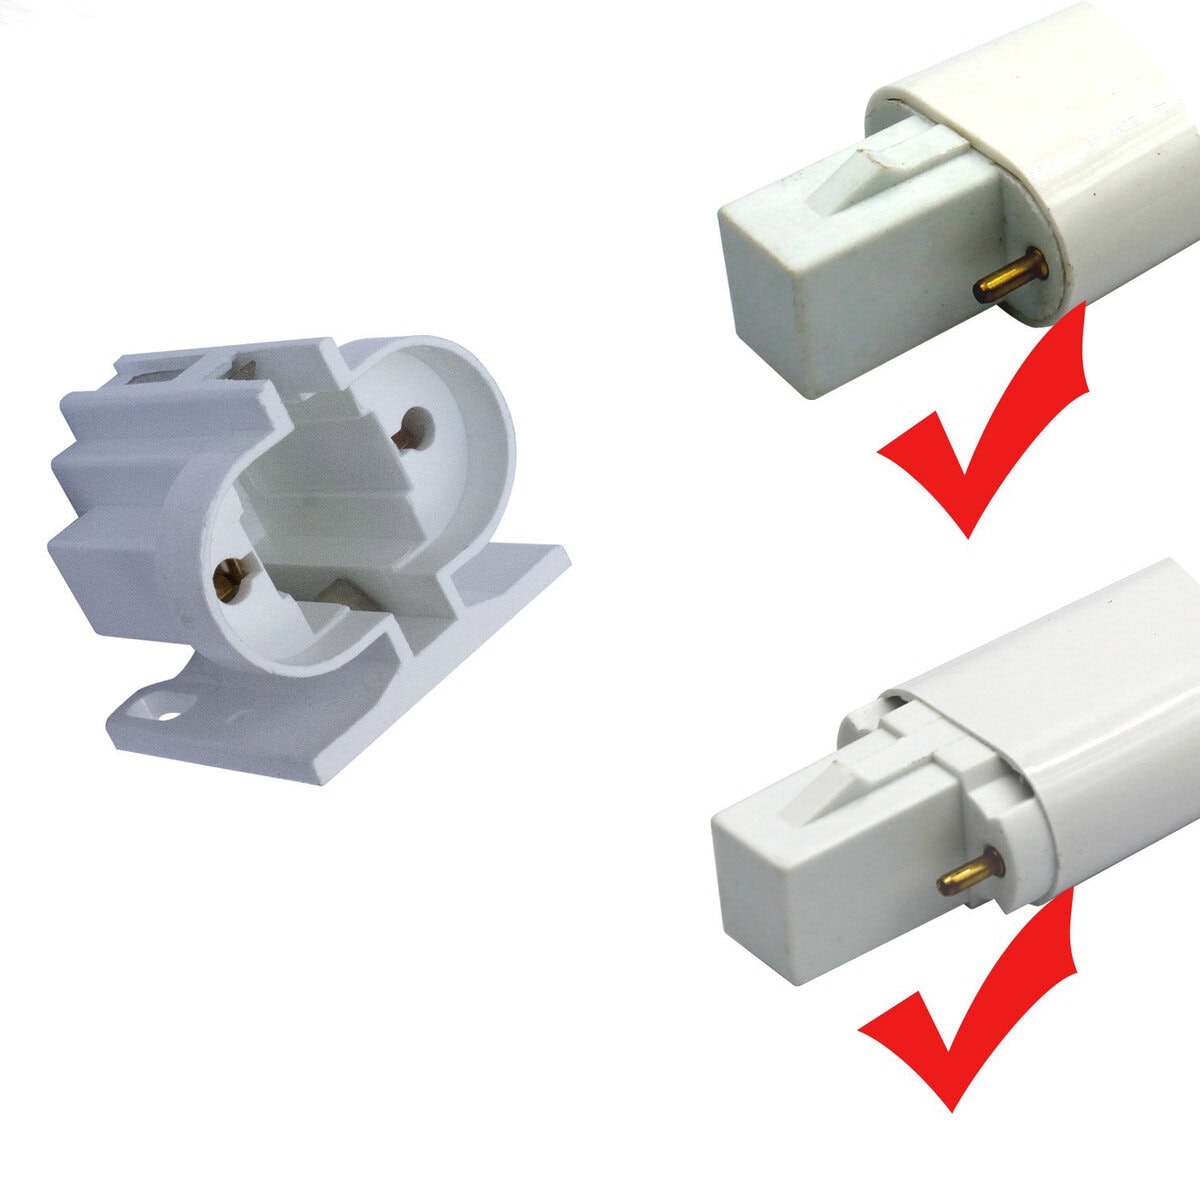
Pin-based CFLs require a different approach. First, identify the number and orientation of the pins. Hold the bulb by its base and gently wiggle it back and forth while pulling it straight out of the socket. Do not twist the bulb, as this can damage the pins or the socket. If the bulb is resistant, use slight rocking motions to loosen it without applying excessive force.
What to Do if the Bulb Breaks
If the bulb breaks during removal, take immediate precautions to clean up safely. CFLs contain a small amount of mercury vapor, which can be hazardous if released. Ventilate the area by opening windows and leaving the room for at least 10 minutes. Wear gloves and use sticky tape to pick up glass fragments and powder. Avoid using a vacuum cleaner, as it can spread mercury vapor. Dispose of the broken bulb and cleanup materials in a sealed plastic bag, following local disposal guidelines.
Inspecting the Socket After Removal
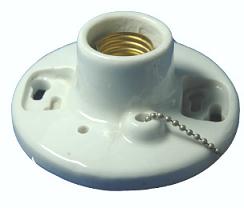
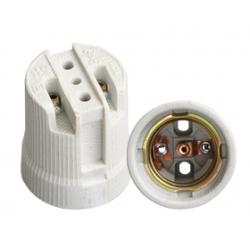
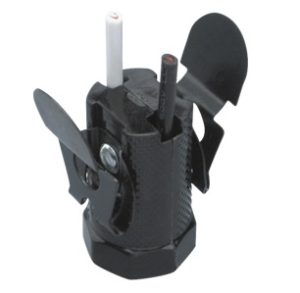
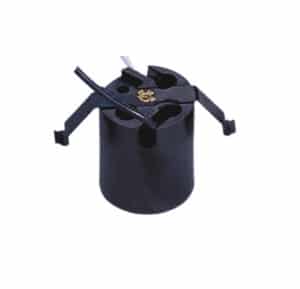
Once the bulb is removed, inspect the socket for damage, debris, or corrosion. Use a dry cloth or a non-abrasive contact cleaner to clean the socket, ensuring it’s ready for the next bulb. If the socket shows signs of wear or damage, consider replacing it to maintain safe operation.
Disposing of a Burned-Out CFL Bulb
Proper disposal of CFL bulbs is essential because they contain mercury, a hazardous substance. Do not throw CFLs in regular trash bins. Instead, check for local recycling programs or designated drop-off locations at hardware stores or waste management centers. Recycling ensures the safe handling of mercury and other materials in the bulb.
Preventing Future Difficulties
To make future bulb changes easier, consider using a bulb lubricant or anti-seize compound on the base of screw-in bulbs. This helps prevent sticking and makes removal simpler. When installing a new bulb, avoid overtightening it into the socket. For pin-based bulbs, ensure the pins are aligned properly and seated firmly without forcing them.
Final Words:
Removing a burned-out CFL bulb requires care, patience, and proper safety measures. By following these steps, you can safely remove the bulb, inspect the lamp socket, and dispose of the old CFL responsibly. Regular maintenance and mindful installation practices will prevent future difficulties and extend the lifespan of your lighting fixtures.

