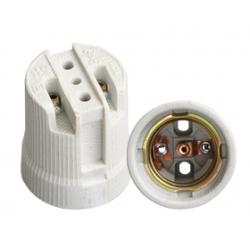
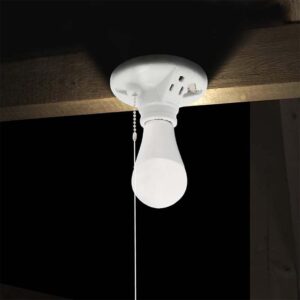
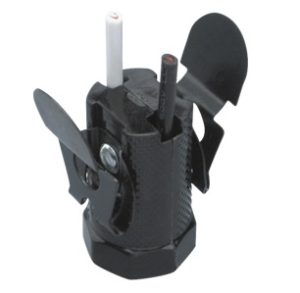
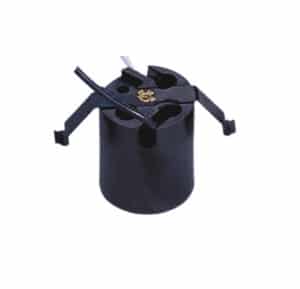
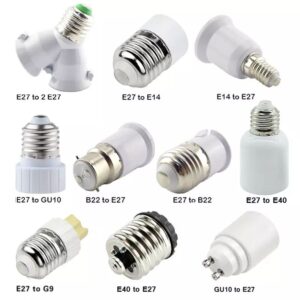
A broken or malfunctioning lamp holder socket can make an entire lamp worthless, leaving you with the inconvenience of waiting for professional repairs or buying a new lamp. However, replacing a lamp socket is an easy job that you can do yourself with a few tools and some basic safety precautions. Here are the steps to get your lamp socket replaced and have your lamp working again.
To Replace a Lamp Socket, Unplug, Disassemble, Disconnect, and Wire in a New Socket
In most cases, replacing a lamp socket is as simple as disconnecting the power, removing the old socket, and attaching a new one with the same wiring setup. With a little care, you can restore the functionality of your lamp in just a few minutes.
Tools and Materials Needed
Before you start, gather some basic tools to make the process smooth and safe. You’ll need a screwdriver (usually Phillips or flathead), wire stripper, needle-nose pliers, and a new lamp socket compatible with your lamp type. It’s also advisable to wear protective gear, such as rubber gloves and safety glasses, for an added layer of safety. These tools and materials will allow you to work safely and efficiently.
Step-by-Step Guide to Replacing a Lamp Socket
- Unplug the Lamp: First, unplug the lamp to ensure there’s no power running to it. This step is crucial for preventing accidental electric shocks during the repair.
- Remove the Lamp Shade and Bulb: Carefully take off the lampshade and unscrew the bulb from the socket. This will give you clear access to the socket area and ensure no delicate parts are at risk of breaking during the repair.
- Unscrew the Socket Cap: Using your screwdriver, remove any screws or fasteners securing the socket cap. Once loosened, lift off the cap to expose the wiring inside. Some lamp designs have a “press and twist” socket cap instead, which may not require a screwdriver.
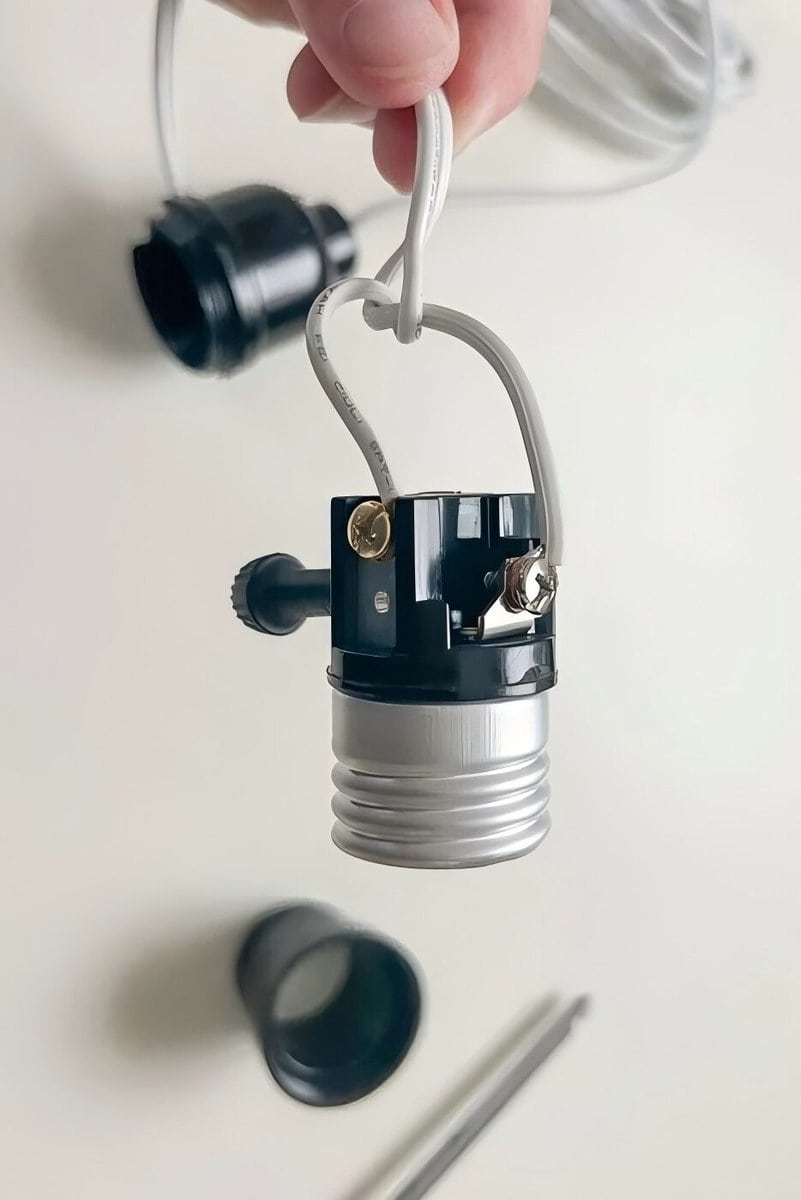
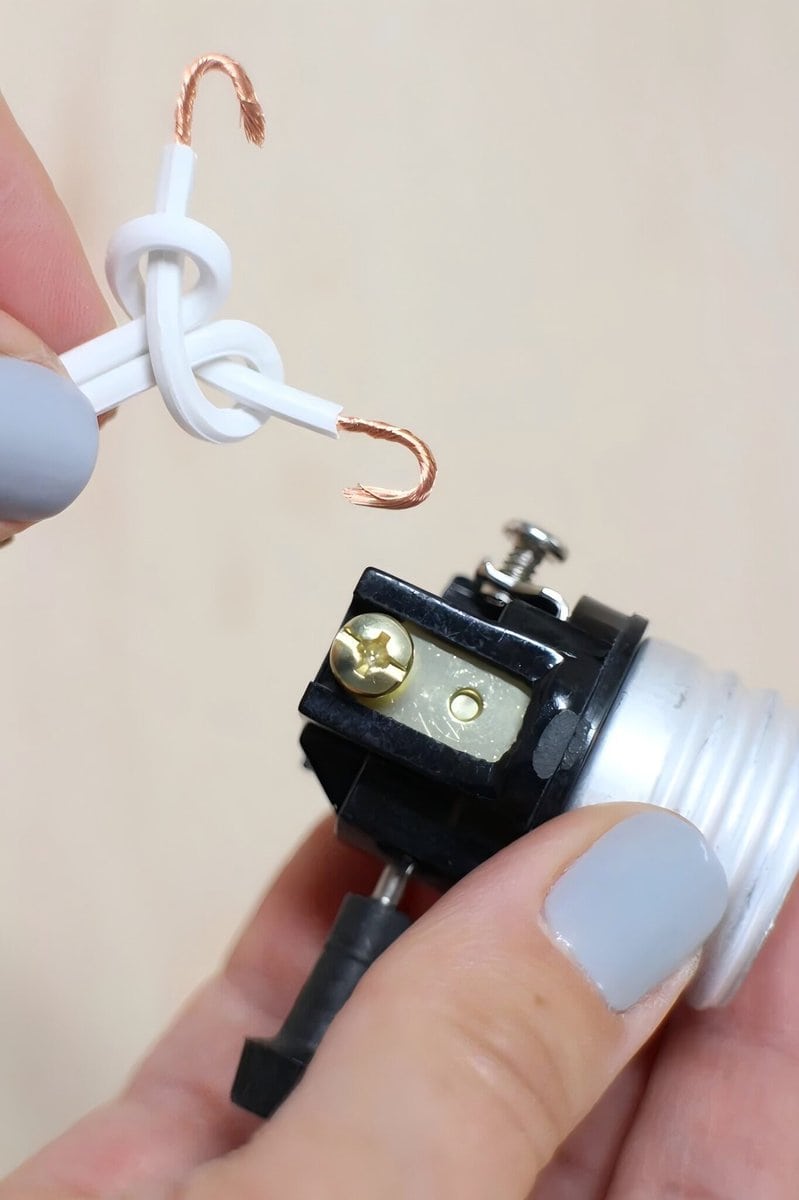
- Disconnect the Wires: Inside the socket, you’ll see two wires connected to the old socket. One is the neutral wire, which typically connects to the silver terminal, and the other is the hot wire, which connects to the brass terminal. Using your pliers, carefully loosen and disconnect each wire from the socket. Remember not to tug forcefully to avoid damaging the wires.
- Attach Wires to the New Socket: Take your new socket and connect the wires by attaching the neutral (usually white) wire to the silver terminal and the hot (usually black) wire to the brass terminal. Make sure each wire is securely fastened to its respective terminal to ensure a stable electrical connection. If the wires look frayed, use a wire stripper to trim and re-strip about 1/2 inch of insulation for a clean connection.
- Reassemble the Fixture: Once the new socket is wired correctly, place it back into the lamp base. Secure the socket cap with screws or by pressing it back into position, depending on the lamp’s design. Finally, screw the bulb back in and reattach the lampshade.
Testing the Lamp After Replacement
With the lamp reassembled, it’s time to test it. Plug the lamp back into a power source and switch it on to ensure the new socket is functioning correctly. If the lamp doesn’t turn on or if you notice flickering, double-check your wire connections to confirm they’re secure. Loose connections can cause intermittent power issues, so ensure everything is tightly fastened. If problems persist, the issue may lie elsewhere in the wiring, and professional assistance may be required.
Safety Tips and Precautions
Safety is paramount when working with electrical repairs. Always ensure the lamp is unplugged before you start. Additionally, inspect the wiring for signs of wear, such as fraying or exposed wires, as these can be potential hazards. If the wires appear damaged, consider replacing them or consult an electrician for a thorough inspection. Rubber gloves can add an extra level of safety against shocks, and proper tools, such as insulated screwdrivers and pliers, are recommended to prevent accidental electric contact.
When to Call a Professional
While replacing a basic lamp socket is generally straightforward, some situations may require the help of a professional. If you’re working with a lamp that has complex wiring, multiple sockets, or any unusual electrical configurations, a licensed electrician can ensure that everything is done correctly and safely. Additionally, if the socket or wiring appears damaged beyond basic repair, such as extensive fraying or signs of burning, it’s best to have a professional assess the situation to ensure your lamp is safe for use.
Conclusion
Replacing a lamp socket is an easy repair that can have your lamp working again in just a few minutes. You need the right tools and a step-by-step plan to make this DIY project work. Don’t forget to follow the safety precautions and double-check all of your connections to make sure your repair is safe and that it worked. You’ll save time and money and get your lamp working again.

