Changing a light bulb seems like a simple thing, but you need to do it the right way to be safe and efficient. Whether you’re changing a light bulb in a table lamp or a ceiling fixture, doing it the right way can keep you from having an accident and make your new light bulb last a long time.
To change a light bulb, turn off the power, let the bulb cool down, take the old bulb out, and put the new bulb in. Make sure you pick the right bulb to replace the old one.
We’re going to go through the steps to make it easy and safe for you to change a light bulb.
Turn off the power
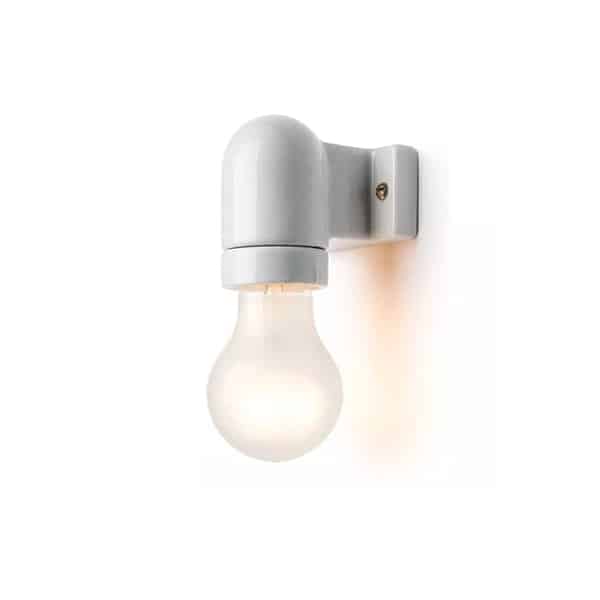
Safety should always come first when replacing a light bulb. Before you start, make sure to turn off the power to the light fixture. You can do this either by switching off the light switch or, to be extra cautious, by turning off the circuit breaker that controls the fixture. This step ensures that no electricity is flowing to the light socket, preventing the risk of electric shock while you work on replacing the bulb.
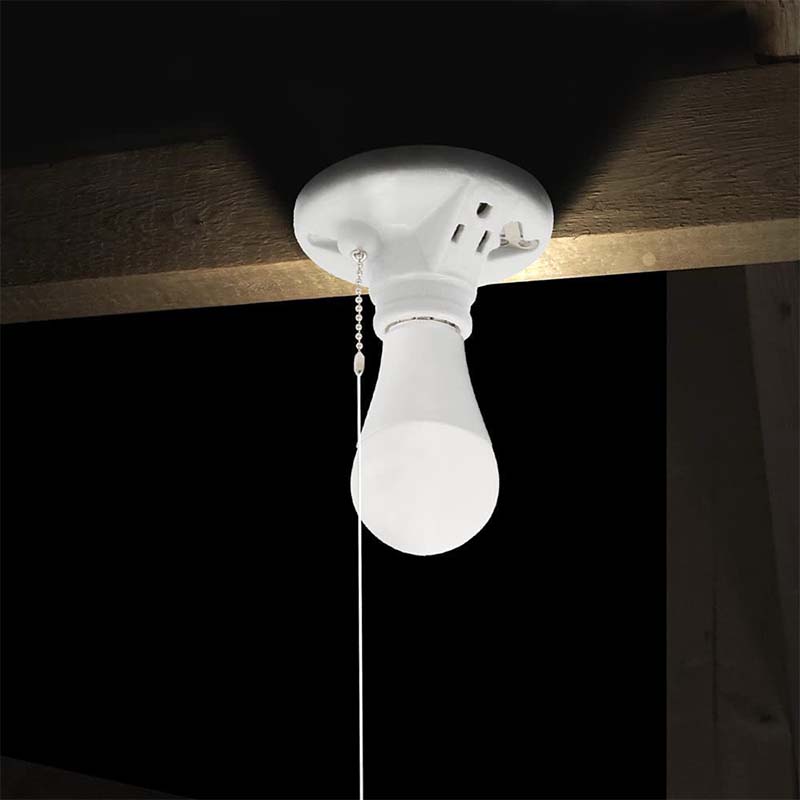
If you’re working with a ceiling light or a fixture that’s hard to reach, it’s a good idea to ensure the area is well-lit using another light source, such as a flashlight or portable lamp, to safely complete the job.
Allow the bulb to cool
Light bulbs, especially incandescent and halogen bulbs, can become extremely hot after being on for a while. To avoid burning your fingers, wait a few minutes for the bulb to cool down after turning off the power. LED and CFL bulbs may not get as hot, but it’s still wise to let them cool slightly before handling them.
If you’re in a hurry and can’t wait, you can use a cloth or glove to unscrew the bulb to protect your hand from the heat.
Choose the right replacement bulb
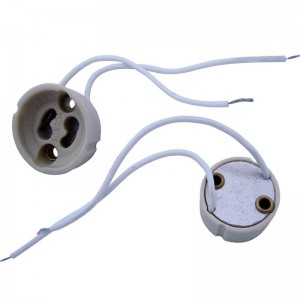
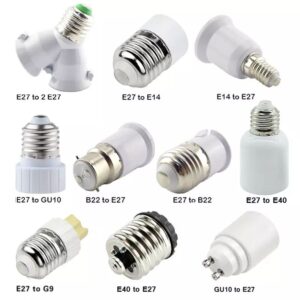
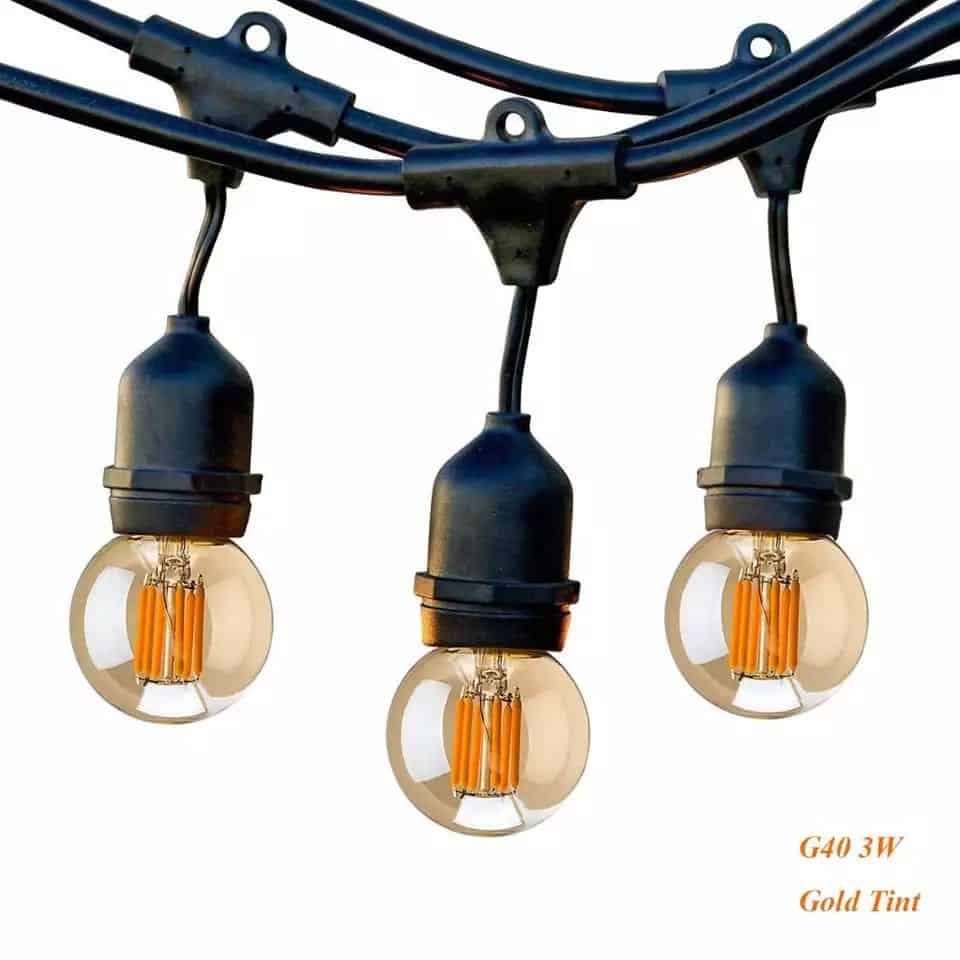
It’s important to choose the correct replacement bulb for your fixture. Look at the old bulb for clues about the wattage, type, and base size. Most bulbs will have these details printed on the base or the packaging. For example, make sure you match the lamp base type (e.g., E26 for screw-in bulbs or GU10 for pin-type bulbs) and the wattage (e.g., 60 watts). If you choose a bulb with a higher wattage than the fixture allows, you could overheat the fixture and cause damage.
You should also consider upgrading to an energy-efficient LED bulb if you’re replacing an incandescent or halogen bulb. LEDs last longer, use less energy, and produce less heat.
Remove the old bulb
To remove the old bulb, gently but firmly unscrew it by turning it counterclockwise (lefty loosey). For pin-based bulbs, such as GU10 or G9, you may need to push in and twist slightly to unlock them from the socket. Be careful not to apply too much pressure, as bulbs, especially glass ones, can be fragile and may break in your hand.
If the bulb is stuck or hard to unscrew, try using a cloth or a soft glove to get a better grip. In the worst-case scenario, if the bulb breaks, ensure the power is off and carefully remove the remaining glass and base from the socket with pliers or a bulb extractor.
Inspect the socket and fixture
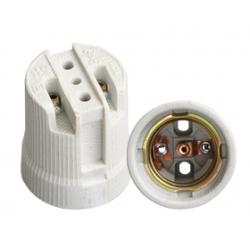
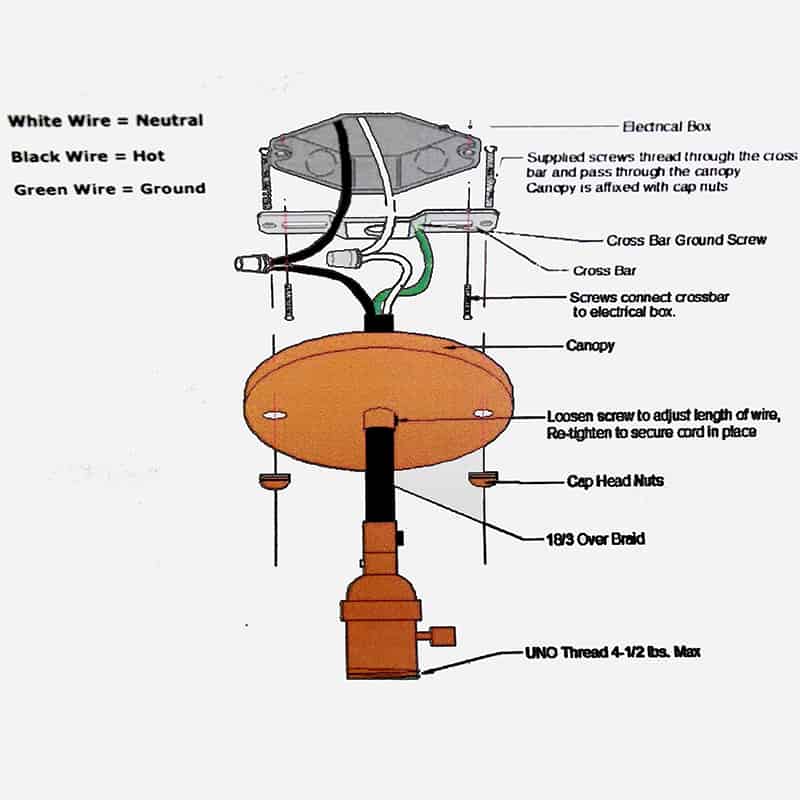
Before inserting the new bulb, take a moment to inspect the socket and fixture. Look for any signs of damage, such as discoloration, rust, or loose wires, as these could indicate a problem with the fixture that may need to be addressed by an electrician. You should also clean out any dust or debris inside the socket, which can interfere with the electrical connection.
Ensuring the socket is in good condition will help the new bulb last longer and reduce the risk of flickering or poor connection.
Install the new bulb
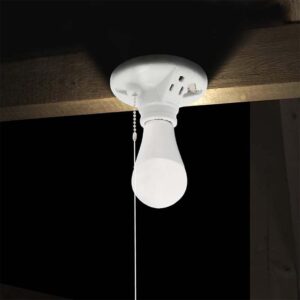
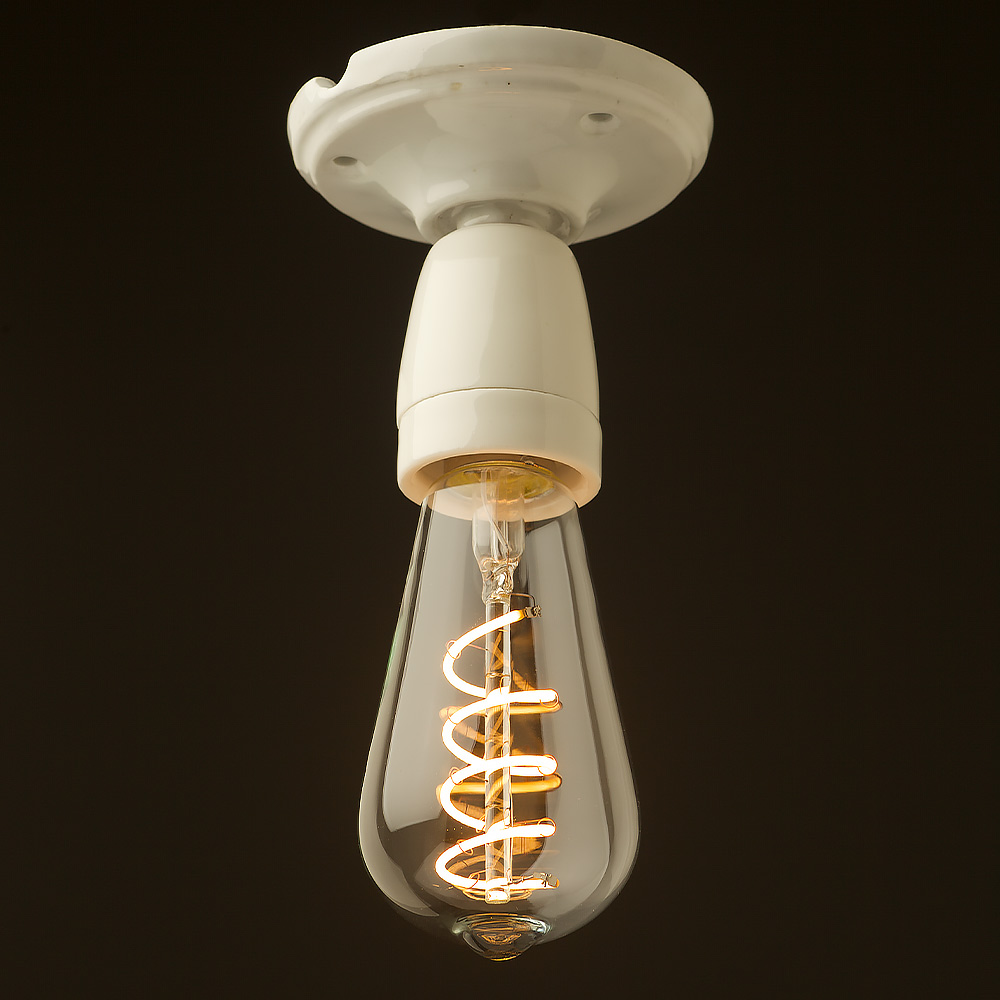
Now it’s time to install the new bulb. Align the base of the new bulb with the socket and gently screw it in by turning it clockwise (righty tighty). For pin-based bulbs, make sure the pins are properly aligned with the holes, then push in and twist as needed. Be careful not to overtighten the bulb, as this can damage the socket or the bulb itself.
If you feel resistance, stop and make sure the bulb is properly aligned. Over-tightening can lead to damage or make it harder to remove the bulb next time it needs replacing.
Turn on the power and test the light
Once the new bulb is securely in place, turn the power back on. If you switched off the circuit breaker, remember to switch it back on, and then test the light fixture by flipping the light switch. The new bulb should light up without flickering or dimming.
If the light doesn’t work, turn off the power again and check that the bulb is properly seated in the socket. If everything looks fine but the light still doesn’t work, there may be an issue with the fixture or the wiring, in which case you should consult an electrician.
Dispose of the old bulb properly
Proper disposal of the old bulb depends on the type of bulb you’ve replaced.
- Incandescent and halogen bulbs can be disposed of in the regular trash, but you should wrap them in paper or cloth to avoid breaking the glass and creating a safety hazard.
- CFL bulbs contain a small amount of mercury, so they should not be thrown in the regular trash. Instead, take them to a recycling center or a store that accepts used CFLs for recycling.
- LED bulbs are often recyclable but check your local recycling programs to see if they accept them.
By following proper disposal methods, you help protect the environment and ensure hazardous materials like mercury are handled safely.
Changing a light bulb is easy, but you need to do the right things like turning off the power, picking the right light bulb, and getting rid of the old one to be safe and efficient.

