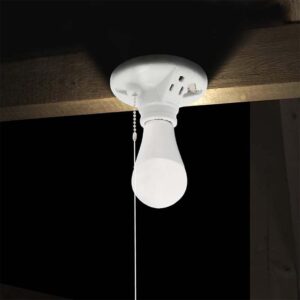
Replacing a ceiling light socket might seem daunting, especially with the added height and electrical safety considerations. However, with the right tools, steps, and precautions, it’s a straightforward task that can restore functionality and safety to your ceiling light fixture.
To replace a ceiling light socket, ensure you turn off the power, remove the fixture carefully, disconnect the wires, install a new socket, and secure it in place before testing.
This guide will walk you through everything you need to know from what to buy to how to install it and troubleshoot it.
Understanding the Basics of Ceiling Light Sockets
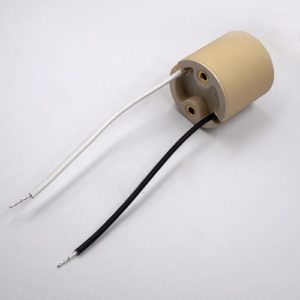
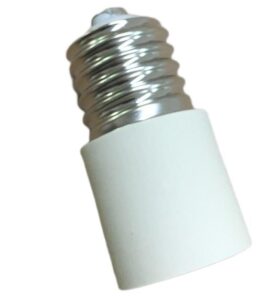
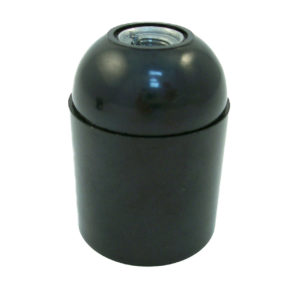
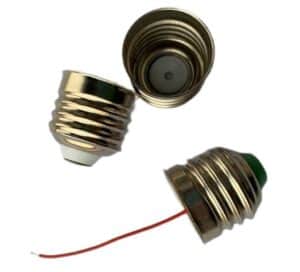
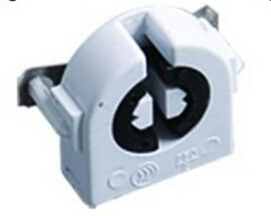
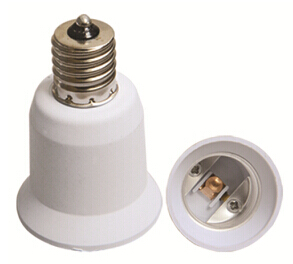
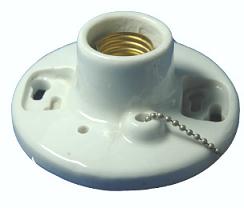
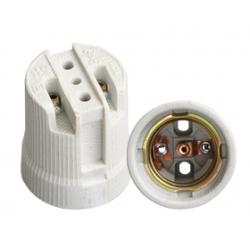
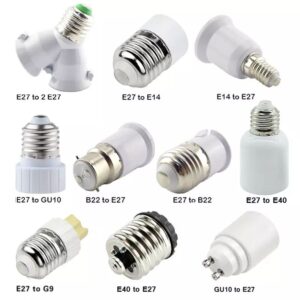
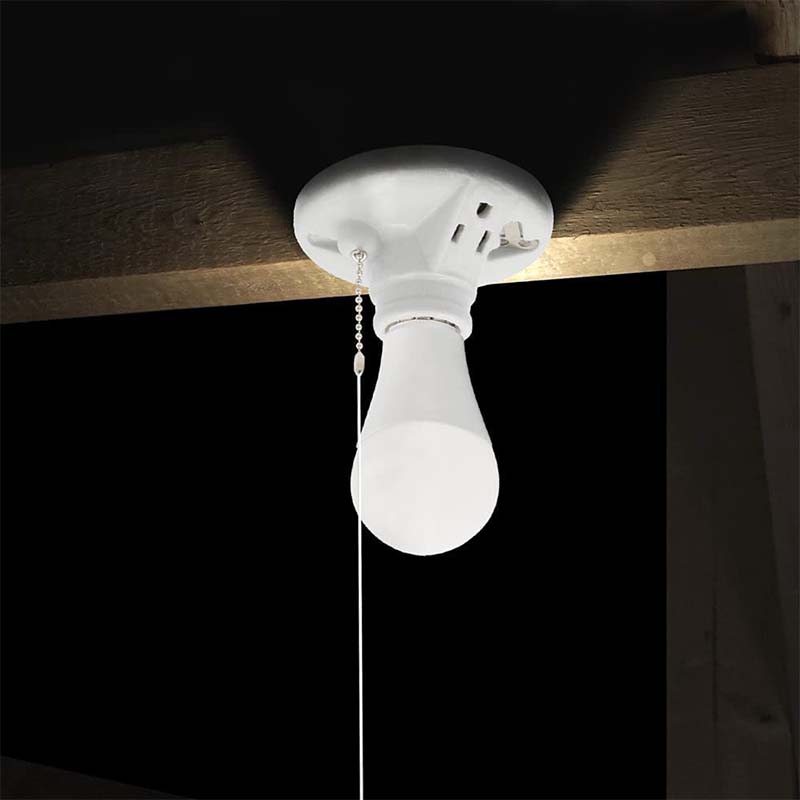
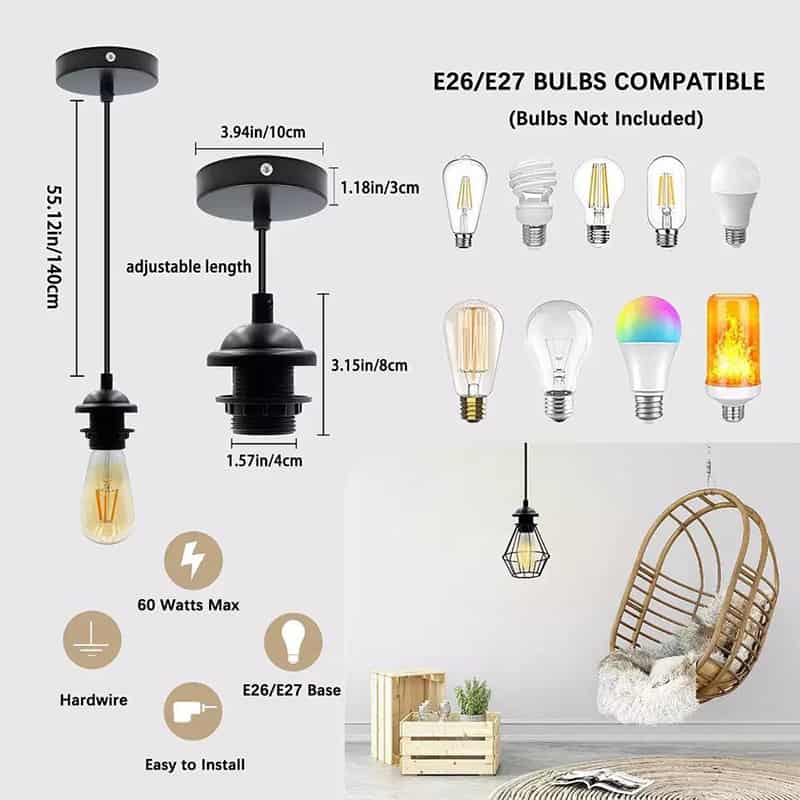
Ceiling light sockets come in various types, including E26 and E27 Edison sockets, commonly found in residential ceiling fixtures. These sockets are designed to accommodate standard light bulbs and typically handle 120V to 240V, depending on the region.
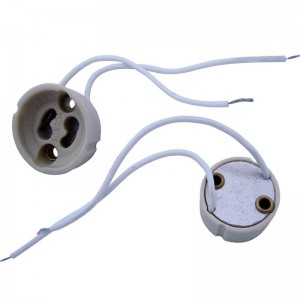
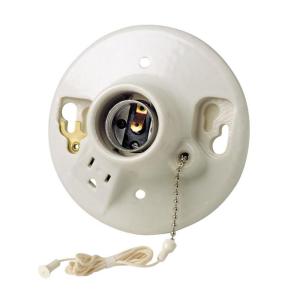
Knowing the type of socket needed for your fixture will help you choose the right replacement, whether it’s a medium base, keyless, or decorative model. You might need to replace a ceiling socket if you notice flickering lights, a socket that feels loose or unstable, visible signs of corrosion, or if bulbs aren’t functioning despite being in good condition. Prompt replacement ensures both the safety and functionality of your ceiling fixture.
Tools and Materials Needed for Replacing a Ceiling Socket
To replace a ceiling light socket, gather the necessary tools: a ladder, screwdriver, voltage tester, wire strippers, pliers, and wire connectors. You’ll also need a compatible replacement socket that matches the specifications of your fixture in terms of size, voltage, and mounting type. For safety, use insulated gloves and goggles, and keep a flashlight handy if natural light is limited, especially when working in dimly lit spaces. Having these tools within easy reach on a stable surface will make the process smoother and help ensure a safe and secure installation.
Safety Precautions Before Starting the Replacement
Safety is crucial when working with electrical fixtures. Start by turning off the power at the breaker panel to eliminate the risk of electric shock, and use a voltage tester to confirm that the circuit is completely off before touching any wires. Once power is off, ensure your ladder is securely positioned directly under the fixture and stable. Keep your tools within reach to avoid unnecessary movement, and make sure the surrounding workspace is clear of any tripping hazards. If you notice any potential issues, such as damaged insulation or exposed wiring, it’s best to call a professional electrician to handle the job, as these situations can pose additional safety risks.
Step-by-Step Guide to Removing the Old Socket
Begin by removing any light cover or decorative fixture housing that surrounds the socket. Use a screwdriver to carefully remove screws securing the fixture to the ceiling, and gently lower it to access the socket and wiring. Next, unscrew or unclip the socket mount, taking care not to damage any surrounding components. Locate the wires attached to the old socket, usually the live, neutral, and ground wires.
Loosen the wire connectors carefully, noting the original wiring positions to ensure you can replicate the setup later. Remove the socket base by gently pulling it free from the wiring and mounting area. Take care to leave the wiring intact and avoid pulling too hard, as this could damage the wires and require more extensive repairs.
Installing the New Ceiling Light Socket
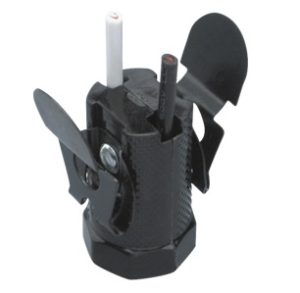
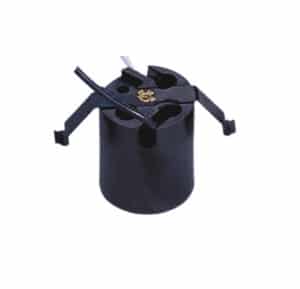
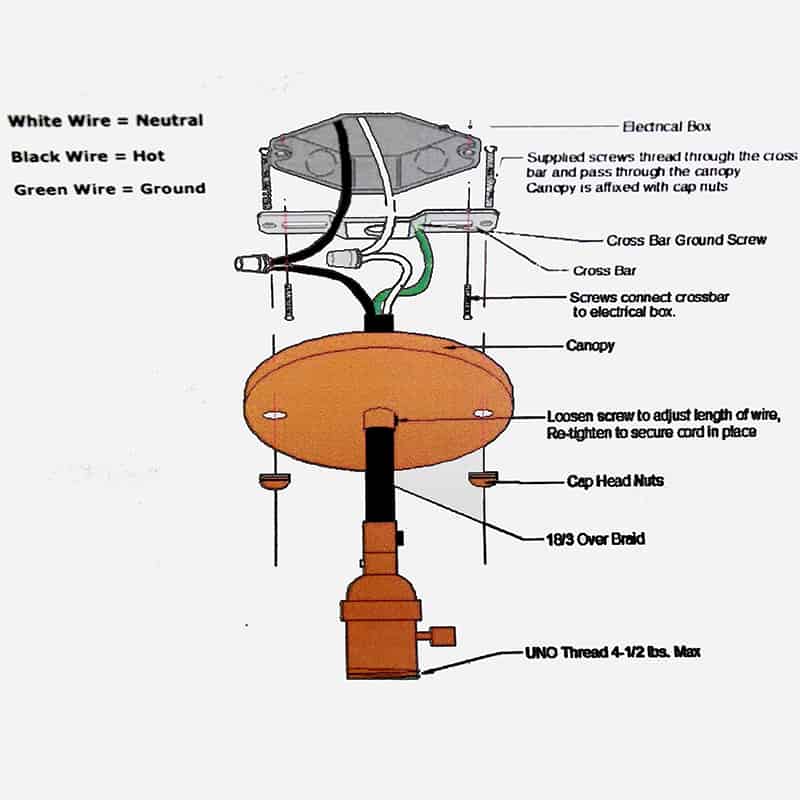
Once the old socket is removed, you’re ready to install the new one. Start by connecting the wires to the corresponding terminals on the new socket. Typically, the live (hot) wire connects to the brass screw, the neutral wire to the silver screw, and the ground wire (if present) to the green or grounding screw. Make sure each wire is securely fastened and that no copper wiring is exposed outside the connectors, as this could create a short circuit or electrical hazard.
Next, align the socket base with the ceiling fixture or mount and screw it in tightly, ensuring it is firmly secured in place. This step is crucial to prevent the fixture from shifting or loosening over time. Before proceeding, double-check that all wires are connected correctly, that the socket is stable, and that no exposed wires are visible.
Testing and Finalizing the Replacement
With the new socket installed, it’s time to test the replacement. Restore power at the breaker, return to the fixture, and screw in a light bulb compatible with the socket type. Turn on the switch to check for a steady, flicker-free light. Flickering or dim light can indicate issues with wire connections, a loose bulb, or an incompatible fixture. If there’s a problem, turn the power off again, recheck all connections, and inspect for any issues such as loose wiring or an insecure fit.
Once the light functions correctly, conduct a final safety check to ensure all connections are secure, the socket is stable, and no wires are exposed. This last inspection guarantees that your new socket is safely installed and ready for use.
Final Words:
Replacing a ceiling lamp socket may sound complex, but following these steps with the right tools and precautions will make it a manageable task. Proper preparation and attention to safety ensure a smooth and secure installation, restoring both function and safety to your ceiling fixture.

