Replacing a light socket can seem overwhelming, especially for people who don’t do electrical work. If you don’t do it correctly, you could get shocked or burn your house down. However, with the right tools and taking the right steps, you can replace a socket in your house or business.
To replace a socket, turn off the power to the fixture, take out the old socket, inspect and prepare the wiring, install the new socket, and test the connection. You have to pay attention to what you’re doing and follow safety procedures to get it right.
Use the guide below for a step-by-step process to replace a socket safely.
Step 1: Turn Off the Power
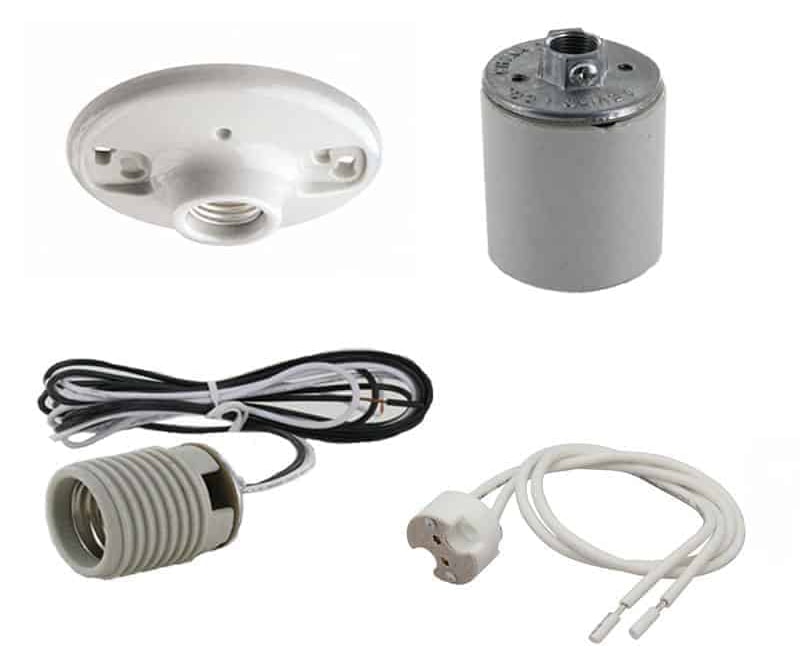
Before starting any electrical project, the most important rule is to ensure that the power is completely turned off. Electrical work without cutting off the power can be extremely dangerous, leading to electric shocks, severe injuries, or even fatal accidents. Start by finding the electrical panel in your home or building and locating the breaker that controls the specific socket or fixture you will be working on. Switch the breaker to the “off” position to cut off the electrical supply.
To ensure safety, use a voltage tester to confirm that there is no electricity running to the socket. Even if you’ve turned off the breaker, sometimes circuits can be mislabeled, or there might be residual current. Checking with a voltage tester provides an additional layer of security. Once you’re sure there’s no electricity flowing to the socket, you can confidently move forward with the replacement process.
Step 2: Remove the Old Socket
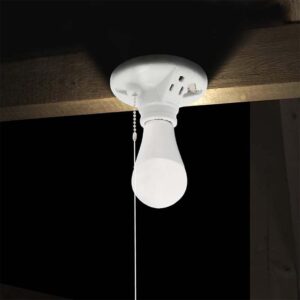
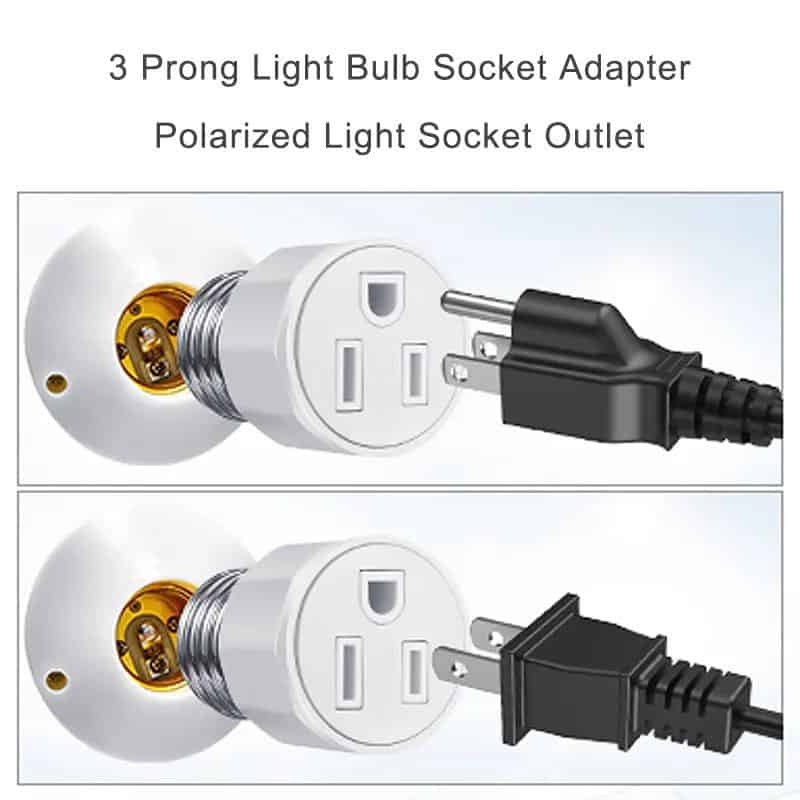
With the power safely off, it’s time to remove the old socket. Begin by disassembling the light fixture or lamp. This process can vary depending on the type of fixture. For ceiling fixtures, you may need to unscrew the light bulb, remove the fixture cover, and access the socket from there. For table or floor lamps, the socket might be housed in a casing that will need to be opened. Always make sure that the bulb has cooled down completely before handling it.
Once the fixture is opened, locate the socket. Most sockets are held in place by screws or a clip that connects the socket to the fixture base. Using a screwdriver, carefully loosen the screws or unclip the socket from its housing.
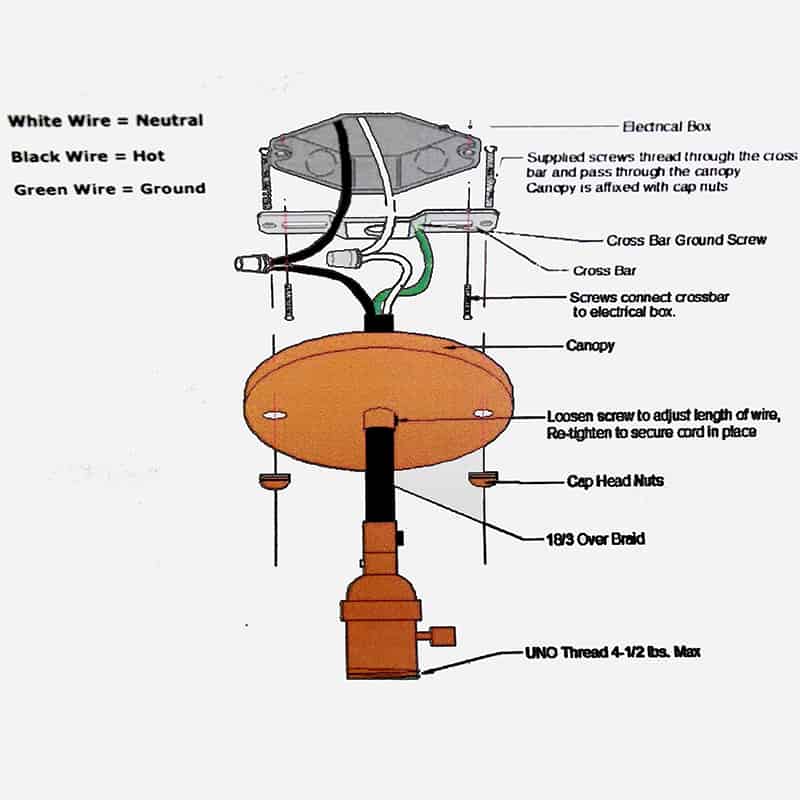
After removing the fasteners, gently pull the socket away to expose the wiring connected to it. At this stage, take note of how the wires are connected to the socket. Many sockets will have two main wires: one live wire and one neutral wire, which are connected to specific terminals. Take a photo or write down the setup to ensure you reconnect the new socket correctly.
Step 3: Inspect and Prepare the Wiring
After removing the old socket, carefully inspect the wiring to ensure everything is in good condition. Over time, wires can become frayed, corroded, or brittle, which can lead to poor connections and unsafe electrical conditions. If you notice any signs of damage, it’s crucial to repair or replace the wiring before proceeding. You may need to trim the damaged ends of the wires and strip off some of the insulation to reveal clean copper wire underneath.
If the wires are in good condition, check how they were connected to the old socket. Typically, wires are secured with screws or wire nuts. Loosen these fasteners, and remove the wires from the old socket. Ensure the wires are still flexible and the ends are well-stripped to make secure connections with the new socket. Using a wire stripper, carefully strip about 1/2 inch of insulation from the wire ends if necessary.
Step 4: Install the New Socket
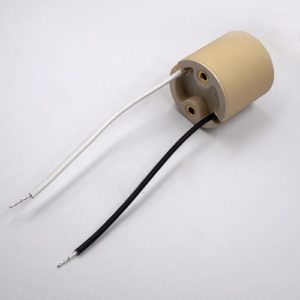
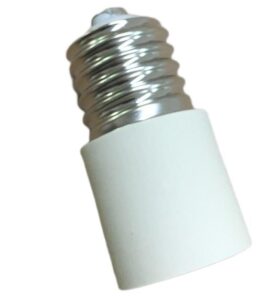
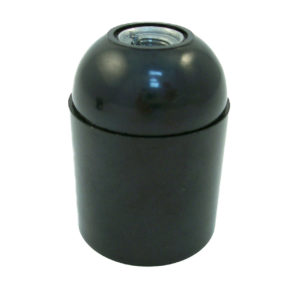
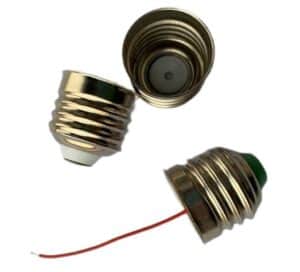
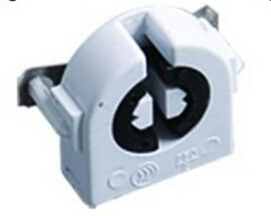
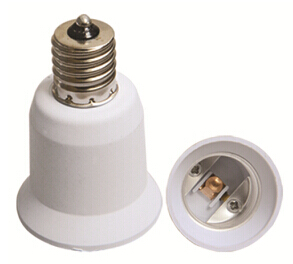
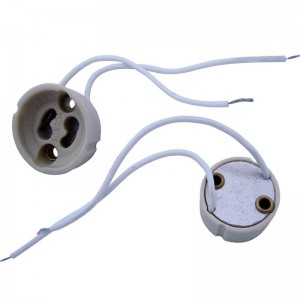
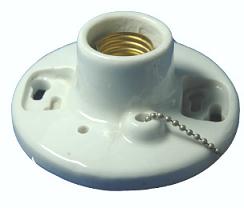
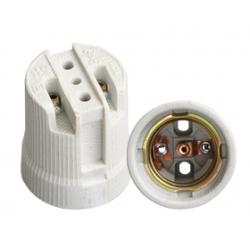
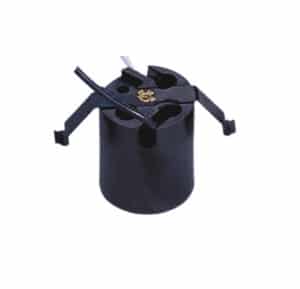
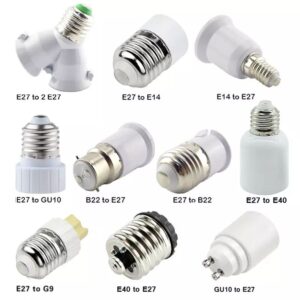
Now that the old socket has been removed and the wiring is prepped, it’s time to install the new socket. Choose a replacement socket that matches the specifications of the old one. Sockets come in various styles, such as E26, E27, GU10, and others, so ensure that the new socket is compatible with your lamp or fixture. The material of the socket also matters—ceramic sockets, for example, are more heat-resistant and durable than plastic ones.
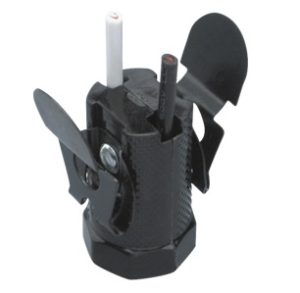
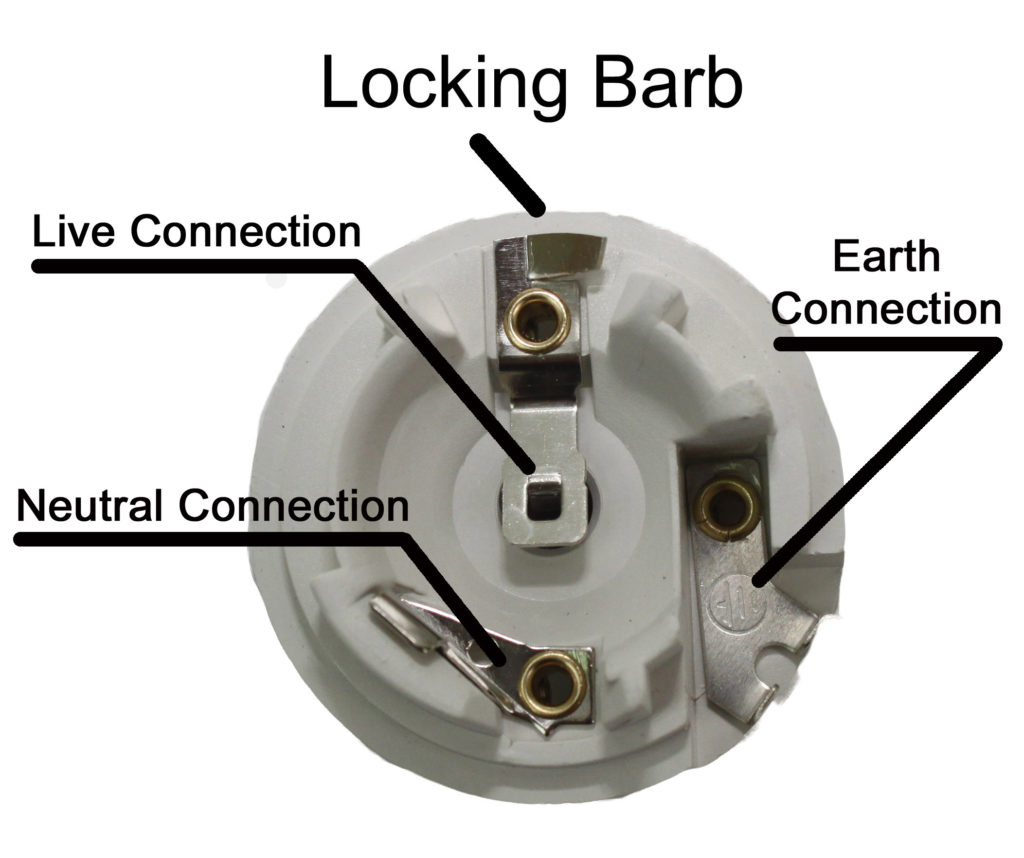
Begin by connecting the wires to the new socket. Most sockets have clearly labeled terminals: one for the live wire (usually black or red) and one for the neutral wire (usually white). Ensure that you connect each wire to the corresponding terminal. Tighten the screws or fasten the wires using wire nuts, making sure the connections are secure and there are no loose strands of wire that could cause a short circuit.
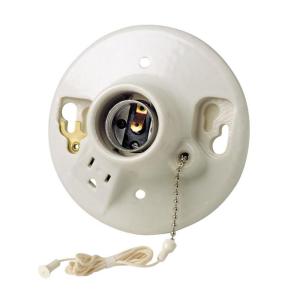
Once the wires are securely connected, carefully position the new socket in place within the fixture. Use the screws or clips provided with the socket to fasten it securely to the fixture. Check to make sure the socket is tightly secured and not wobbly or loose.
Step 5: Test and Reassemble
After the new socket is installed, it’s essential to test the fixture to ensure everything is working correctly. Before testing, ensure that no bare wires are exposed and all components are securely fastened. Once confident, go back to the breaker panel and restore power by switching the circuit breaker back to the “on” position.
Turn on the light switch or plug in the fixture and check whether the light works properly. If the bulb lights up, then your installation was successful. If the light does not work, turn the power back off and double-check your wiring connections to ensure everything is correctly attached.
Assuming everything is working as expected, turn the power off again and proceed to reassemble the fixture. Replace any covers, bulbs, or decorative elements that were removed during the process. Make sure everything is securely fastened before switching the power back on for good.
Step 6: Final Safety Check
Once the socket is installed and the fixture reassembled, it’s essential to do a final safety check. Ensure that the new socket is functioning properly and that the fixture is securely mounted. Check that there are no exposed wires or loose components. If your fixture is outdoors or in a damp area, make sure the new socket has appropriate protection from moisture, such as an IP-rated waterproof socket, to avoid any potential hazards.
Final Words:
Replacing a lamp socket involves turning off the power, removing the old socket, inspecting and preparing the wiring, installing the new socket, and testing the connection. You must take safety precautions and pay attention to what you’re doing to replace a socket safely.

