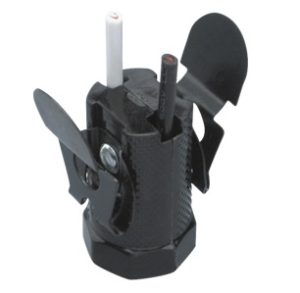
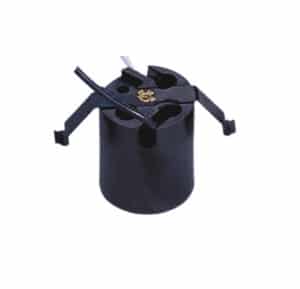
Based on my experience, ten steps to replace the Light socket:
1, Locate the circuit breaker for the lamp holder and turn the switch off. Circuit breakers are in your home’s main electrical panel and should be labeled by room. If the breaker isn’t labeled, turn the light on and turn each breaker off until the light goes out.
Turn off the circuit breaker or remove the fuse from the fuse box that controls the light fixture.
2, Position the ladder beneath the recessed lighting and have a helper hold the ladder while you climb.
3, Unscrew the light bulb and test the lamp holder for electrical current with a multimeter. Turn the multimeter selector switch to 250 ACV (alternating current voltage), touch the red wire lead to the metal tab in the center of the lamp holder and the black wire to the metal threaded side.
Remove the glass cover over the light you are working on. The cover typically either slides off or unscrews, if it’s a round cover.
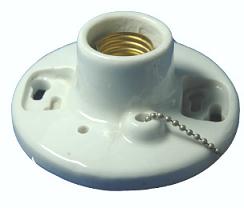
4, Unscrew and remove the lightbulb, then take out the two screws in the ceramic lamp holder on each side of the bulb holder. Remove the two mounting screws on each side of the lamp holder base by turning them counterclockwise with a screwdriver.
Pull the lamp holder fixture gently — it will now be free of the electrical box and suspended by two electrical wires screwed into the lamp socket fixture base. Make note of the wire colors and their placement on the fixture. Wires are usually black (hot) and white (neutral)
5, Pull down the lamp holder and turn it to the side to expose the wiring. Loosen the two screws in the side of the fixture to pull off the two wires. Make a note of which wire attaches to which terminal screw.
6, Wrap the new wires around the screw posts on the new porcelain lamp holder and tighten each with the screwdriver. Touch one multimeter wire lead (red or black) to one of the lamp holder wire screws and the other lead to the metal tab in the center of the socket.
If there is a maximum reading, the wire you are testing is the hot wire. If no reading is present, repeat the procedure, but touch the lead to the remaining wire screw. You should now have a maximum reading and will be sure of which wire is the hot wire.
7, Secure the new lamp holder to the ceiling with the two screws removed in Step 4.
8, Install a lightbulb in the socket.
9, Slide in or screw on the lens cover for the recessed lighting fixture.
10, Screw the light bulb in place, and turn the circuit breaker and light switch on to test for operation. Restore power at the circuit breaker or fuse box.
A lamp holder, also known as the Edison screw fitting, is a threaded screw base used to hold and connect a light bulb to a power source. Invented by Thomas Edison and marketed in 1909, these sockets typically have right-hand threads, which allow the light bulb to be screwed clockwise and removed counterclockwise.
To deter theft in public places, the threads are sometimes reversed to prevent installation in common light fixtures.
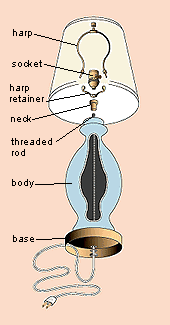
Most standing lamps consist of a body, a base where the cord enters, a harp to support the shade, and a socket, which receives the cord at one end and the lightbulb at the other. The cord usually runs through a hollow threaded rod from the base to the socket.
When a lamp won’t work and you know the bulb is OK, check the cord for damage. If the insulation is worn and cracked, replace the entire cord (see Rewiring Lamps, Related Projects). If the cord is OK, the problem is most likely in the socket.
Most lamps have felt bases that must be removed before repairing the lamps. Remove the felt by paring it off with a utility knife. After the repair, reapply the felt with white glue.
